HIPswitch for Google Cloud Platform Quick Start
To get started, make sure you have access to your Google Cloud account. If you don't have an account, you can create a free Google Cloud account and upgrade it to a full account later. If you have an existing Google Cloud account, make sure your billing information is set up. You cannot create a project until you are able to link your billing information to your newly created project.
Log in to Google Cloud
From a Web browser, navigate to https://console.cloud.google.com. You will see one of two pages, the Getting Started page if you have no projects or the Home page if you have existing projects.
Select the Tempered Networks HIPswitch from the Marketplace
You will need to locate the HIPswitch in the Google Cloud Marketplace.
- From your GCP Dashboard, select Marketplace on the left sidebar.
- In the Search field at the top of the page, enter tempered networks hipswitch and press enter.
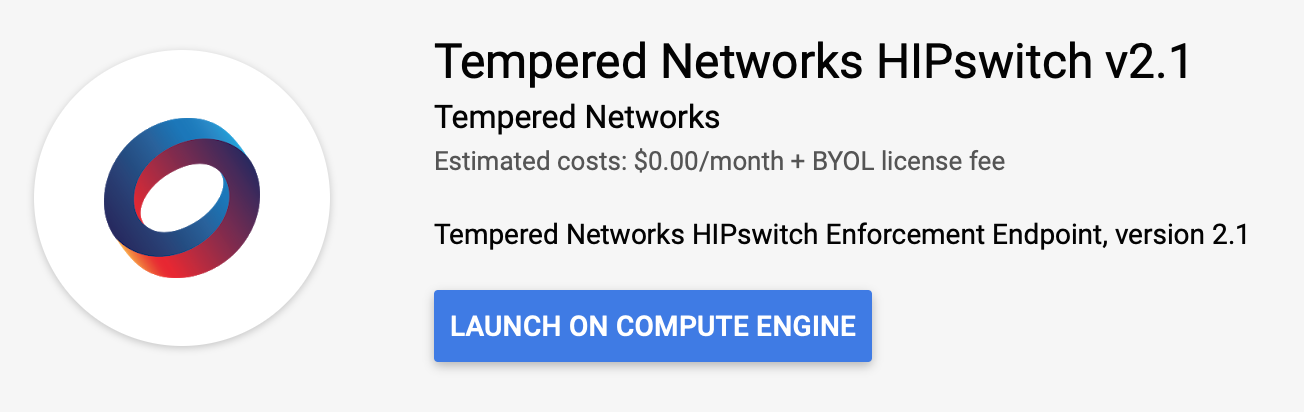
- In the results list, locate and select Tempered Networks HIPswitch v2.1.
Install the HIPswitch Image
-
The HIPswitch deployment uses a template so most settings you can leave as is, however you
may want to make the following changes:
- Deployment name: Enter a name for your HIPswitch.
- Zone: Select a zone from the drop-down. The zone determines what computing resources are available and where your data is stored and used.
- Machine type: Leave as is. Machine type determines the amount of memory, virtual cores, and persistent disk limits for the HIPswitch. The default settings are required for the instance to function correctly.
- Public network: You can leave the defaults as is and a new network will be created for you. If you have a previously created network you want to use, you can select it here.
- Networking: Leave the Firewall, and IP forwarding fields as is.
- Protected Network: This network must be different from the network you selected in the Public Network section. In the Network drop-down, select protected. A new network will be created for you. If you have a previously created network you want to use, you can select it here.
- Click Show Conductor configuration options to expose the Conductor IP Address ir Domain Name field, and enter the address to your Conductor. If you don't know this address, you need to obtain it from the owner of your Conductor. You cannot complete the deployment of your HIPswitch without it.
Note: Some fields may be hidden based on your screen size. To view these fields, click More button to expand the list.
Finalize the Deployment
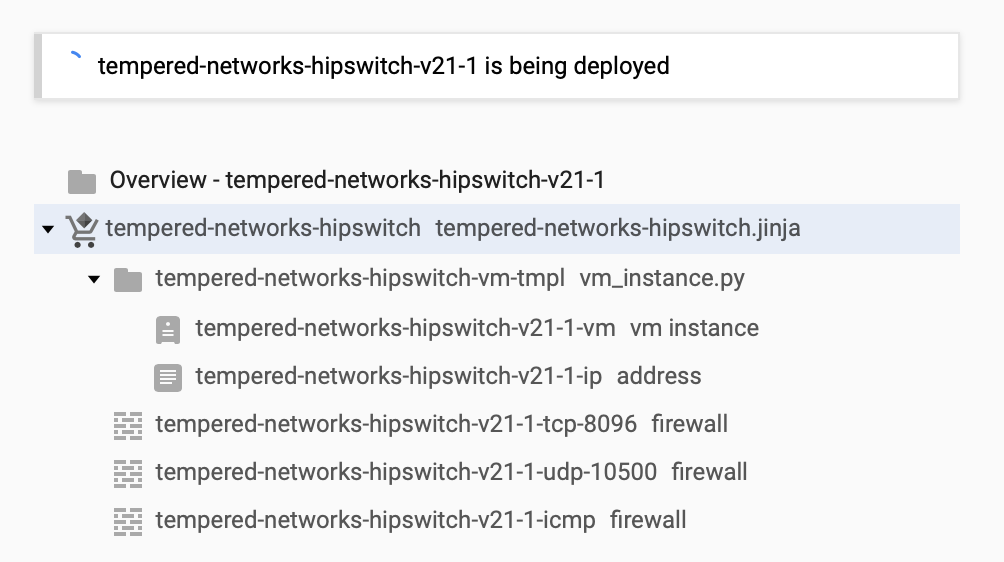
It will take a few moments for the process to complete. You can view the progress of
your deployment by viewing the tree hierarchy of your components on the page.
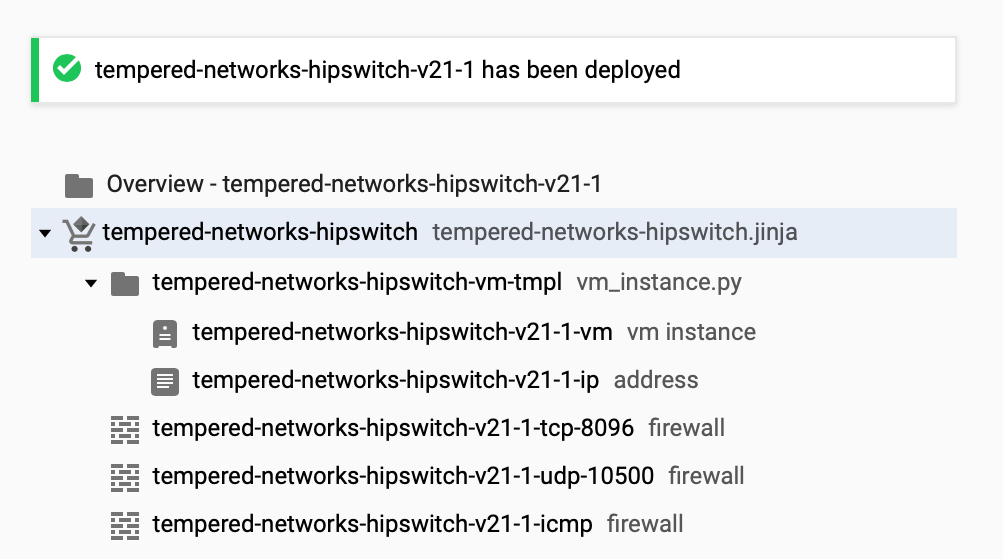
Once complete, the message will change indicating your deployment is complete.