Expand the Disk Size for a virtual Airwall Gateway
The v3.0 firmware for Airwall Gateways may require more disk space than you currently have allocated on your virtual machines. If so, you get an error message Under about the disk being too small when you try to update it:

Important: If you are updating paired High
Availability (HA) Airwall Gateways, expand
and update the active first, then the standby.
Before you begin
Walkthrough – VMware ESXi
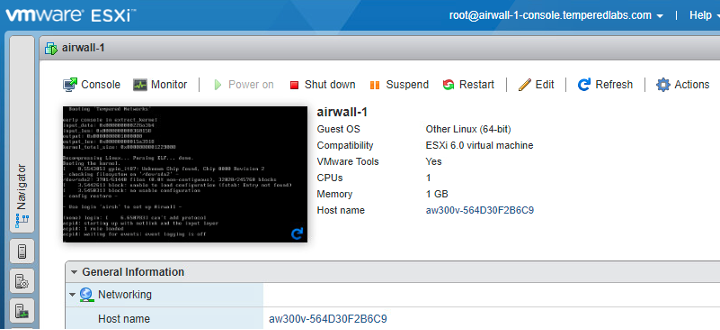
- Open the VMware ESXi Tool, and select the virtual machine that hosts the Airwall Gateway you want to expand.
-
Select Shut down to shut down the virtual machine.
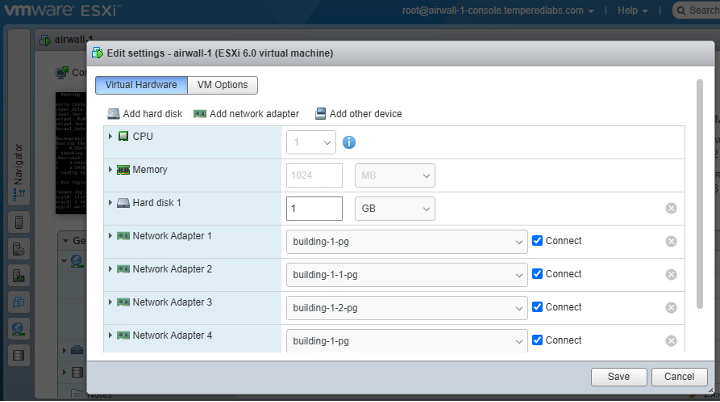
- Select Edit.
-
Next to Hard disk 1, change the size to 1 GB, and select
Save.
- Back on the main page, select Power on to restart the virtual machine.
Walkthrough on Hyper-V
- Open the Hyper-V Manager, and select the virtual machine that hosts the Airwall Gateway you want to expand.
- Check that the virtual machine has no checkpoints. If it does, delete them or clone the machine to continue.
- Under the actions for the virtual machine, select Turn Off, and confirm.
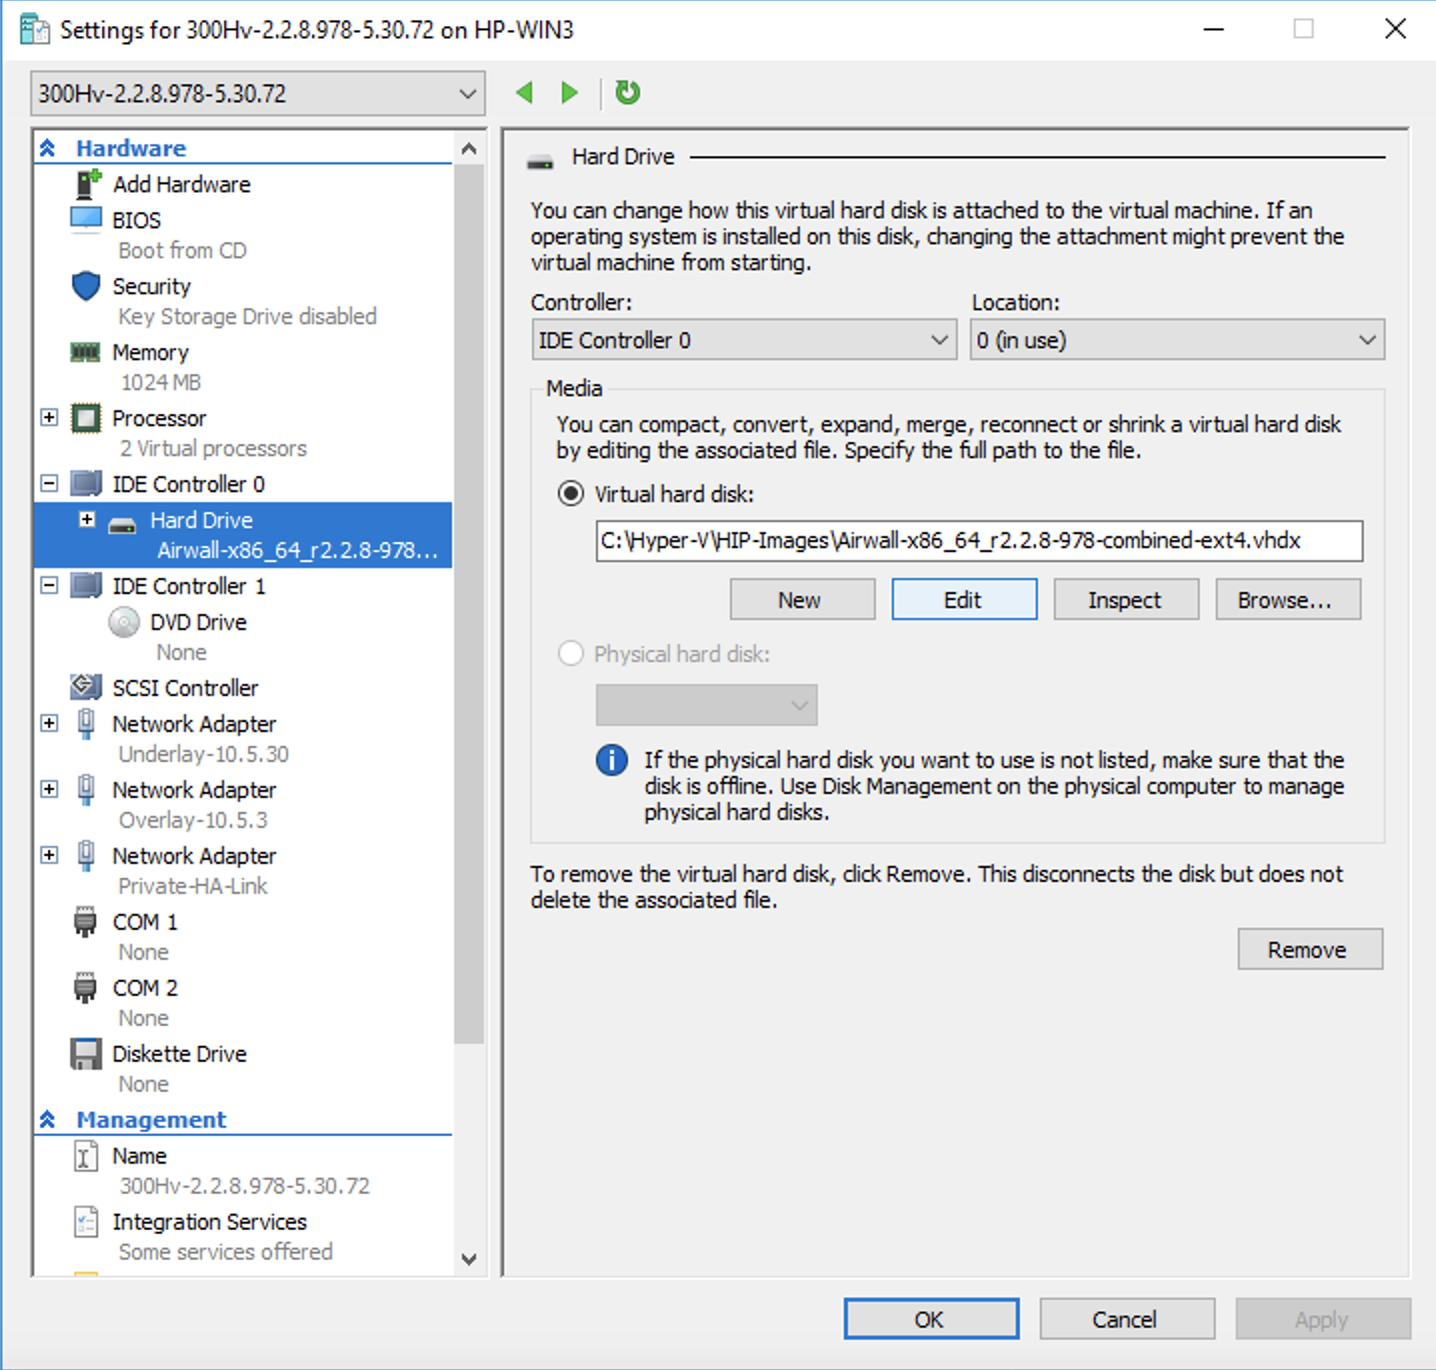
- Select Settings.
- Under Hardware on the left, select Hard Drive.
-
On the right, under Media, select
Edit.
- On the Locate Virtual Hard Disk page, the correct one should already be selected. Select Next.
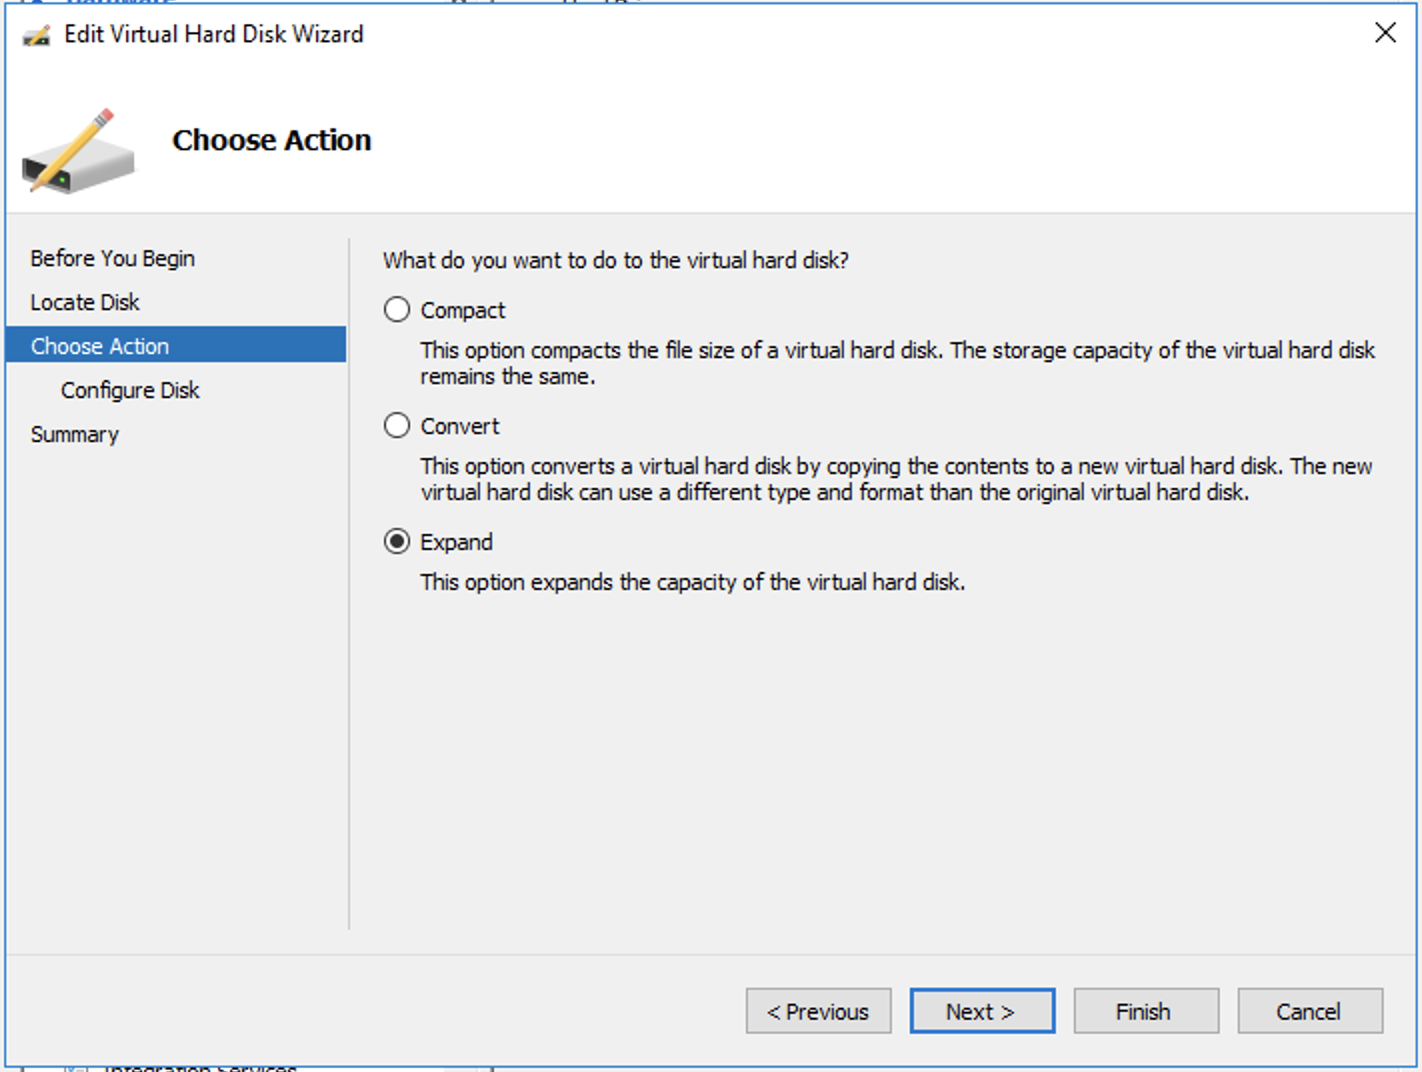
-
On the Choose Action page, select
Expand, and then select
Next.
-
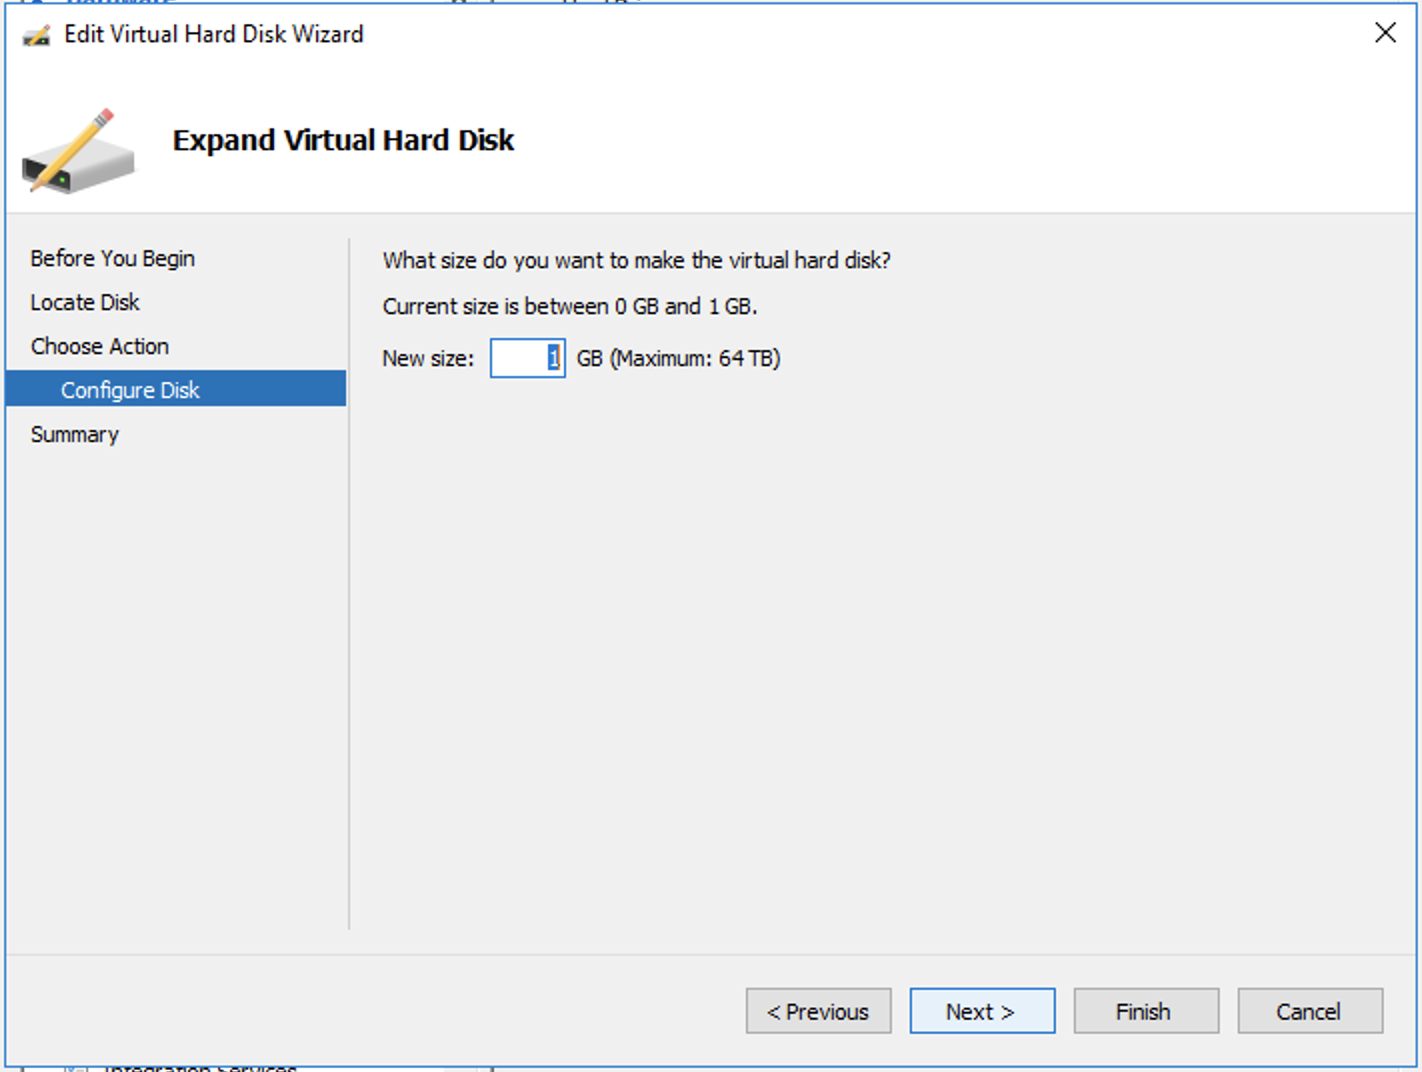
On the Expand Virtual Hard Disk page, select
1 GB, and select
Finish.
- Back on the main page, restart the virtual machine by selecting Start from the lower right menu.