
Windows – Install the Airwall Agent
To connect to Airwall Teams, install the Windows Airwall Agent on your device.
-
Click the product name and save the download to a location of your
choice.
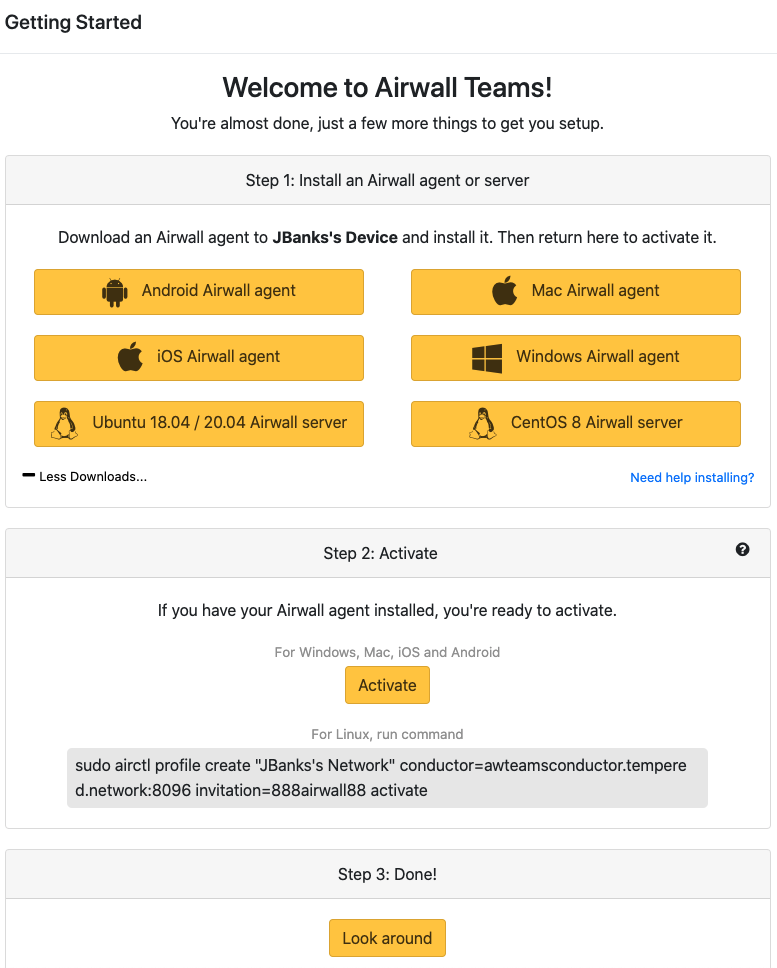
-
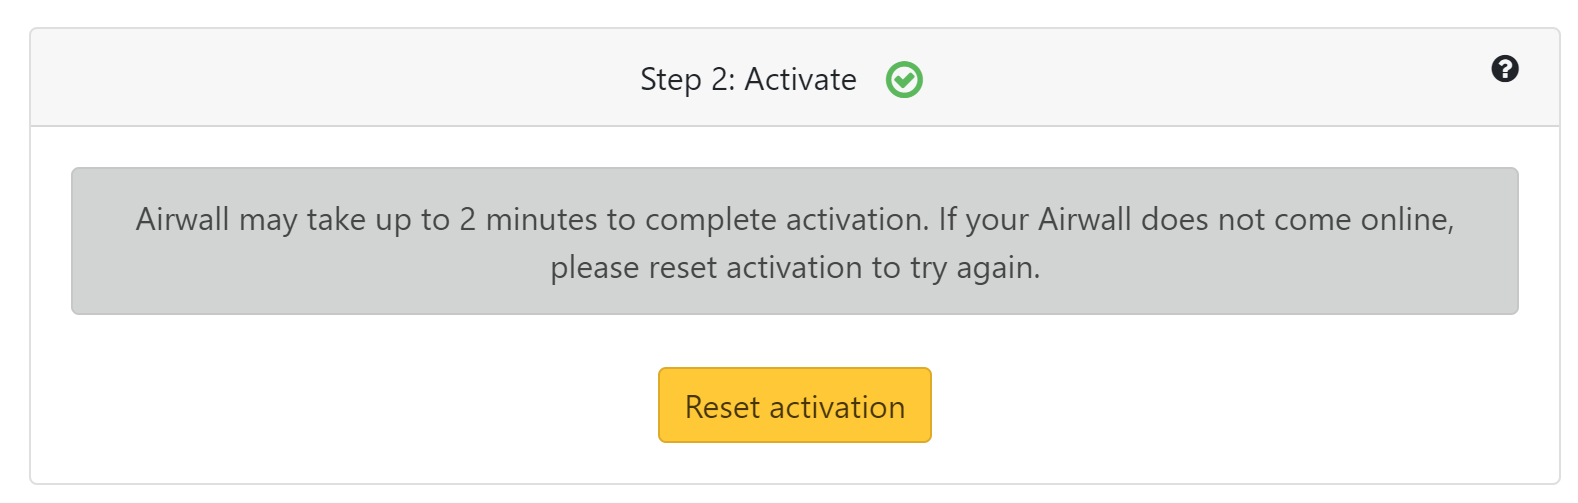
On the Airwall Teams setup
window, click Activate and follow the prompts. If for
some reason it fails, just click Reset activation to try
again.
Uninstall the Windows Airwall Agent
To uninstall the Windows Airwall Agent, do the following:
- Right-click on the Start button in the lower-left corner and select Programs and Features
- Click Airwall Agent from the installed programs list and select Uninstall
- In the User Account Control dialog, click Yes to remove the Airwall Agent.