Configure LDAP authentication on Conductor and HIPservices
There are currently two different ways to authenticate with Conductor.
- With a Conductor account. These are local accounts that log directly into the device
- With LDAP authentication. This allows you to authenticate with any LDAP server, including Microsoft Active Directory services.
There are four different account types:
- System Administrator: These users have full access to the Conductor and can adjust any settings.
- Read-only System Administrator: These users have full access to the Conductor, but cannot make changes.
- Network Administrator: These users have access to and can adjust any overlay network they are a manager of.
- Remote Access User: These users can only see their own information, and can log in with their credentials if authentication is required for HIPapp/HIPserver/HIPclient.
To set up a LDAP authentication, you need to already have an LDAP server accessible to the Conductor. For this tutorial, we will assume Microsoft Active Directory is in use, but other LDAP services will also work.
Step 1: Ensure that your LDAP server is running and correctly configured
LDAP is not enabled in Active Directory by default, so you will have to turn it on. Once you have LDAP working you can start the process:
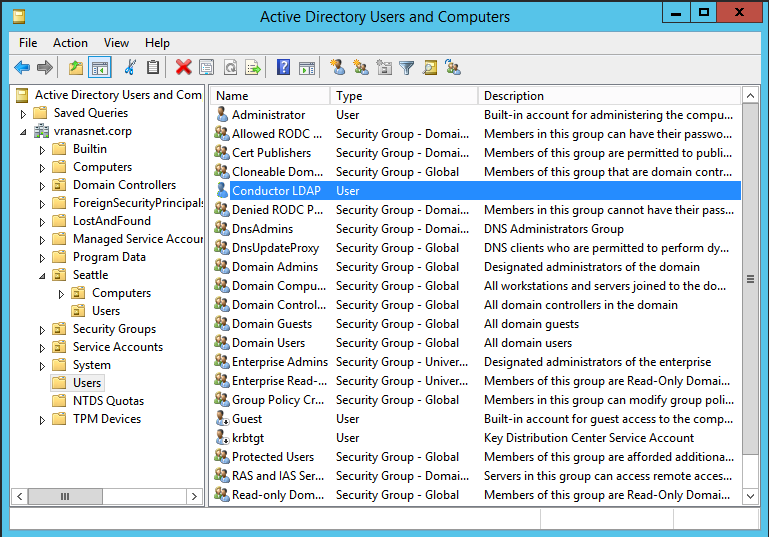
We recommend creating a dedicated account with the necessary permissions to authenticate. In AD, you could create a service account under the root "Users" OU, and make it a Domain Admin.
Step 2: Start the LDAP set up wizard
- Log into Conductor
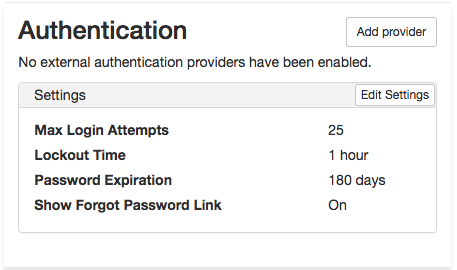
- Open Settings, and under
Authentication, click Add
Provider.
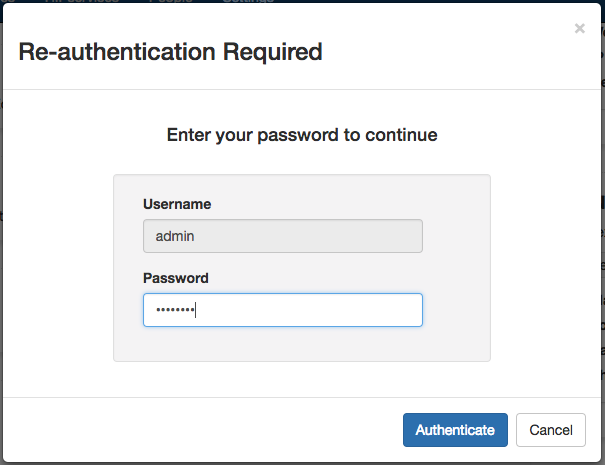
Step 3: Verify your local Conductor admin account credentials, and select Authentication provider
You will need to verify permissions for security purposes. LDAP accounts, even System Administrator, do not have access to the LDAP settings.
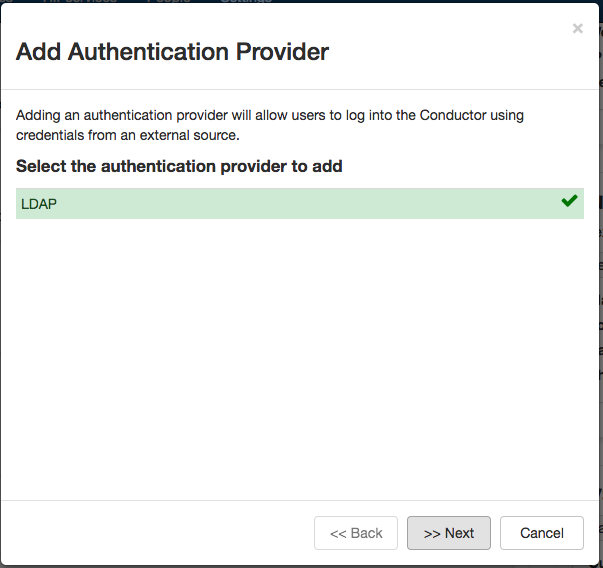
Once you are logged in, select "LDAP" from the list of providers (The only available option as of 2.1.3):
Step 4: Enter your LDAP settings
You will need to know the following values:
- Host (Hostname or IP address)
- Port (636 is the default)
- Bind DN
- CN=<Conductor User Full Name> (eg: "Conductor LDAP")
- CN=<Conductor User OU> (eg: "Users")
- DC=Domain Component 1 (eg: "Contoso")
- DC=Domain Component 2 (eg: "Corp")
- Password
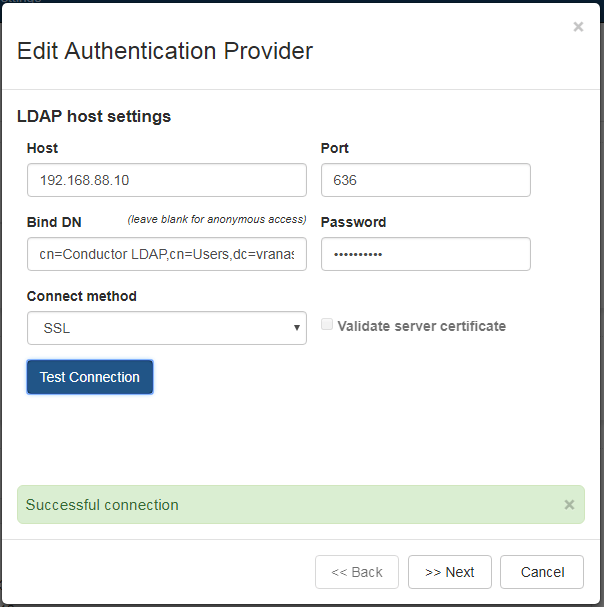
Click Test Connection to ensure that your settings are correct.
Step 5: Configure Search Settings
This page can mostly be left as-is, unless you have special settings you wish to set. You can search for user accounts here to ensure that the Conductor can search the directory
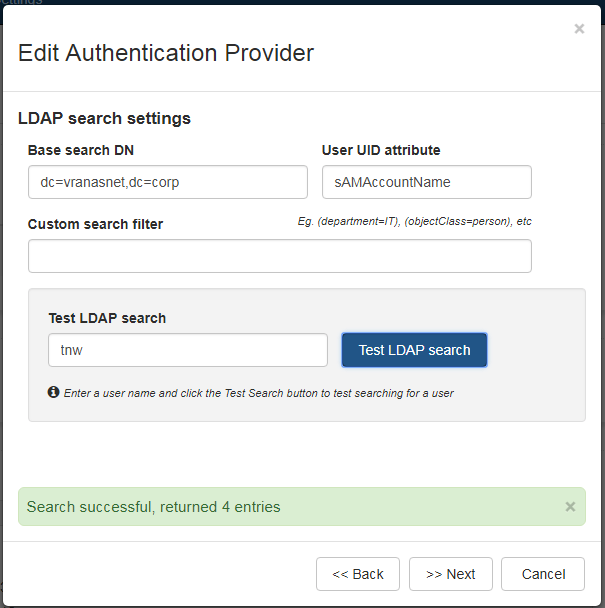
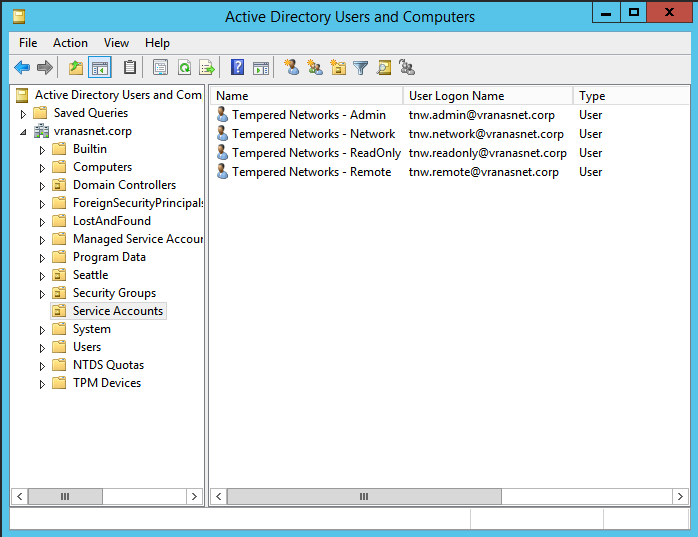
I get 4 entries returned from a search for "tnw" because I have four user accounts with "tnw" in the name:
Step 6: Configure Group Settings
Conductor can assign LDAP users to one of the four account types above by making them a member of a security group.
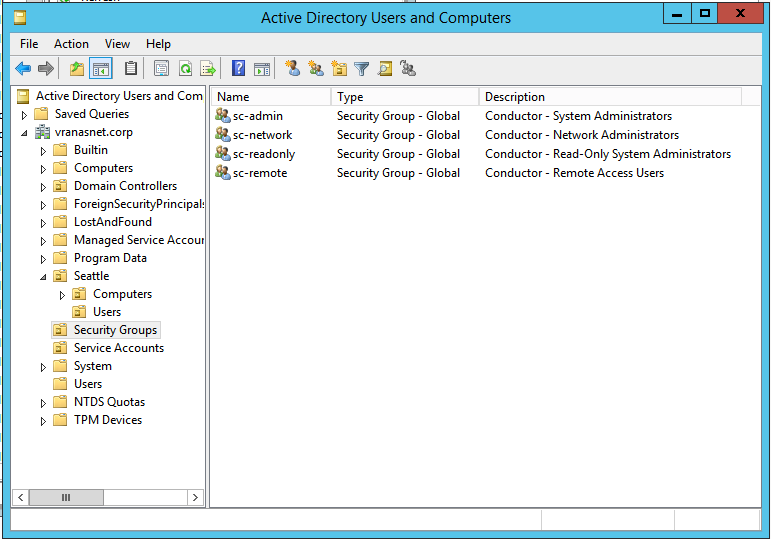
By default, these groups place the users into the following roles:
- sc-admin: System Administrator
- sc-readonly: Read-only System Administrator
- sc-network: Network Administrator
- sc-remote: Remote Access User
Users cannot have more than one role at a time, and will assume the highest role assigned if they are members of multiple groups.
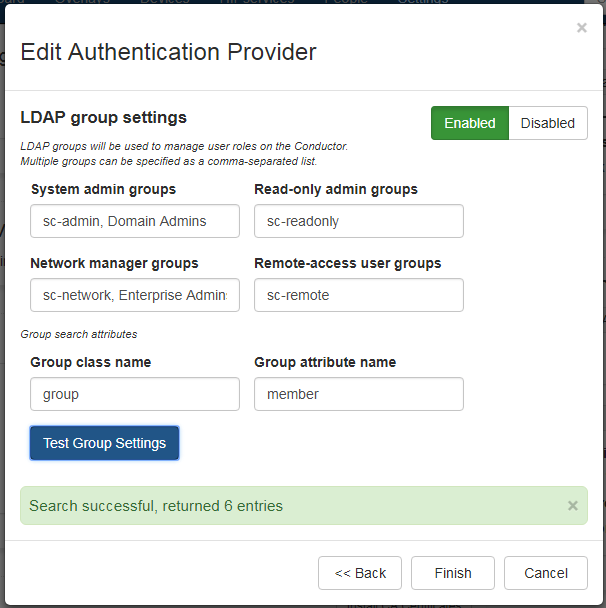
You can also add other security groups to the configuration, as seen above. In this configuration, Domain Admins also have admin access to Conductor, and Enterprise Admins have Network Manager privileges.
Remember to test the settings to ensure that Conductor can see all of the groups you reference on your LDAP server.
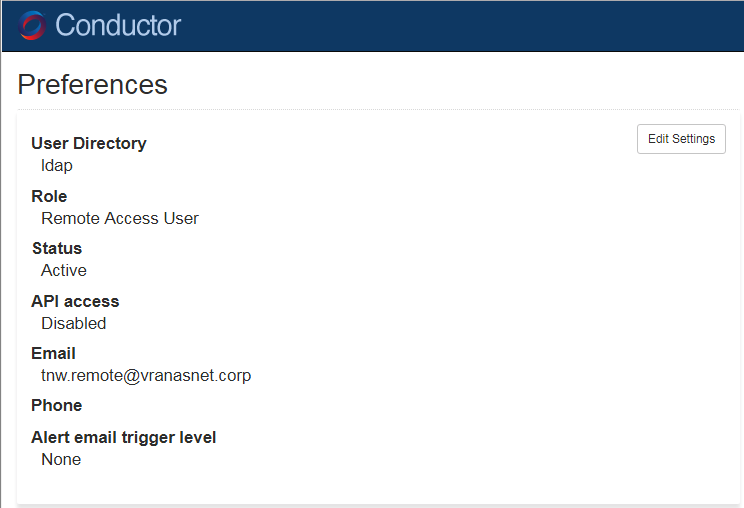
Step 7: Verify by logging in via the Conductor UI
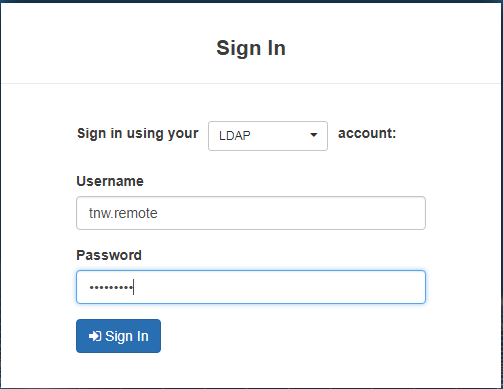
In this example, we are logging in as a Remote Access user, so we should only have access to that user's information:
Final Notes:
There are still some settings you need to change at the user level in Conductor to ensure that your LDAP users can access what they need. While most things can be controlled with groups, other settings must be adjusted user-by-user.
You can view all users, local and LDAP, in the People page:
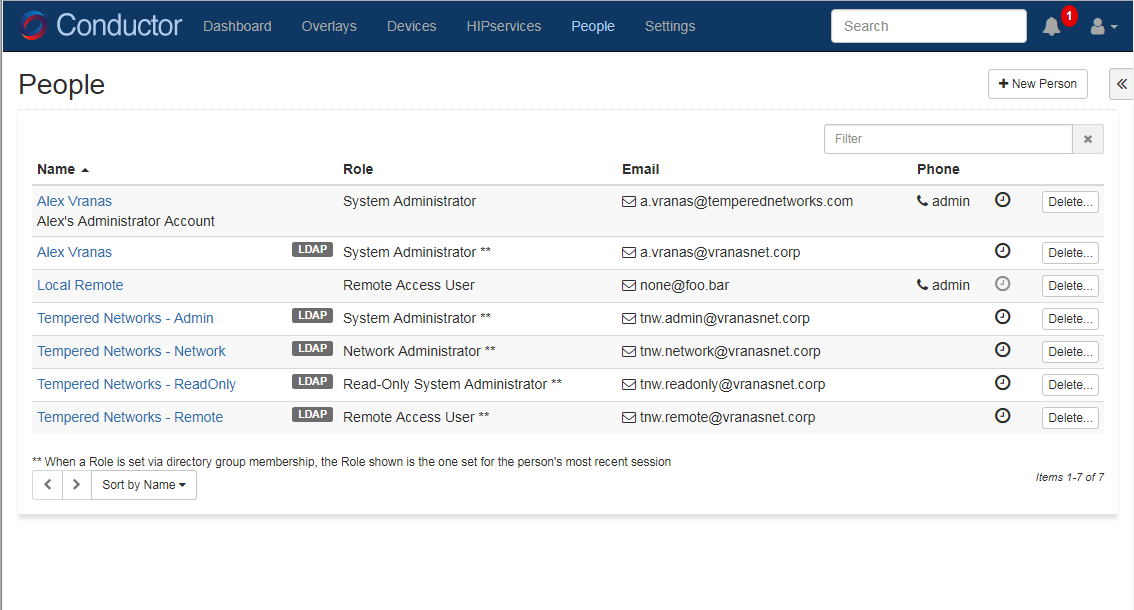
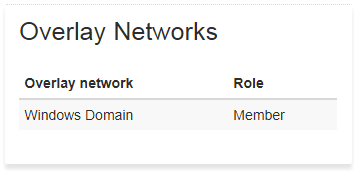
Make Remote Access users members of any Overlay you wish them to be a member of - for example:
See also: Configure user authentication for HIPclients and HIPservers