Adding and removing device trust
Set communication policies by adding trust between devices and device groups. You can use drag and drop to add and remove trust visually, or add trust on the Devices tab.
- Supported Roles
- System administrator
Note: Network object trust policies
work between a device and an IP range on a remote Airwall Edge Service. Similarly, blocking trust with a network object only prevents communication with
that IP range on the remote Airwall that
contains the network object. Therefore, a block policy to a network on Airwall 1 will
not block communications to an IP in that range on Airwall 2. For
more information, see How block and allow Overlay policies interact.
Adding and removing device trust using drag-and-drop
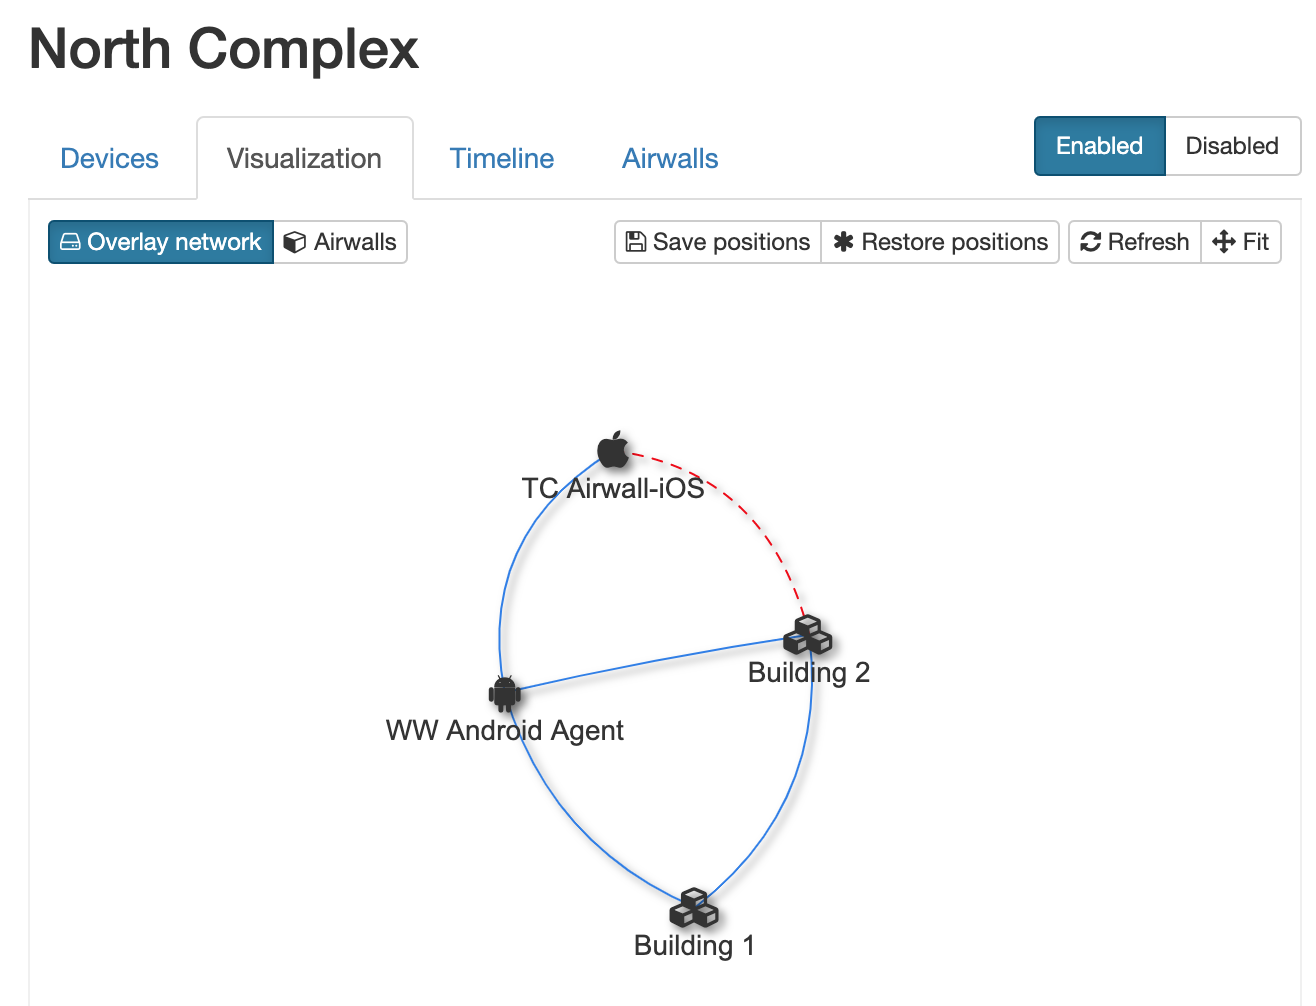
- Go to Overlays and select the Overlay network for which you want to set up trust.
- Go to the Visualization tab.
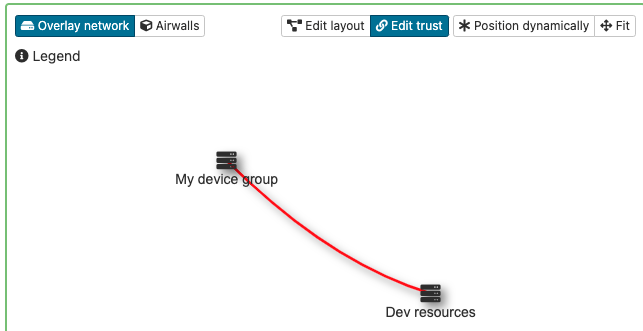
- To see the trust for a device or device group, select a device on the graph.
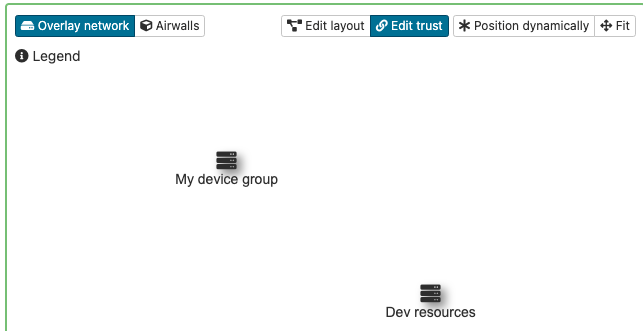
- To add trust between devices or device groups, click Edit trust.
- Optional:
If needed, select Position dynamically or
Fit to arrange the devices and device groups so
you can see them.
-
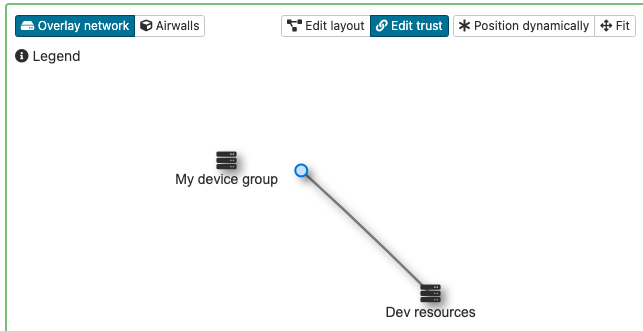
Click and hold one device or device group, and drag a line to
another to establish trust.
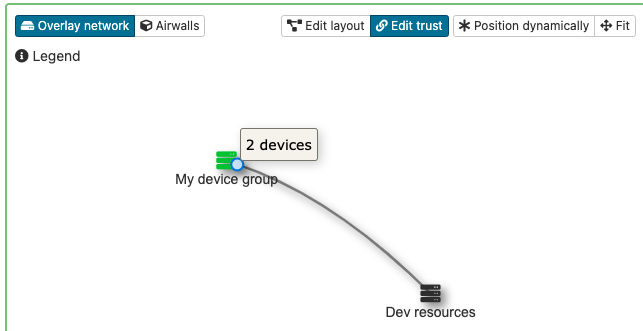
Note: You can select more than one item on the network graph using the meta key for your platform (CTRL on Windows, or CMD on macOS) and either create a device group, or remove the items from the network. -
Continue dragging and dropping to add trust as needed on the overlay
network.
Note: In v3.5.1 and later, you can save
-
To remove trust, ensure you are in edit mode, then click the line between
the devices you no longer want to have trust. When the line turns red, click
to remove it.
Note: If you right-click a device or trust line on the graph, you get a context menu where you can quickly add or remove trust between devices and check connectivity. - To stop editing trust, select Edit layout.
- Optional: In v3.5.1 and later, you can save your layout by clicking Use global layout in the overlay visualization.
For help in the graph, select Legend at the top left of the graph to show what you can do on the graph.
Add and remove device trust from the Devices tab
- Go to Overlays and select the Overlay network for which you want to add trust.
- On the Devices tab, click the Device name of the device or device group that you want to add trust for. The line will be highlighted in blue.
-
To establish trust with other devices or device groups, click the radio
buttons next to them. The line will be highlighted in light blue/gray and
you receive a message in the upper right of your screen that trust has been
established. The following image shows trust between the Internet Access DMZ
device and the other two devices.
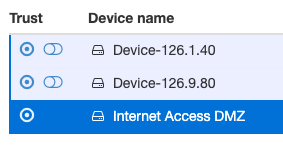
Compare to this image, when you select one of the devices, the other device is not highlighted, which indicates the devices do not trust each other - they both only trust the Internet Access DMZ device. This is a hub-and-spoke arrangement.
- To remove trust, click the radio button again to remove it from the trust policy.
-
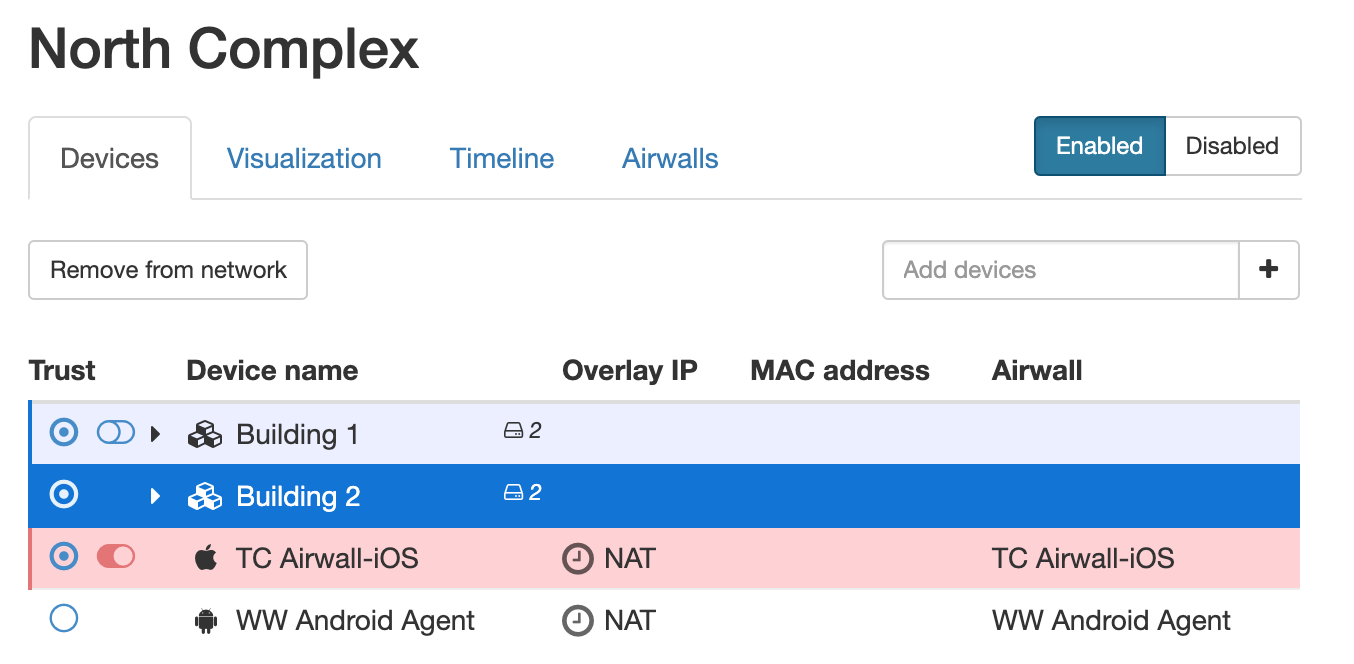
If you want to add a device group, but block certain devices in that group
from the trust relationship, set trust for the group, and then use the
toggle button next to the radio button to block trust with that
device.
-
You can see the trust relationships layout in the visualisation tab.