Deploy a Physical Conductor
Tempered Networks offers two physical Conductor models, the Conductor 400 Series and the Conductor 500 Series. Both are 1U rack-mount security appliances that facilitate private overlay networks between customer-provided equipment and devices.
While both models are similar, you should familiarize yourself with your model's front panel layout, specifications, power requirements, and safety warnings before use. These can be found in your model's Platform Guide, included with your Conductor. If you are unable to locate your Plaform Guide, you can download a PDF from the Documentation Downloads section of the Documenation Center.
License and Provision a Conductor
To get a Conductor up and running, you need to power it on, and from a connected computer, license and provision it, and change the default password. You need your licensing voucher to complete these steps.
-
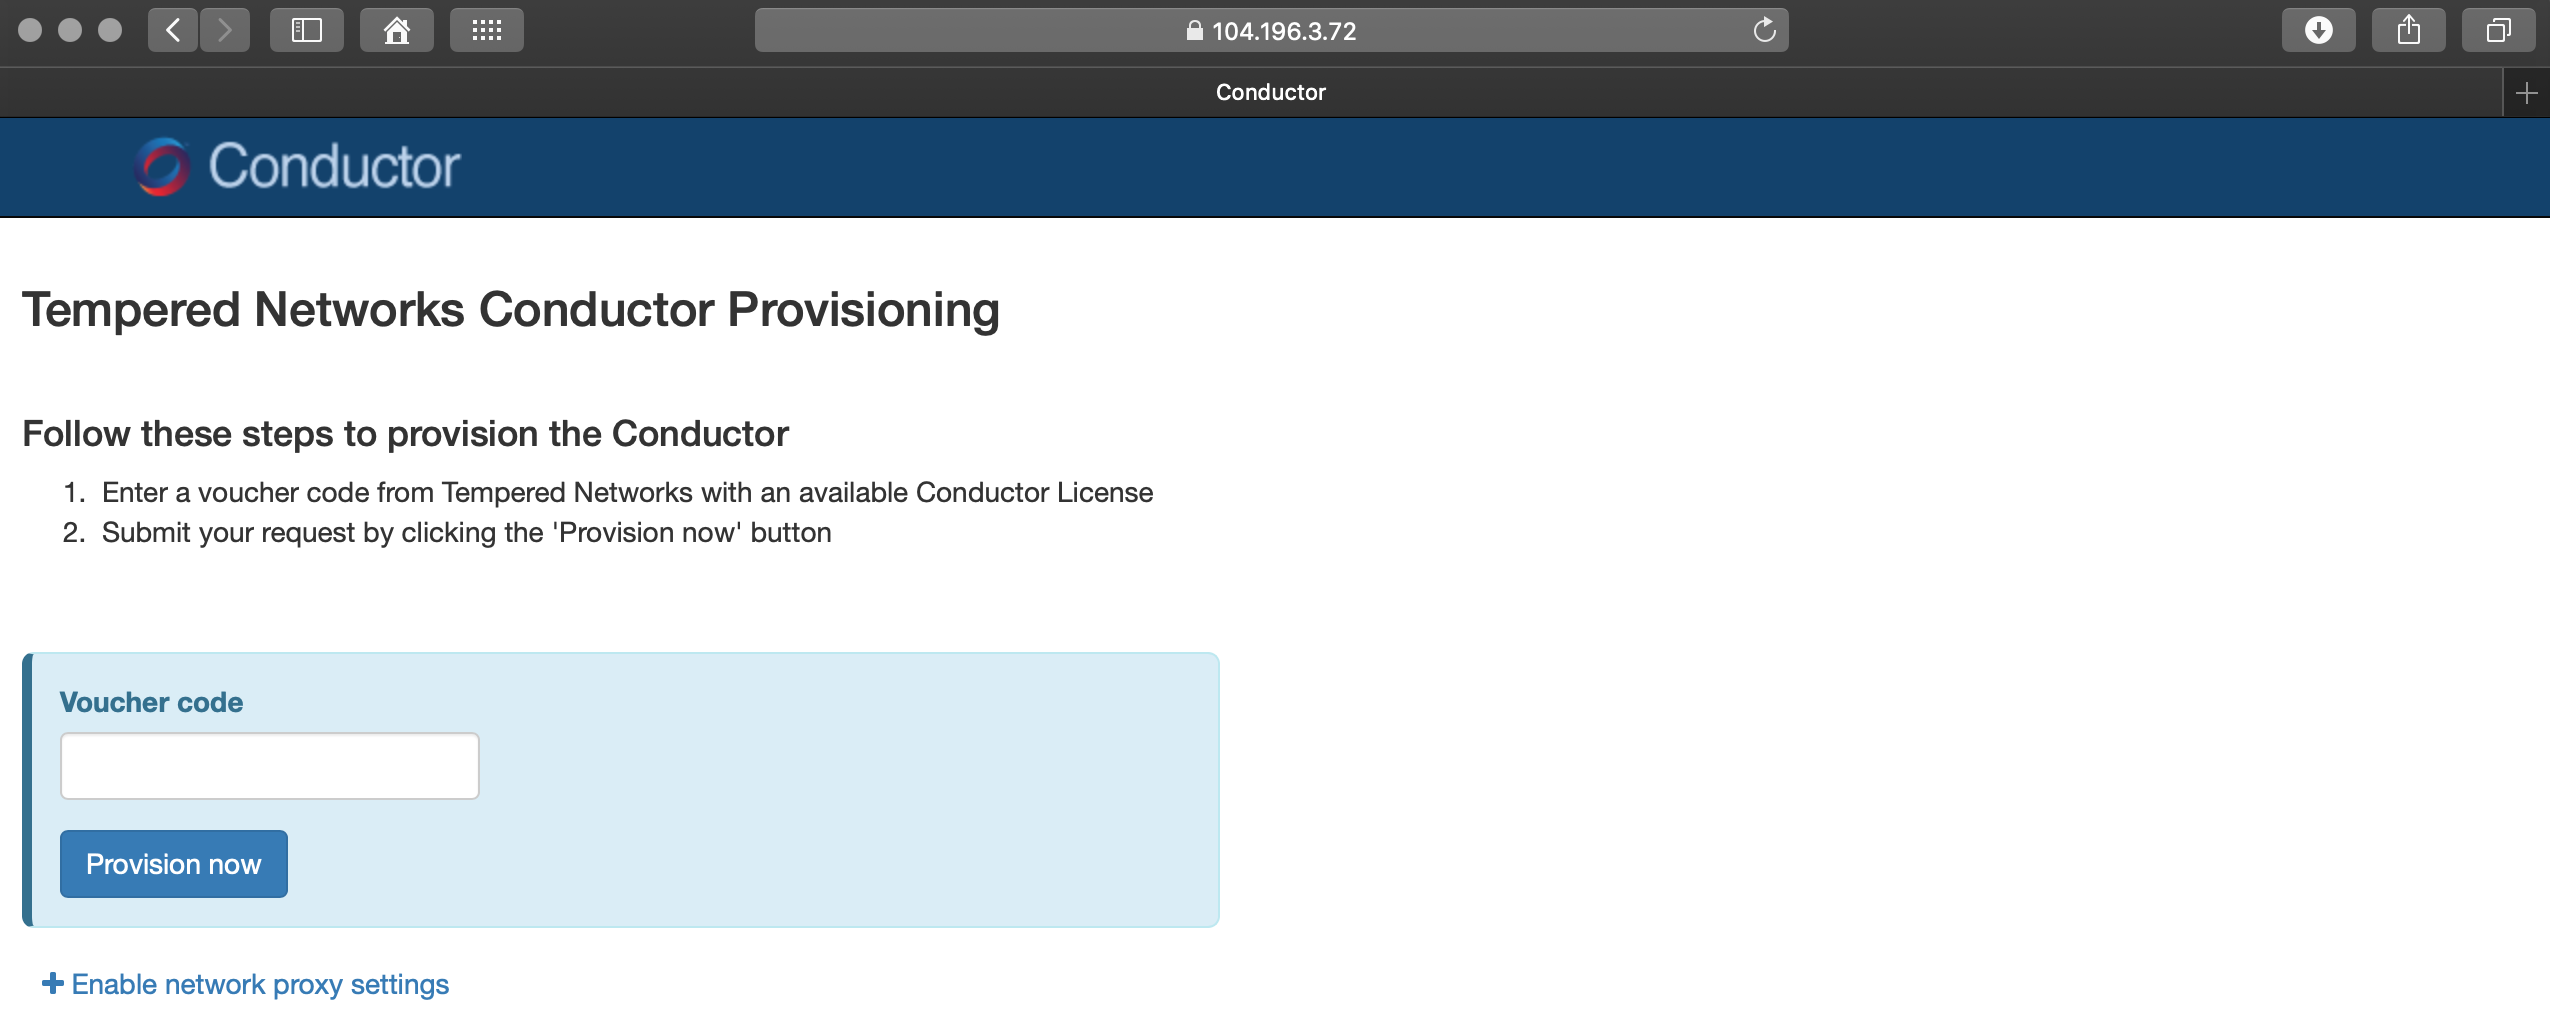
In a web browser, point your browser to
https://192.168.56.2.
This website opens an unlicensed Conductor Provisioning page where you license your Conductor.
-
Click Provision now. It will take a moment to finish the
operation. Once complete, you should see the following:

Log in and Configure the Conductor
Now you can log in, change your password, and configure the Conductor.