Deploy a Conductor on Microsoft Azure
You can deploy a Tempered Networks™ Conductor on Azure and manage physical, virtual, and cloud HIPservices, and HIPclients. Use the following steps to deploy a Conductor on the Microsoft Azure platform.
Prerequisites
To get started, make sure you have access to your Azure account. If you don't have an account, you can create a free Microsoft Azure account and upgrade it to a full account later. If you have an existing Azure account, make sure your billing information is set up. You cannot create a project until you are able to link your billing information to your newly created project.
A Conductor license voucher is necessary at the end of this procedure if you want to start the Conductor and verify it is set up correctly. Fulfillment will provide this to you in an email after your purchase is complete.
The Conductor VHD is required later on in this install and is available from this location: https://s3.amazonaws.com/temperedsoftware/images/azure/Conductor_r2.1.6-752-combined-ext4.vhd
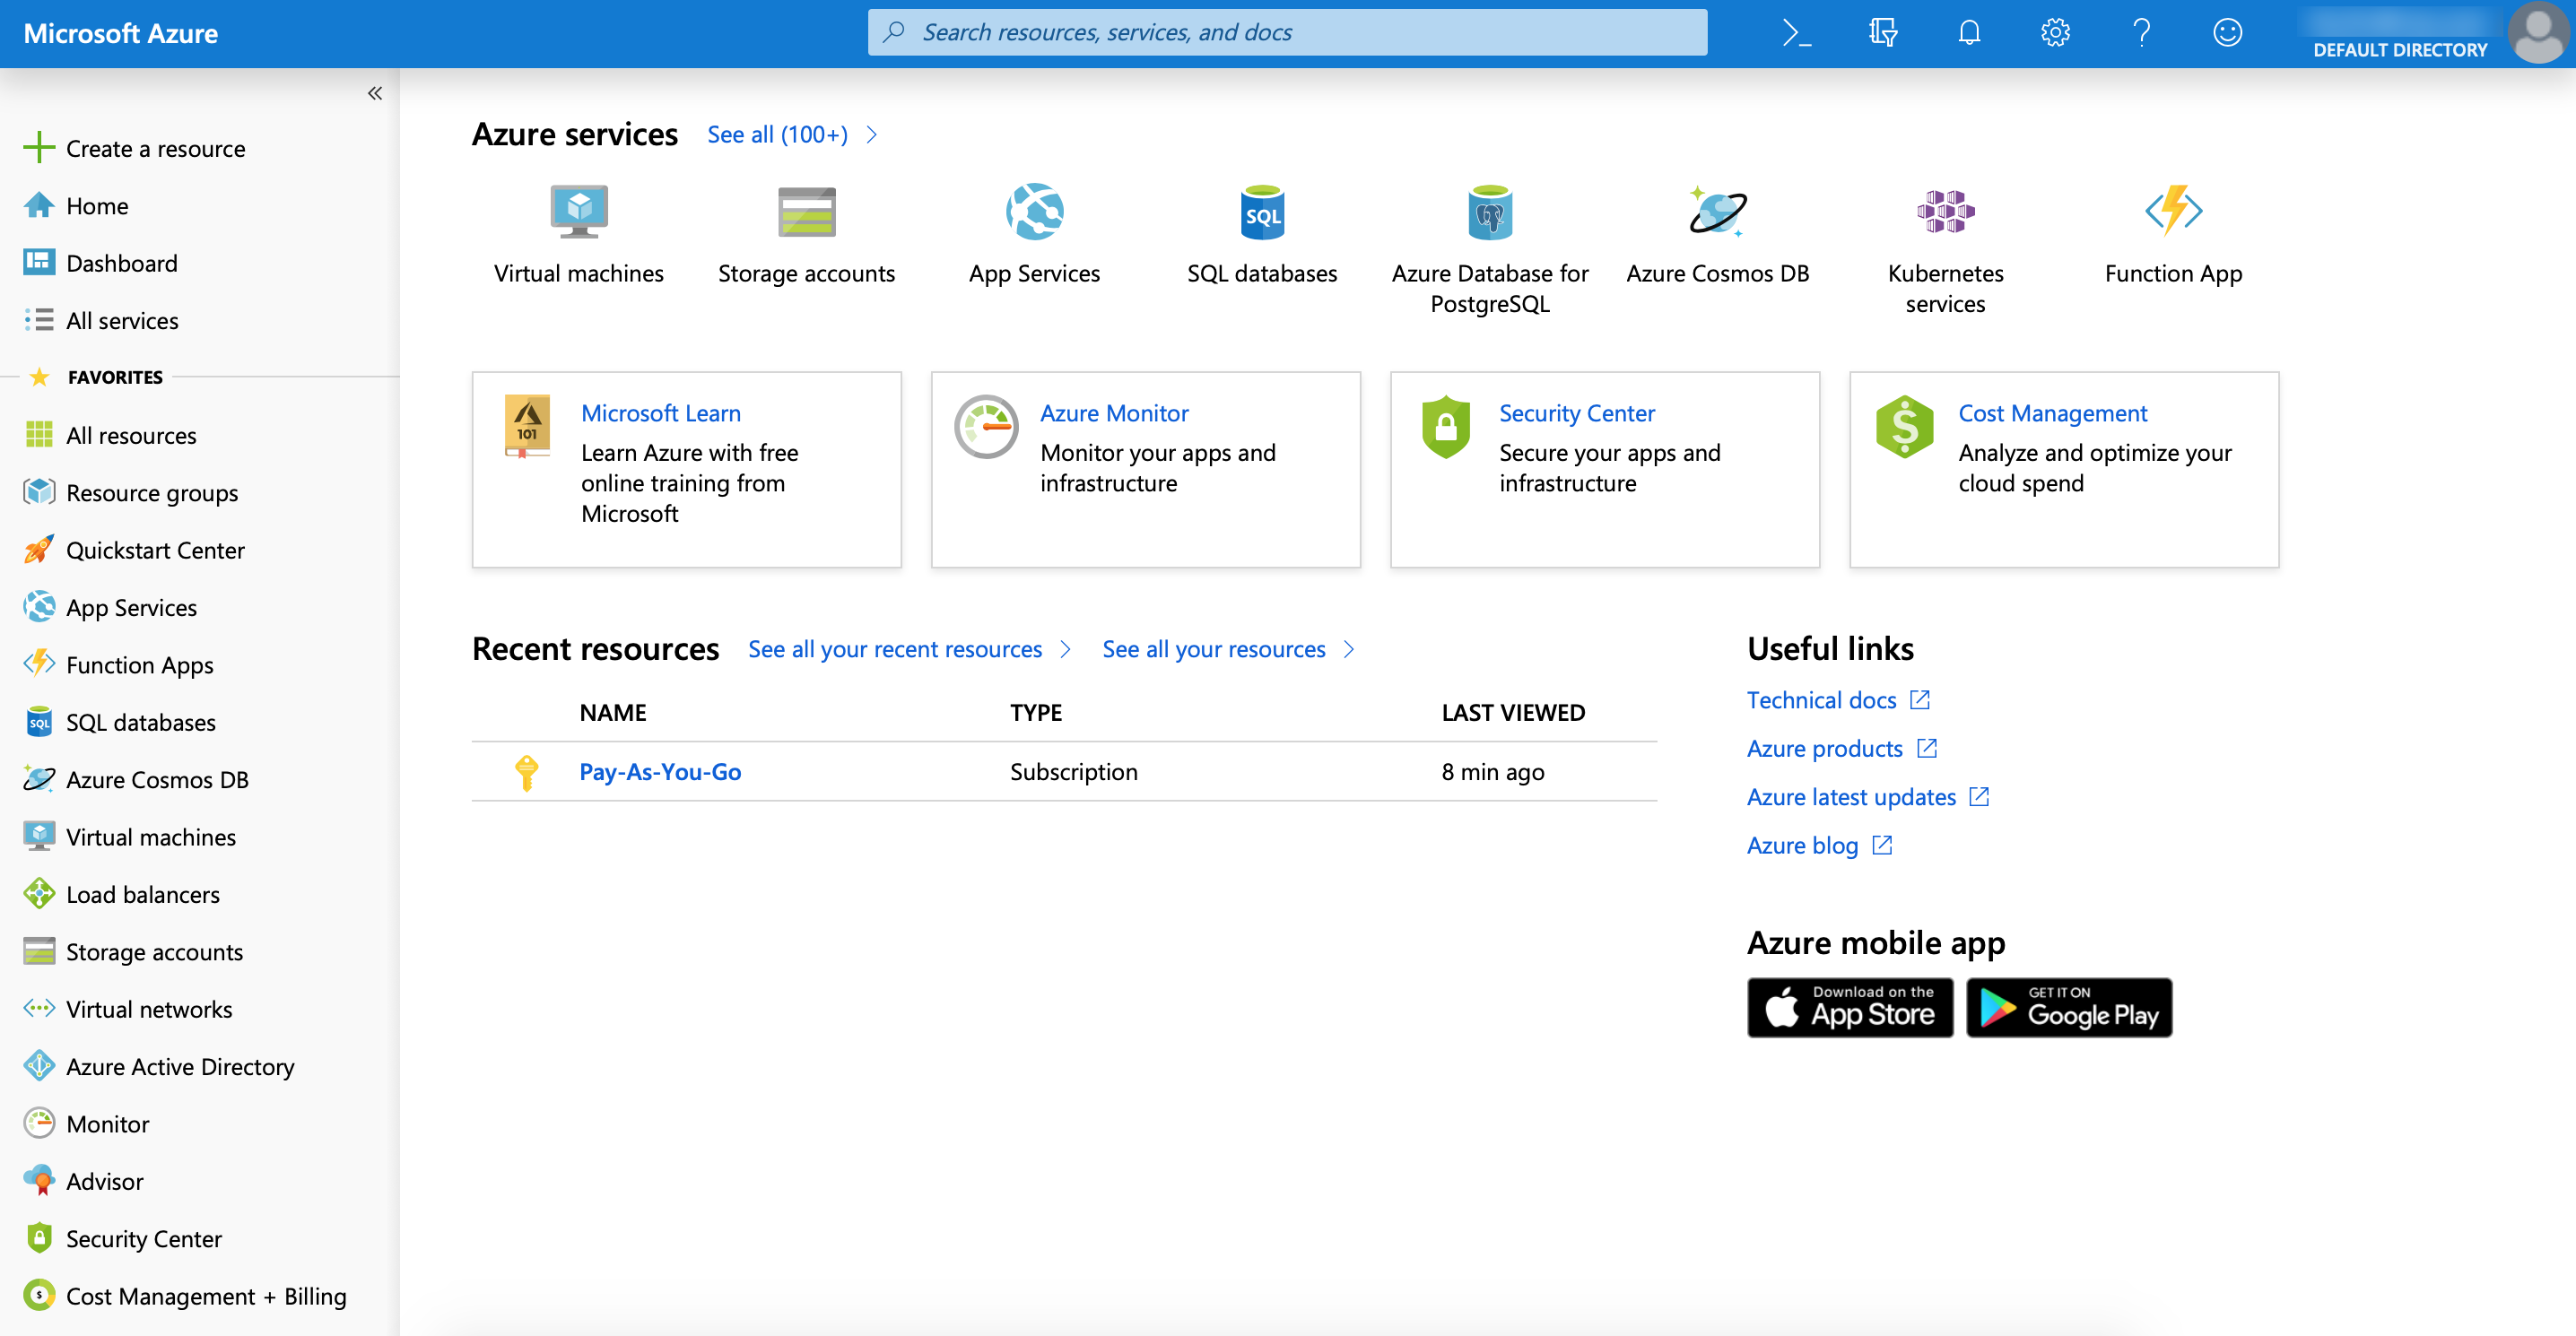
Log in to Azure Cloud
Add a Conductor image
A Conductor image must be available to your project to create an instance. You make an image available by creating the following:
- A storage account
- Stores objects, files, and tables in a specific region so you can use them in your projects.
- An object container
- Stores the Conductor managed blob object, which you upload to the container.
- An image
- Contains the managed blob and all the information necessary for creating a Conductor virtual machine.
Create a storage account
To get started, you need to create a storage account. This account will contain the images needed to create a Conductor virtual machine. For more information on Azure storage accounts, see Introduction to Azure Storage in the Azure documentation.
-
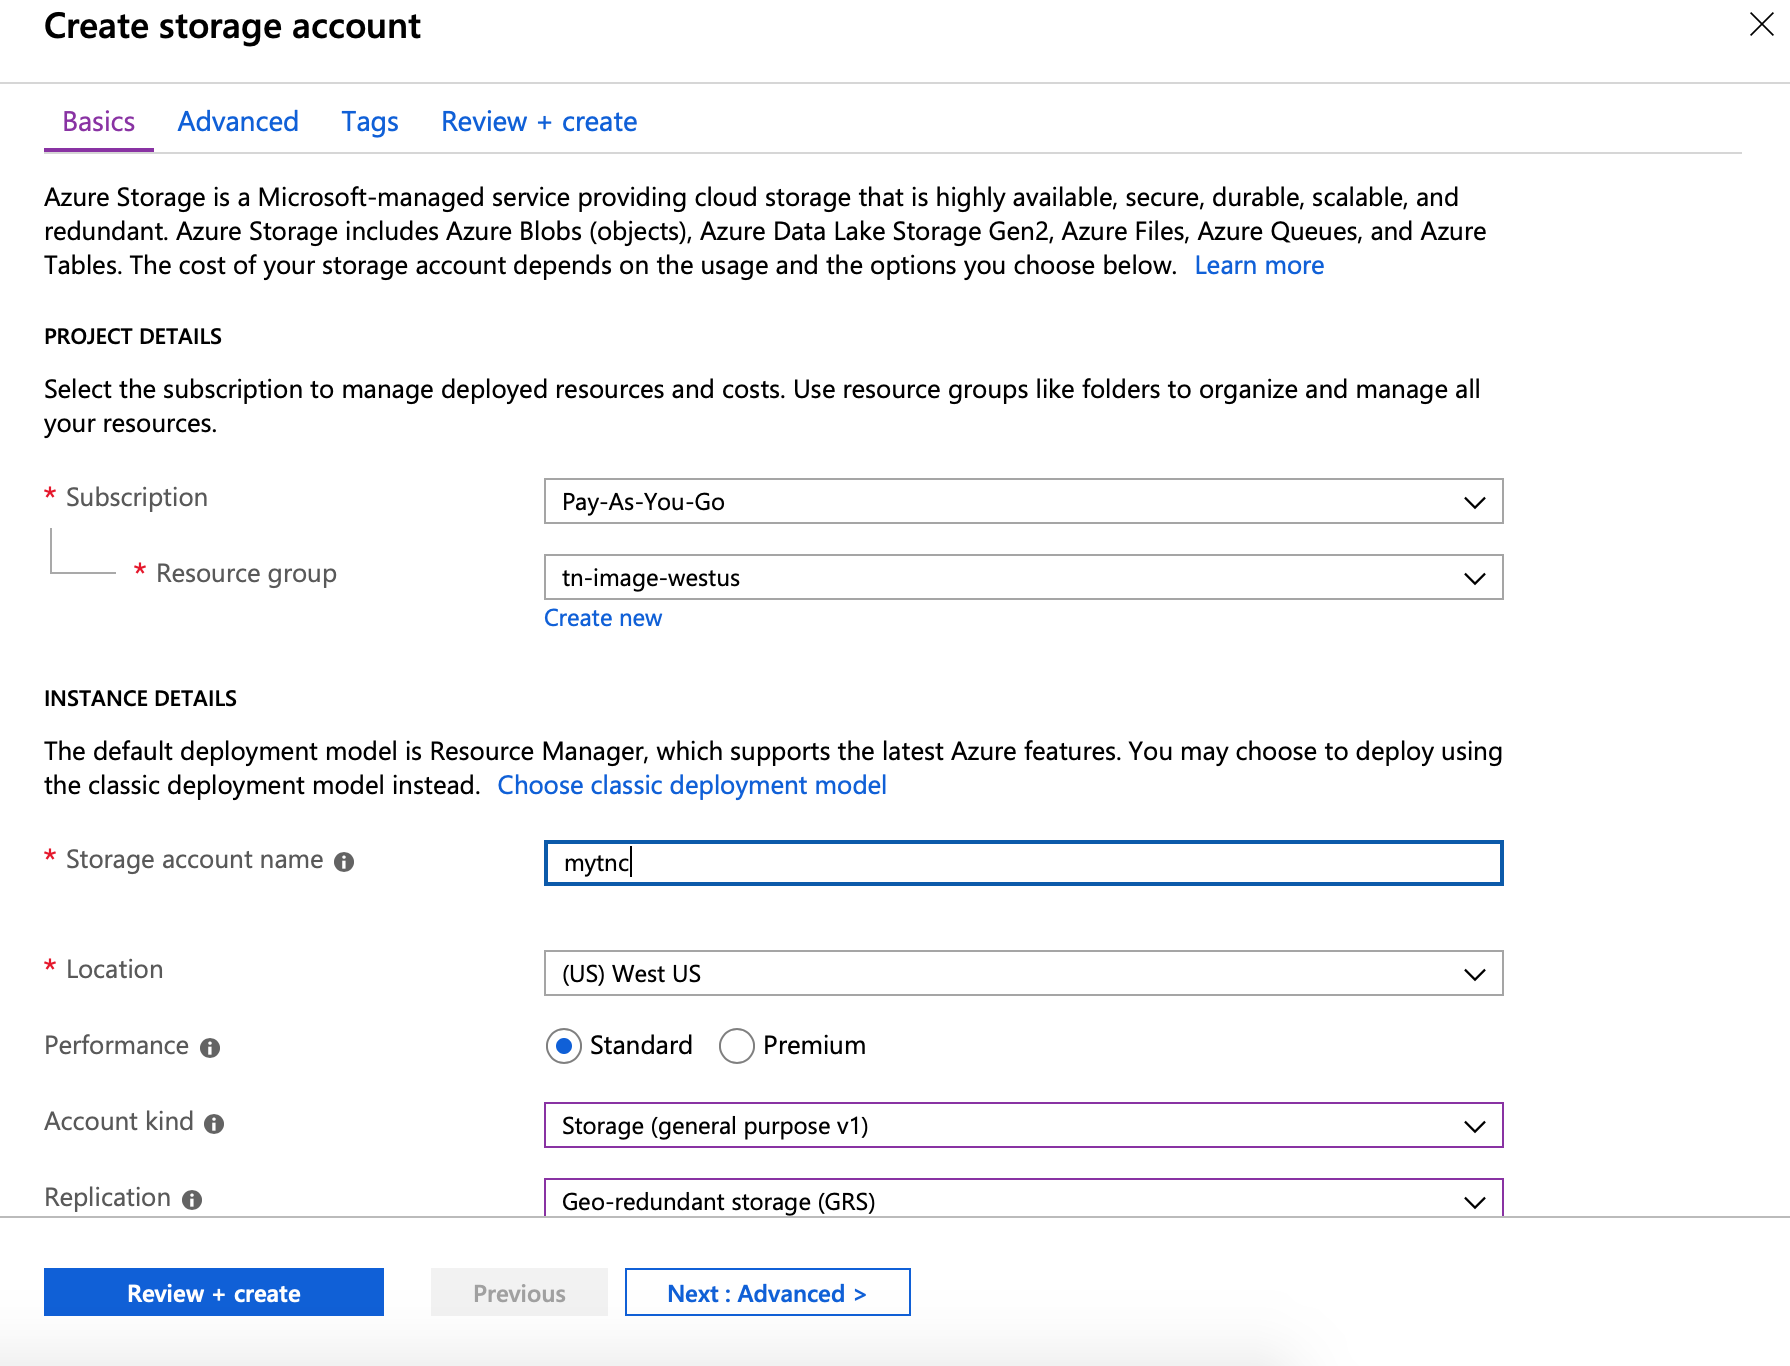
In the Instance Details section, enter the
following:
- Storage account name
- A name of your choosing. In our example, we use mytnc. Remember this name as you will use it later in the install.
- Location
- Select your desired region from the drop-down.
- Performance
- Select the Standard radio button.
- Account kind
- Select Storage (general purpose v1) from the drop-down.
- Replication
- Select Geo-redundant storage (GRS) from the drop-down.
You can leave all other fields as is.
-
Review the information and if correct, click
Create.
Note: Azure will validate the information you entered meets the requirements to create a storage account. The following notice will appear at the top of the page if validation fails.

If this occurs, return to the tabs containing the incorrect information and make the corrections. Each tab will display a red dot next to its name to alert you to the location of the errors.
Create an object container and add a Conductor
A container resource is associated with your storage account and where you will store the Conductor virtual image. It includes metadata and properties needed for easily managing your images.
To create an object container:
-
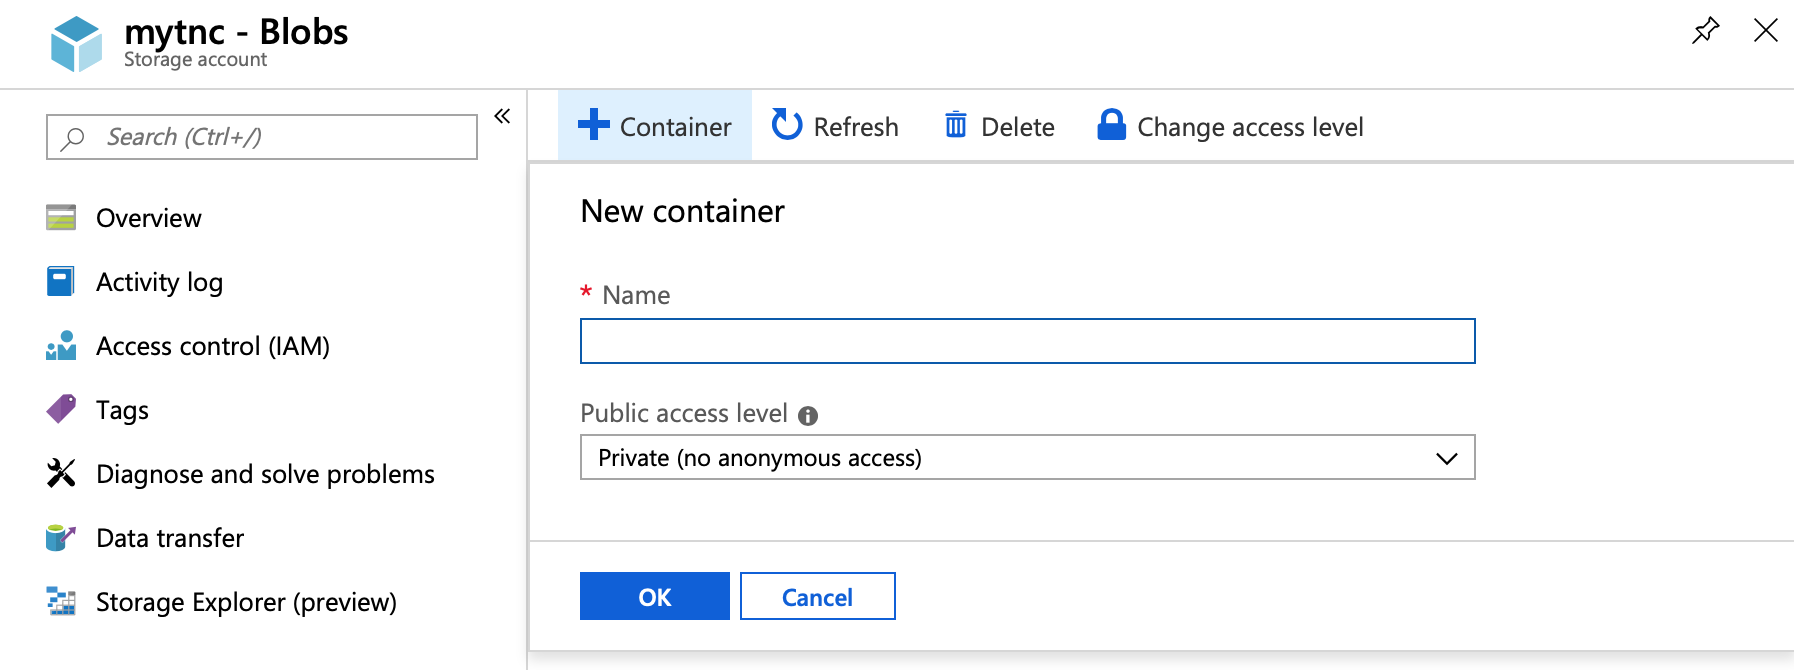
Click + Container, enter a name for your container,
select Private in the Public access
level drop-down, and click OK. In our
example, the container is named tn-images-westus.
-
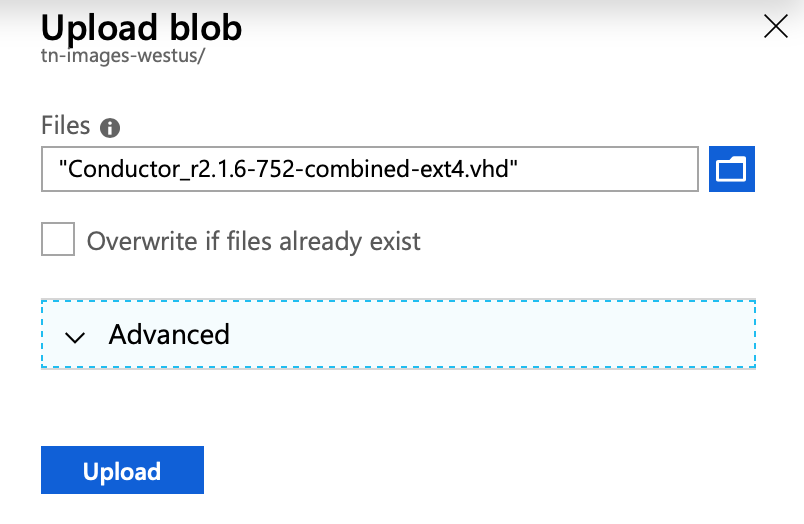
In the container view, click Upload.
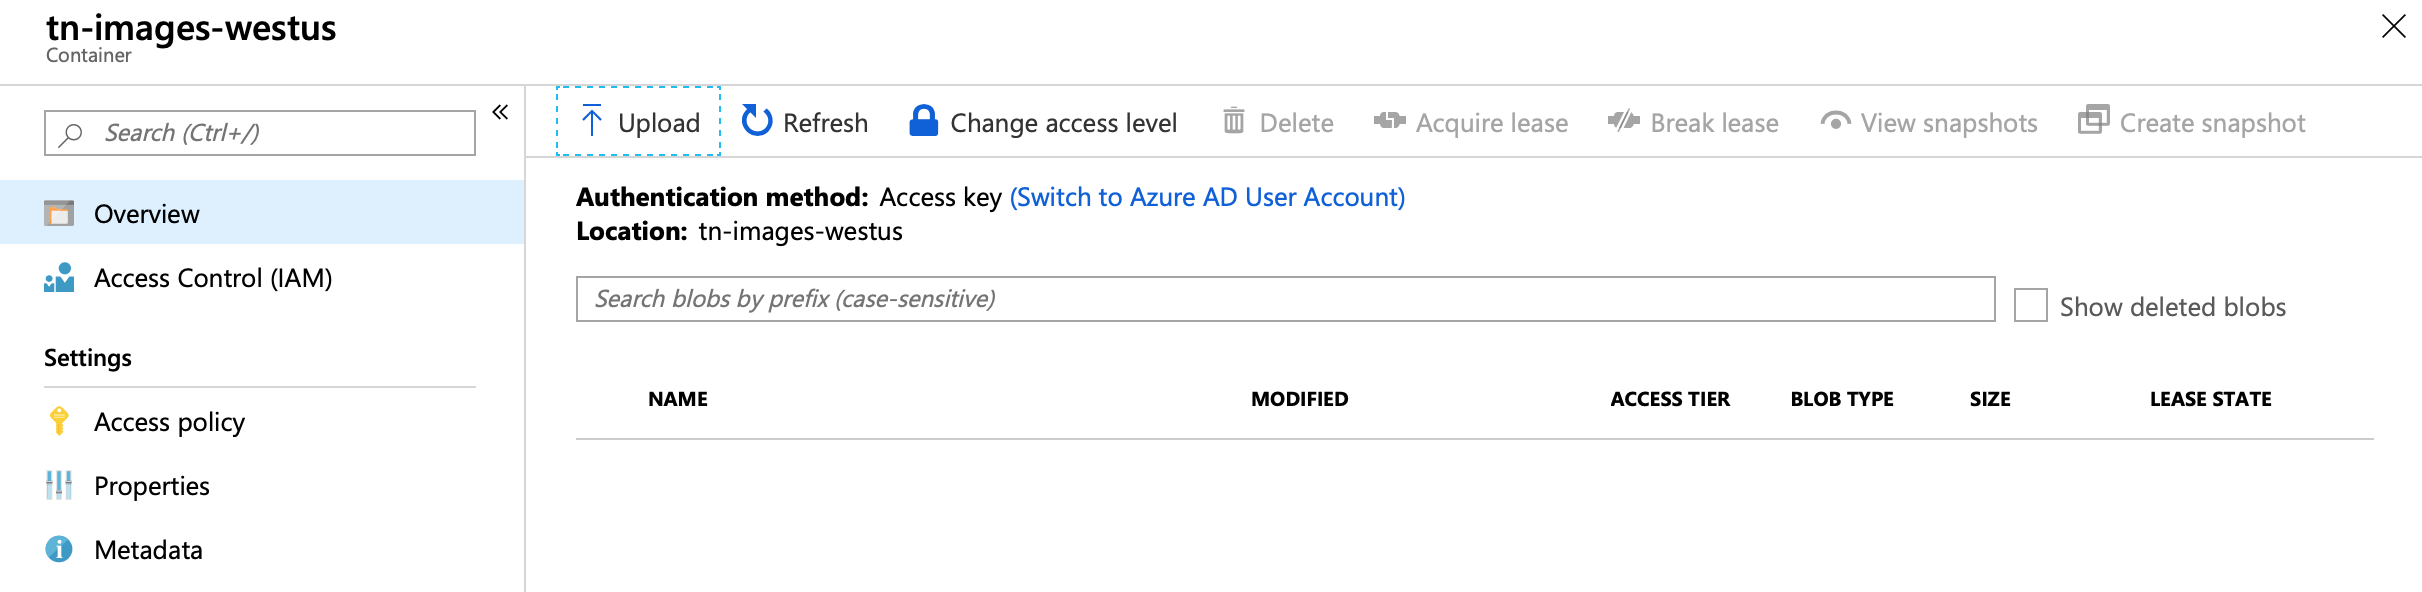
-
Click Upload.
-
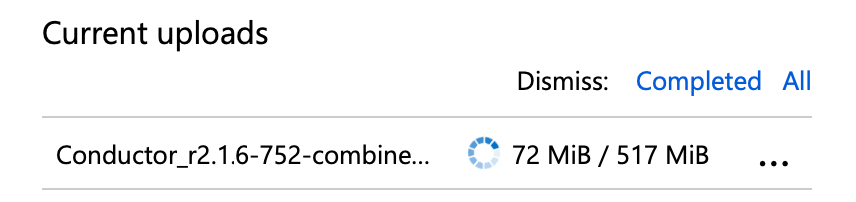
The Conductor VHD will now appear in your container list. It will take a few moments to
upload the file and you can view its progress in the Current
Uploads section.
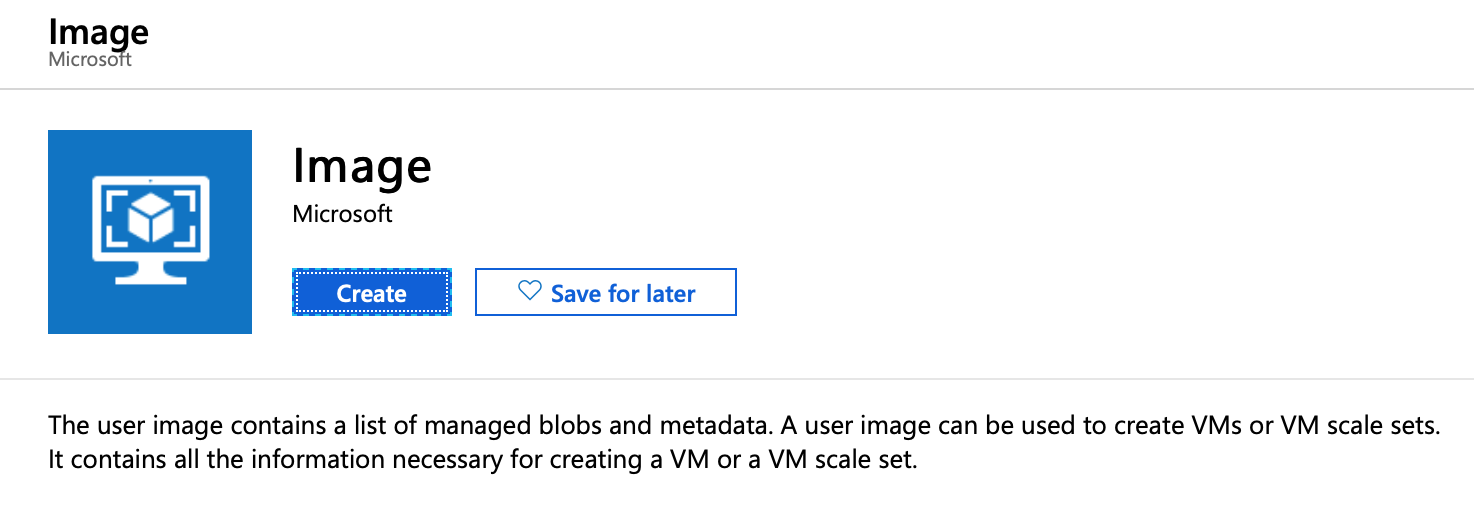
Create an image
You now need to create a Conductor-managed image resource and add it to your storage account. This image can then be used to create the Conductor virtual machine.
To create an image:
-
Type image in the search bar and select it when it
appears in the drop-down list.

-
Click Create on the Image
page.
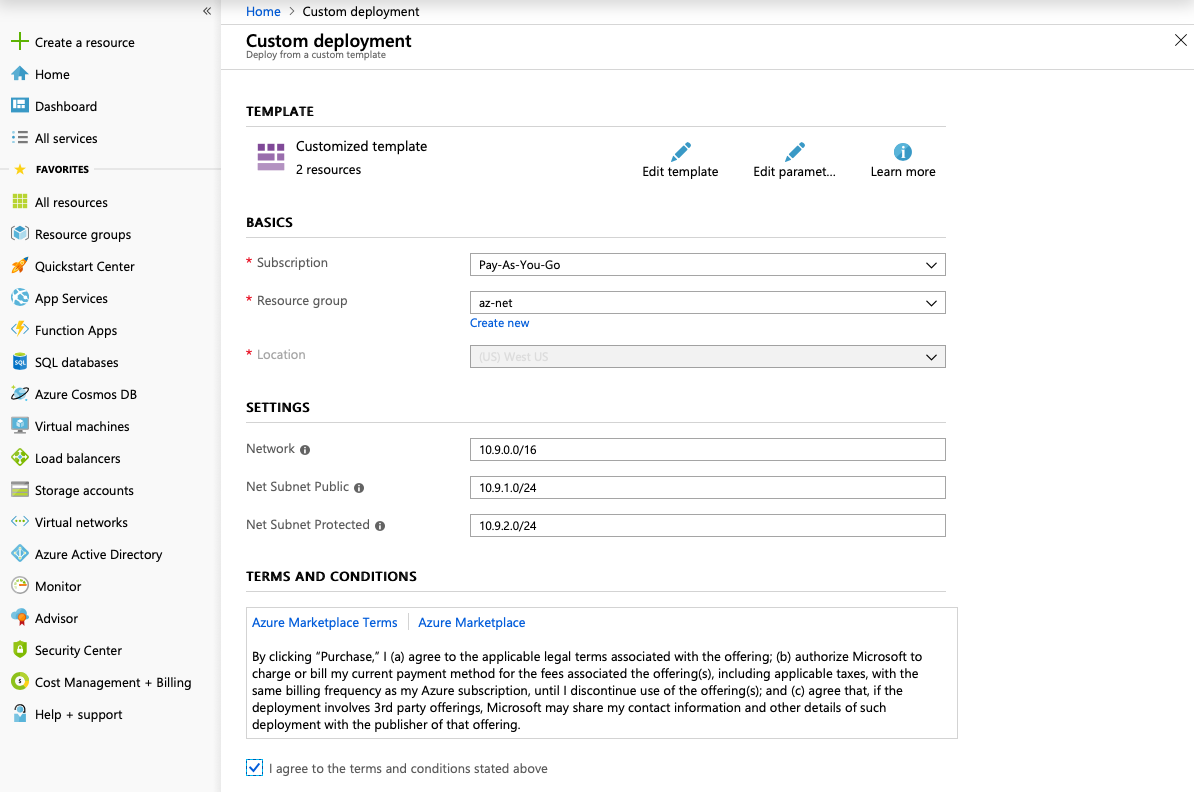
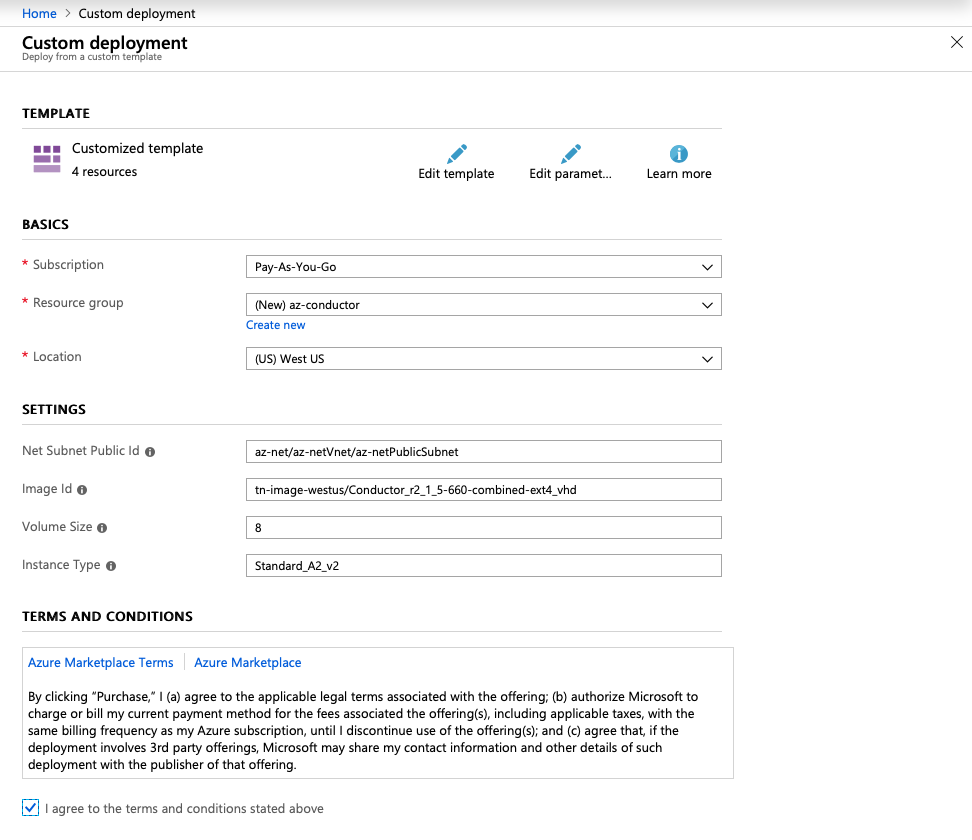
Create a virtual network

-
Agree to the terms and conditions and click
Purchase.
Note: By selecting Purchase, you are not buying any additional components or services from Tempered Networks. Any charges you incur are part of the cost of running your Conductor in Azure and are administered by Microsoft.
Create the Conductor virtual machine
-
Agree to the terms and conditions and click
Purchase.
Note: By selecting Purchase, you are not buying any additional components or services from Tempered Networks. Any charges you incur are part of the cost of running your Conductor in Azure and are administered by Microsoft.
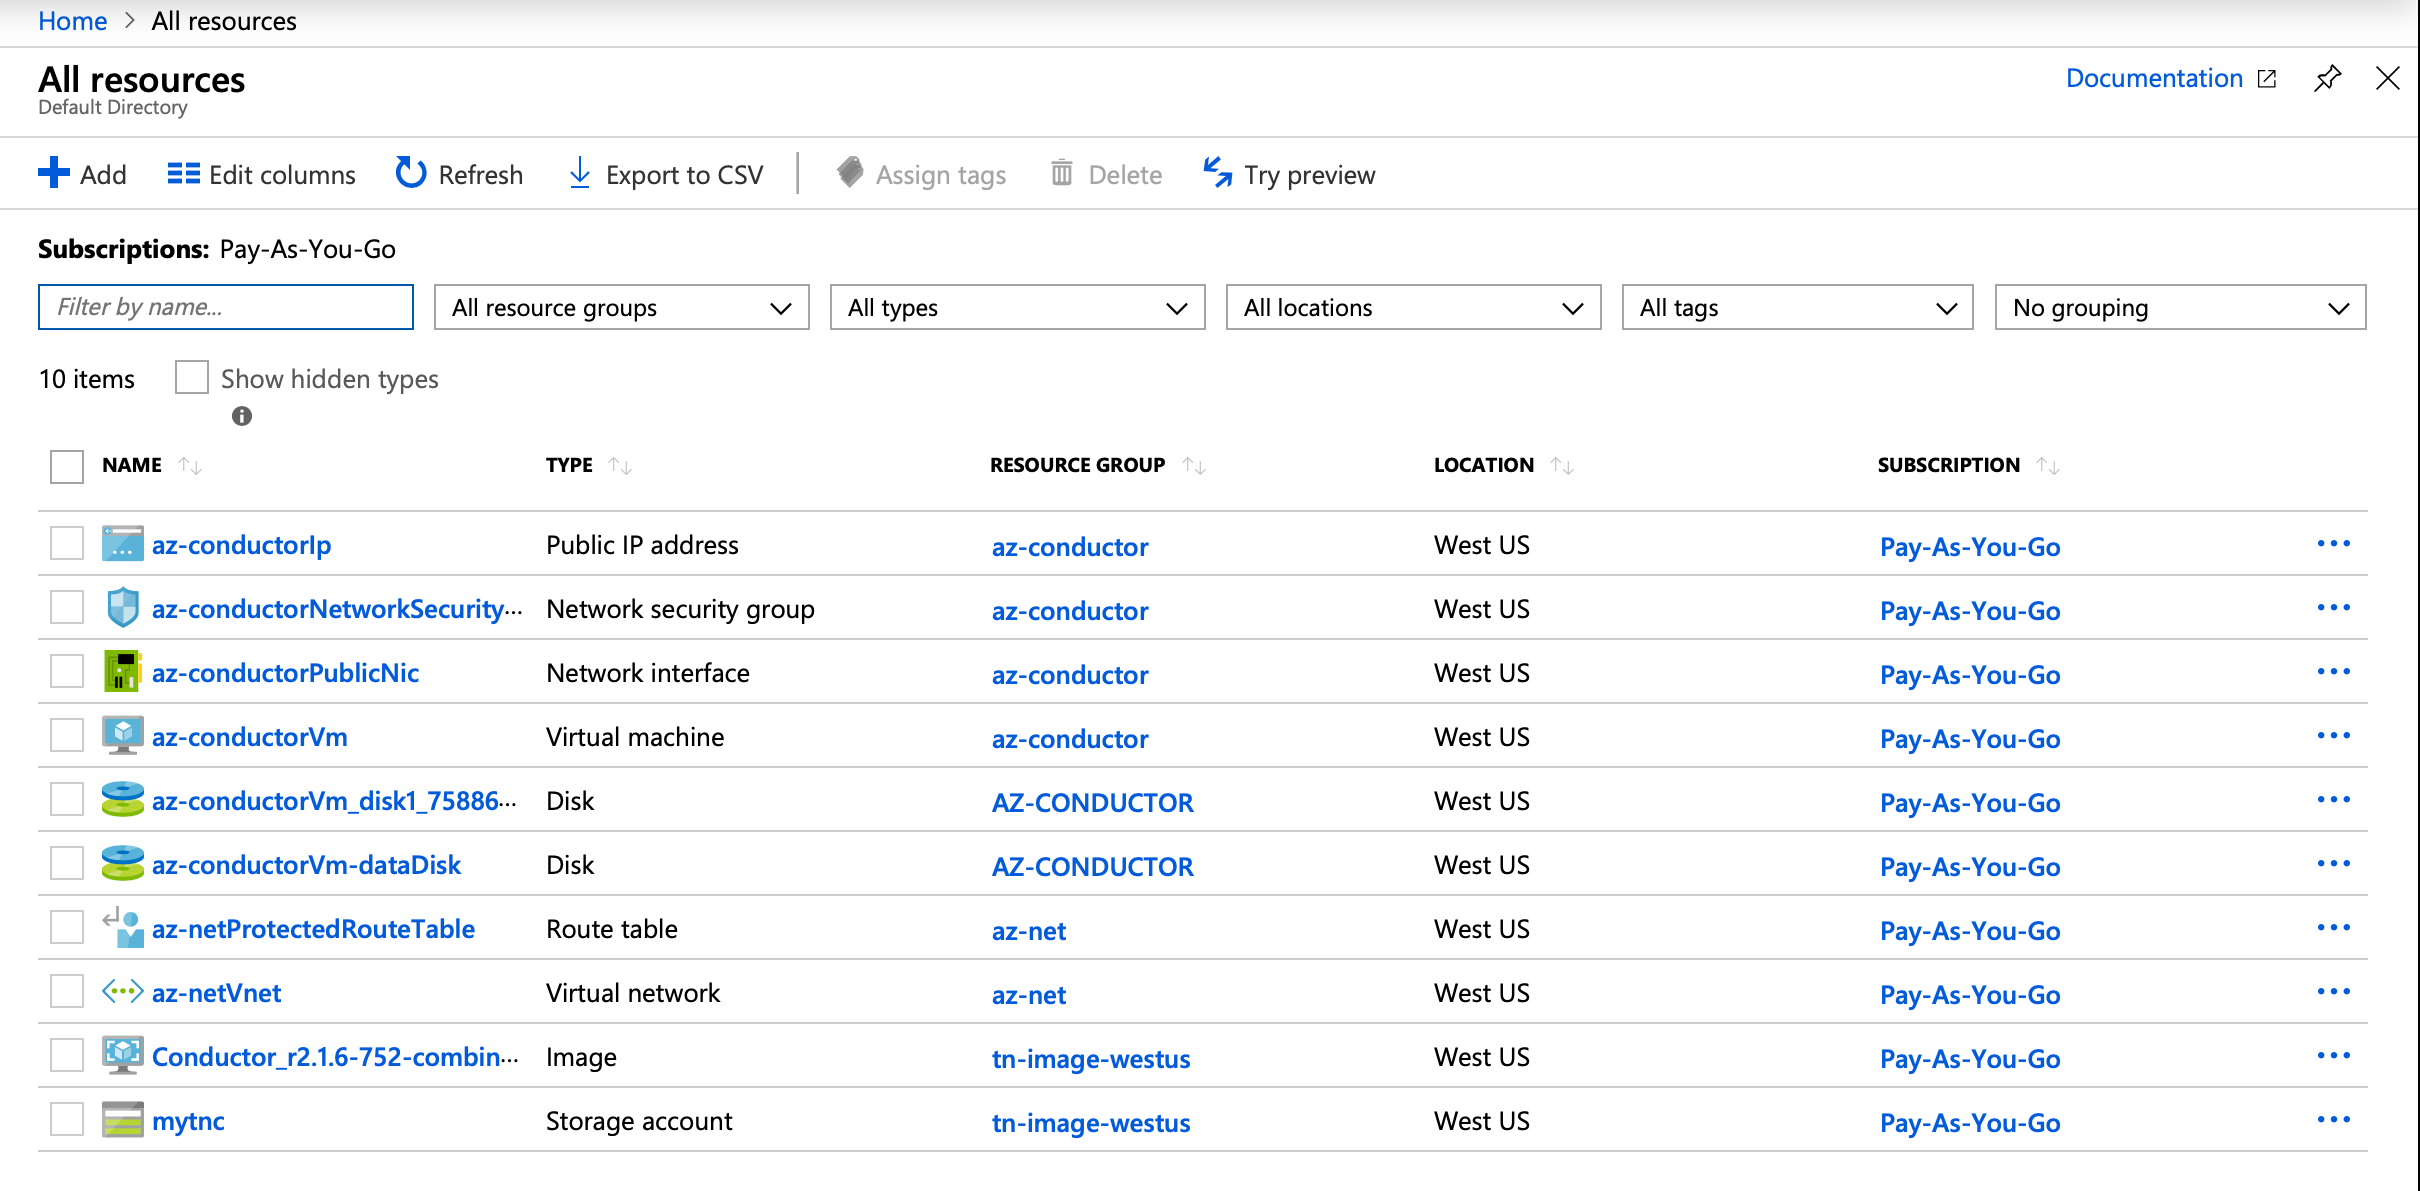
You are now finished creating the components required to run your Conductor in Microsoft Azure.
Verify the install
To verify the install:
-
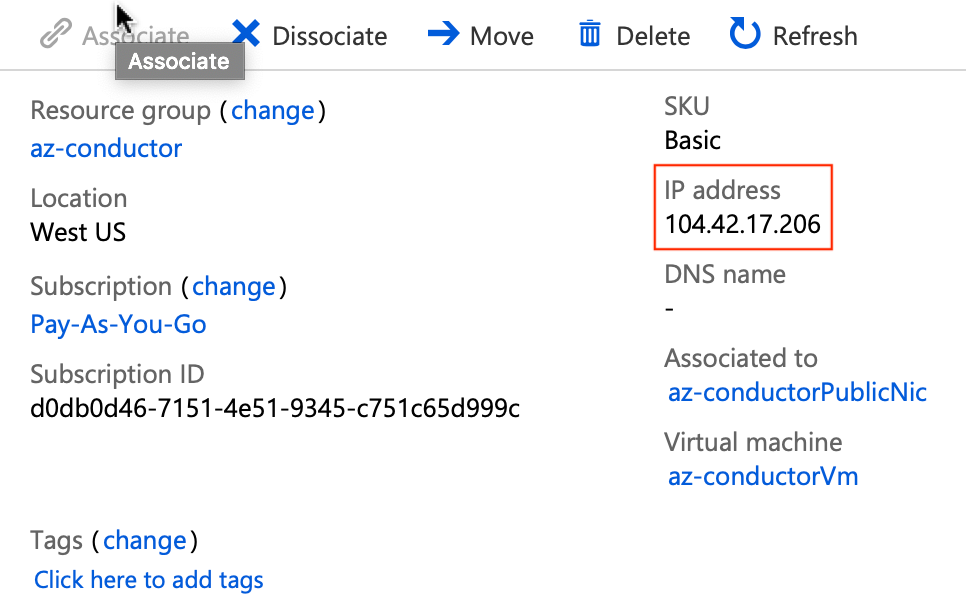
Point your web browser to the external IP address for your Conductor.
Make sure you begin the address with https://. You can find
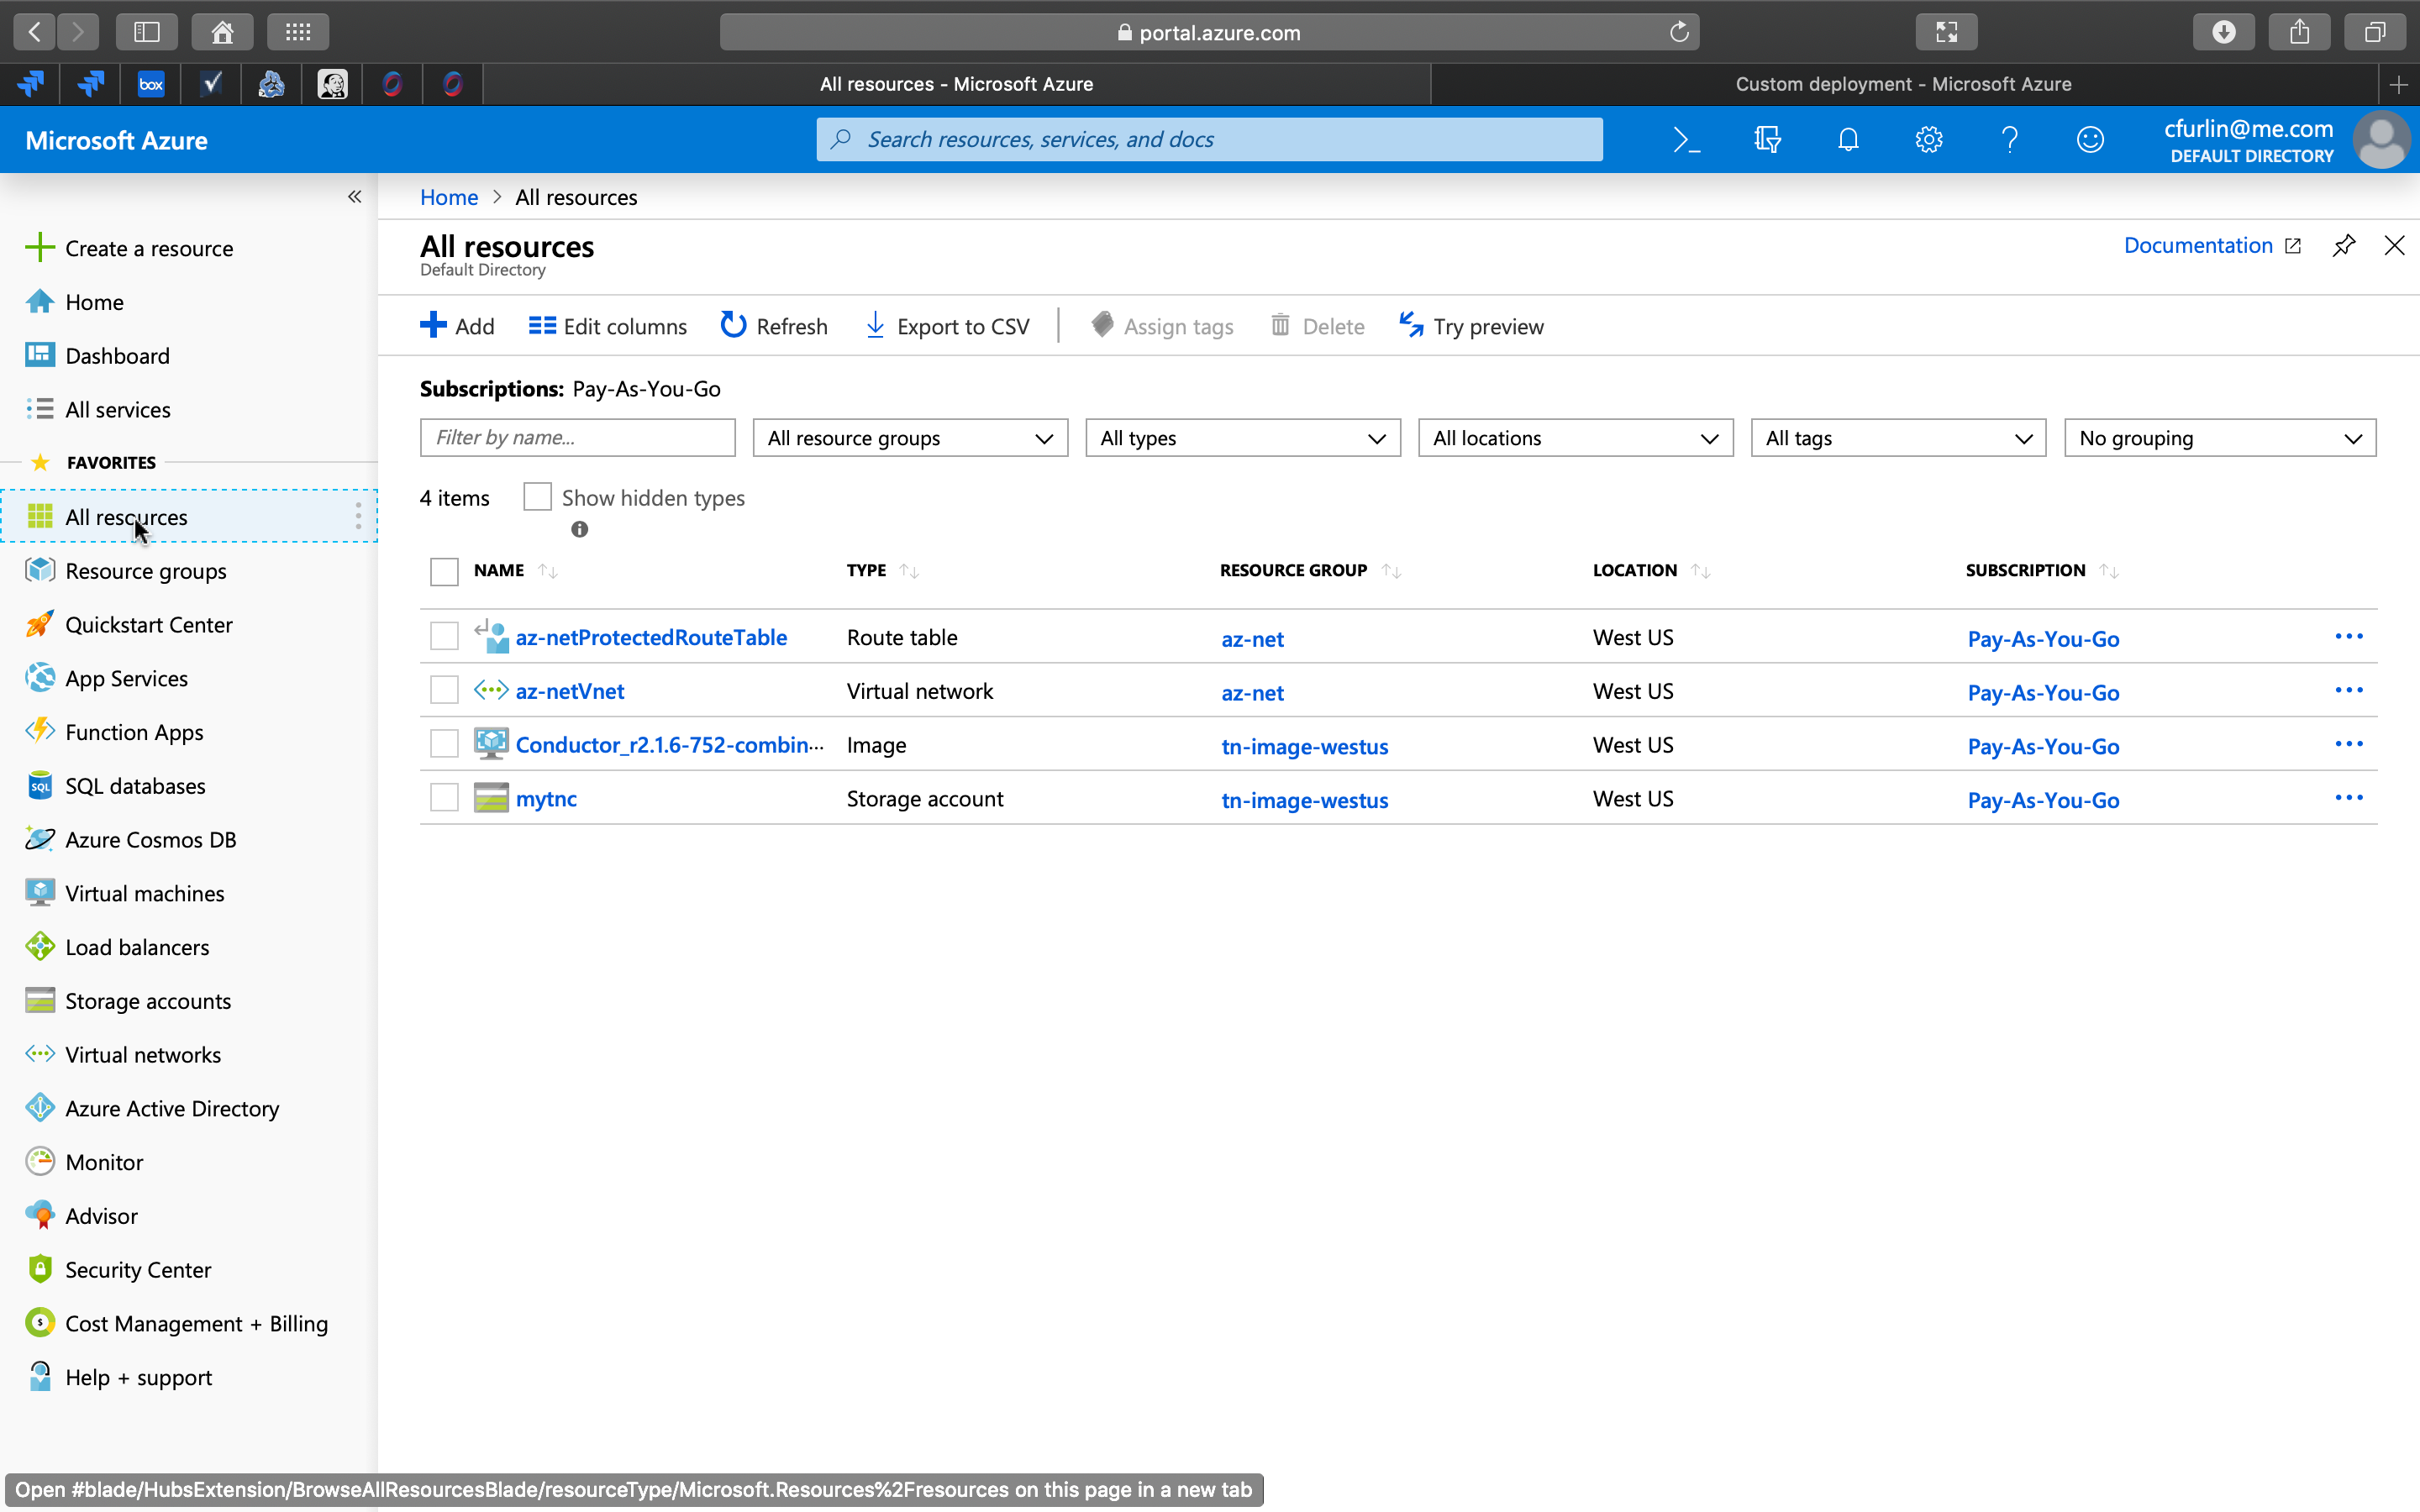
your external IP address by clicking the name of the public IP address resource
in your All resources list. In our example, we select
az-conductorip. The address is located below the
IP address field as seen in the image below:
-
An unlicensed Conductor
will display the initial Provisioning page where you will
license your Conductor.
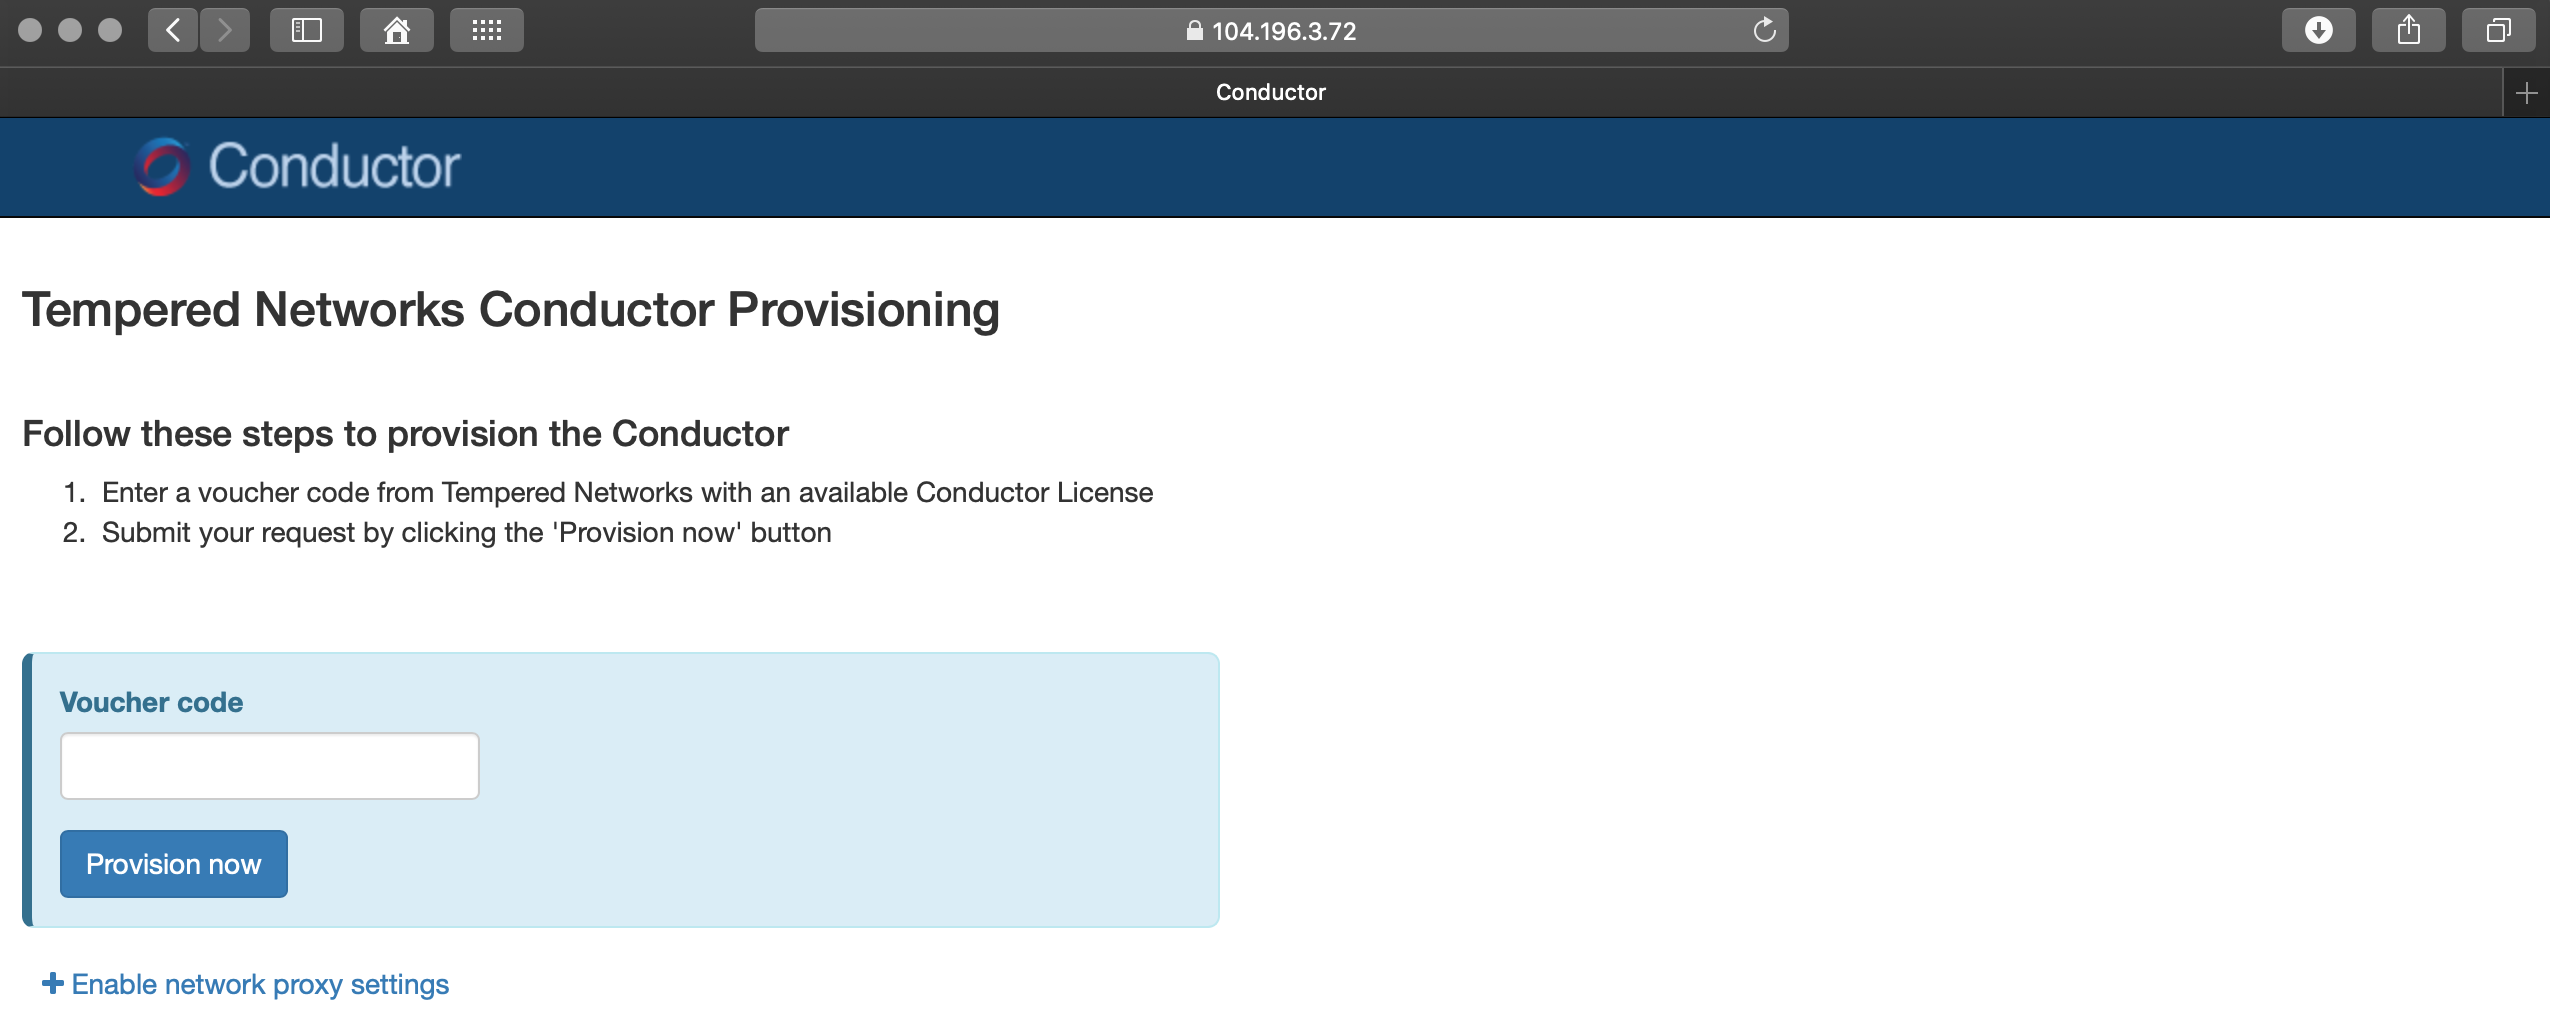
-
Click Provision now. It will take a moment to finish the
operation. Once complete, you should see the following:

-
Enter the default username and password at the log in dialog and click
Sign in.
- Username
- admin
- Password
- admin123

-
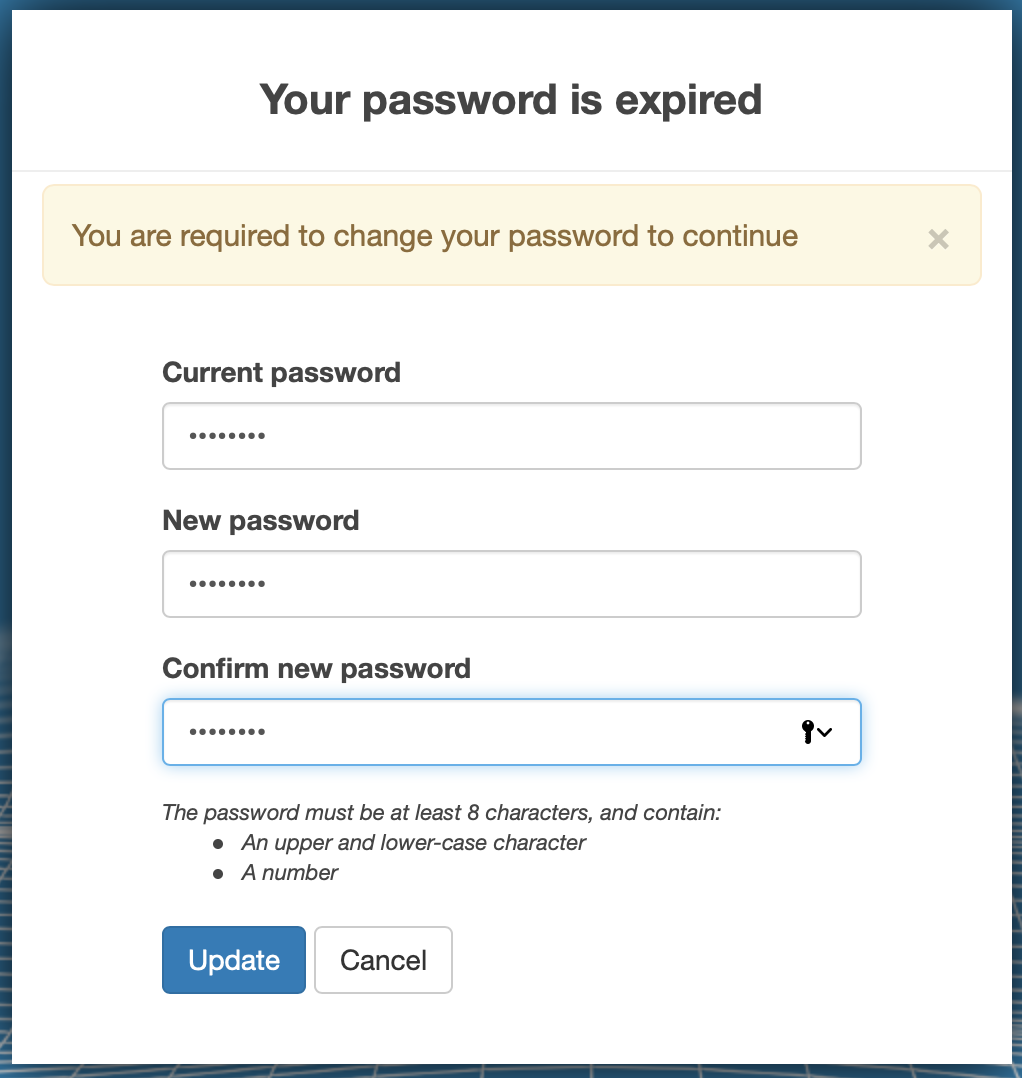
You will be prompted to enter a new password. Enter the default password in the
Current password field and a new password of your
choosing in the New password and Confirm new
password fields.
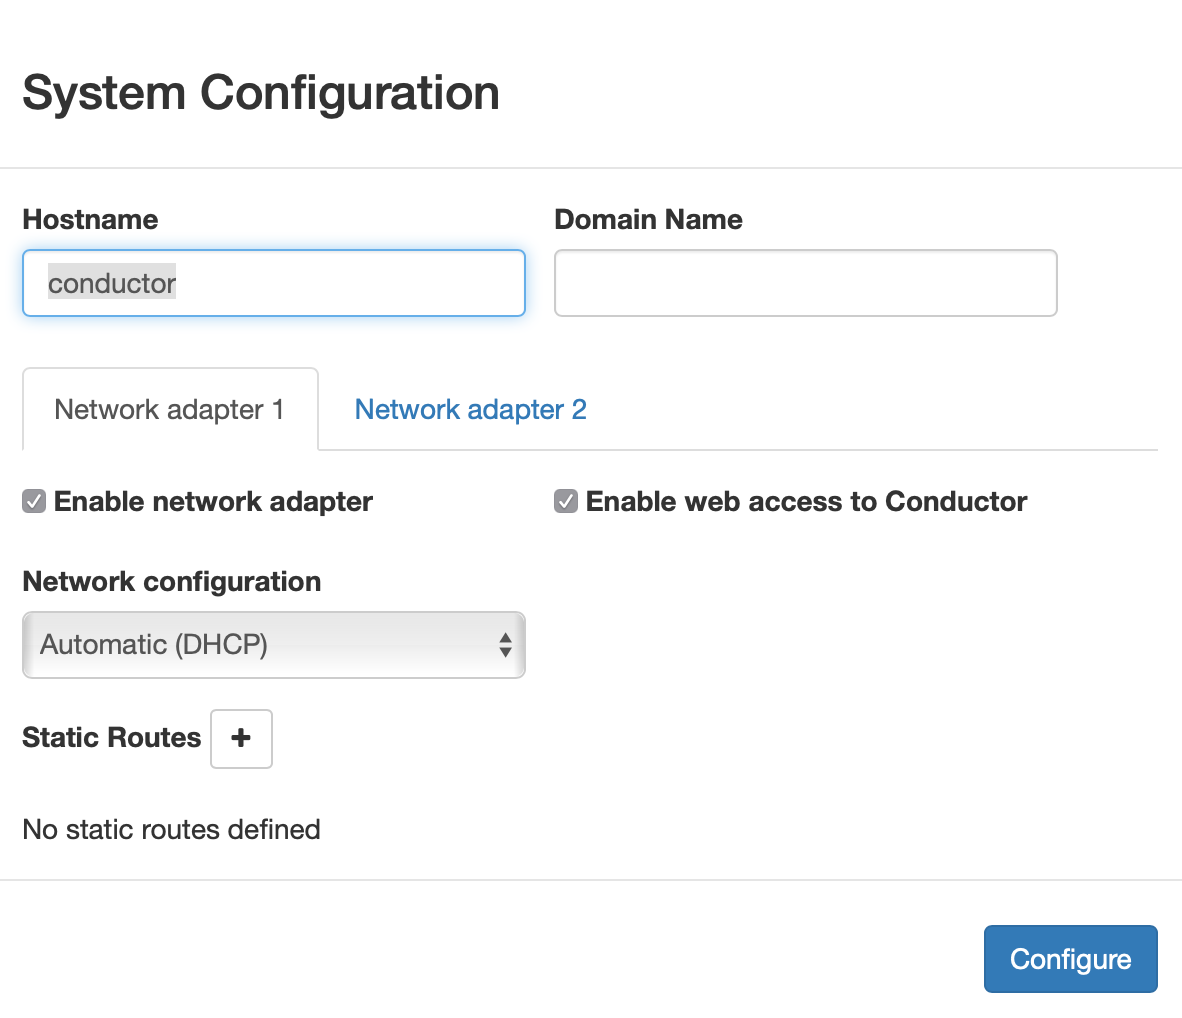
-
On the System Configuration dialog, leave all the fields as is and click
Configure.
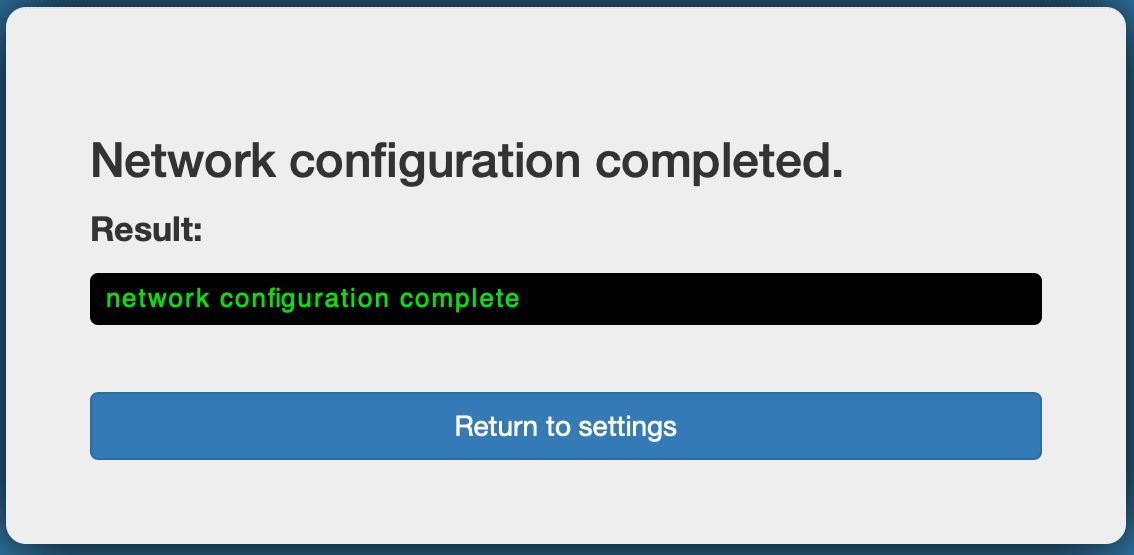
-
It will take a moment to complete the operation. Once finished, click
Return to settings.
Additional Information
Once your Conductor is installed, you can configure and manage it as you would a physical Conductor. For additional help, you can search the Online Documentation by using the search bar at the top of the page or the navigation links to the left.