Deploy a Conductor on Amazon Web Services (AWS)
You can deploy a Tempered Networks Conductor on AWS and manage physical, virtual, and cloud HIPservices, and HIPclients. Use the following steps to deploy a Conductor on the AWS platform.
Prerequisites
- Access to a Amazon Web Services (AWS) account. If you don't have an account, you can create a free AWS Free Tier account and upgrade it to a full account later.
- Billing information set up on your AWS account. You cannot create a project until you are able to link your billing information to your newly created project.
- A Conductor license voucher if you want to start the Conductor and verify it is set up correctly. Fulfillment will provide this to you in an email after your purchase is complete.
- The Amazon Machine Image (AMI) ID that you received from Tempered Networks Fulfillment when you purchased your AWS Conductor.
Log in to AWS
Create a Launch Instance
When you sign up for Amazon Web Services (AWS), your AWS account is automatically signed up for all services in AWS, including Amazon EC2. You add the Tempered Networks Conductor as an EC2 instance, so make sure you have the AMI ID that you received from Tempered Networks Fulfillment when you purchased your AWS Conductor.
To create an instance:
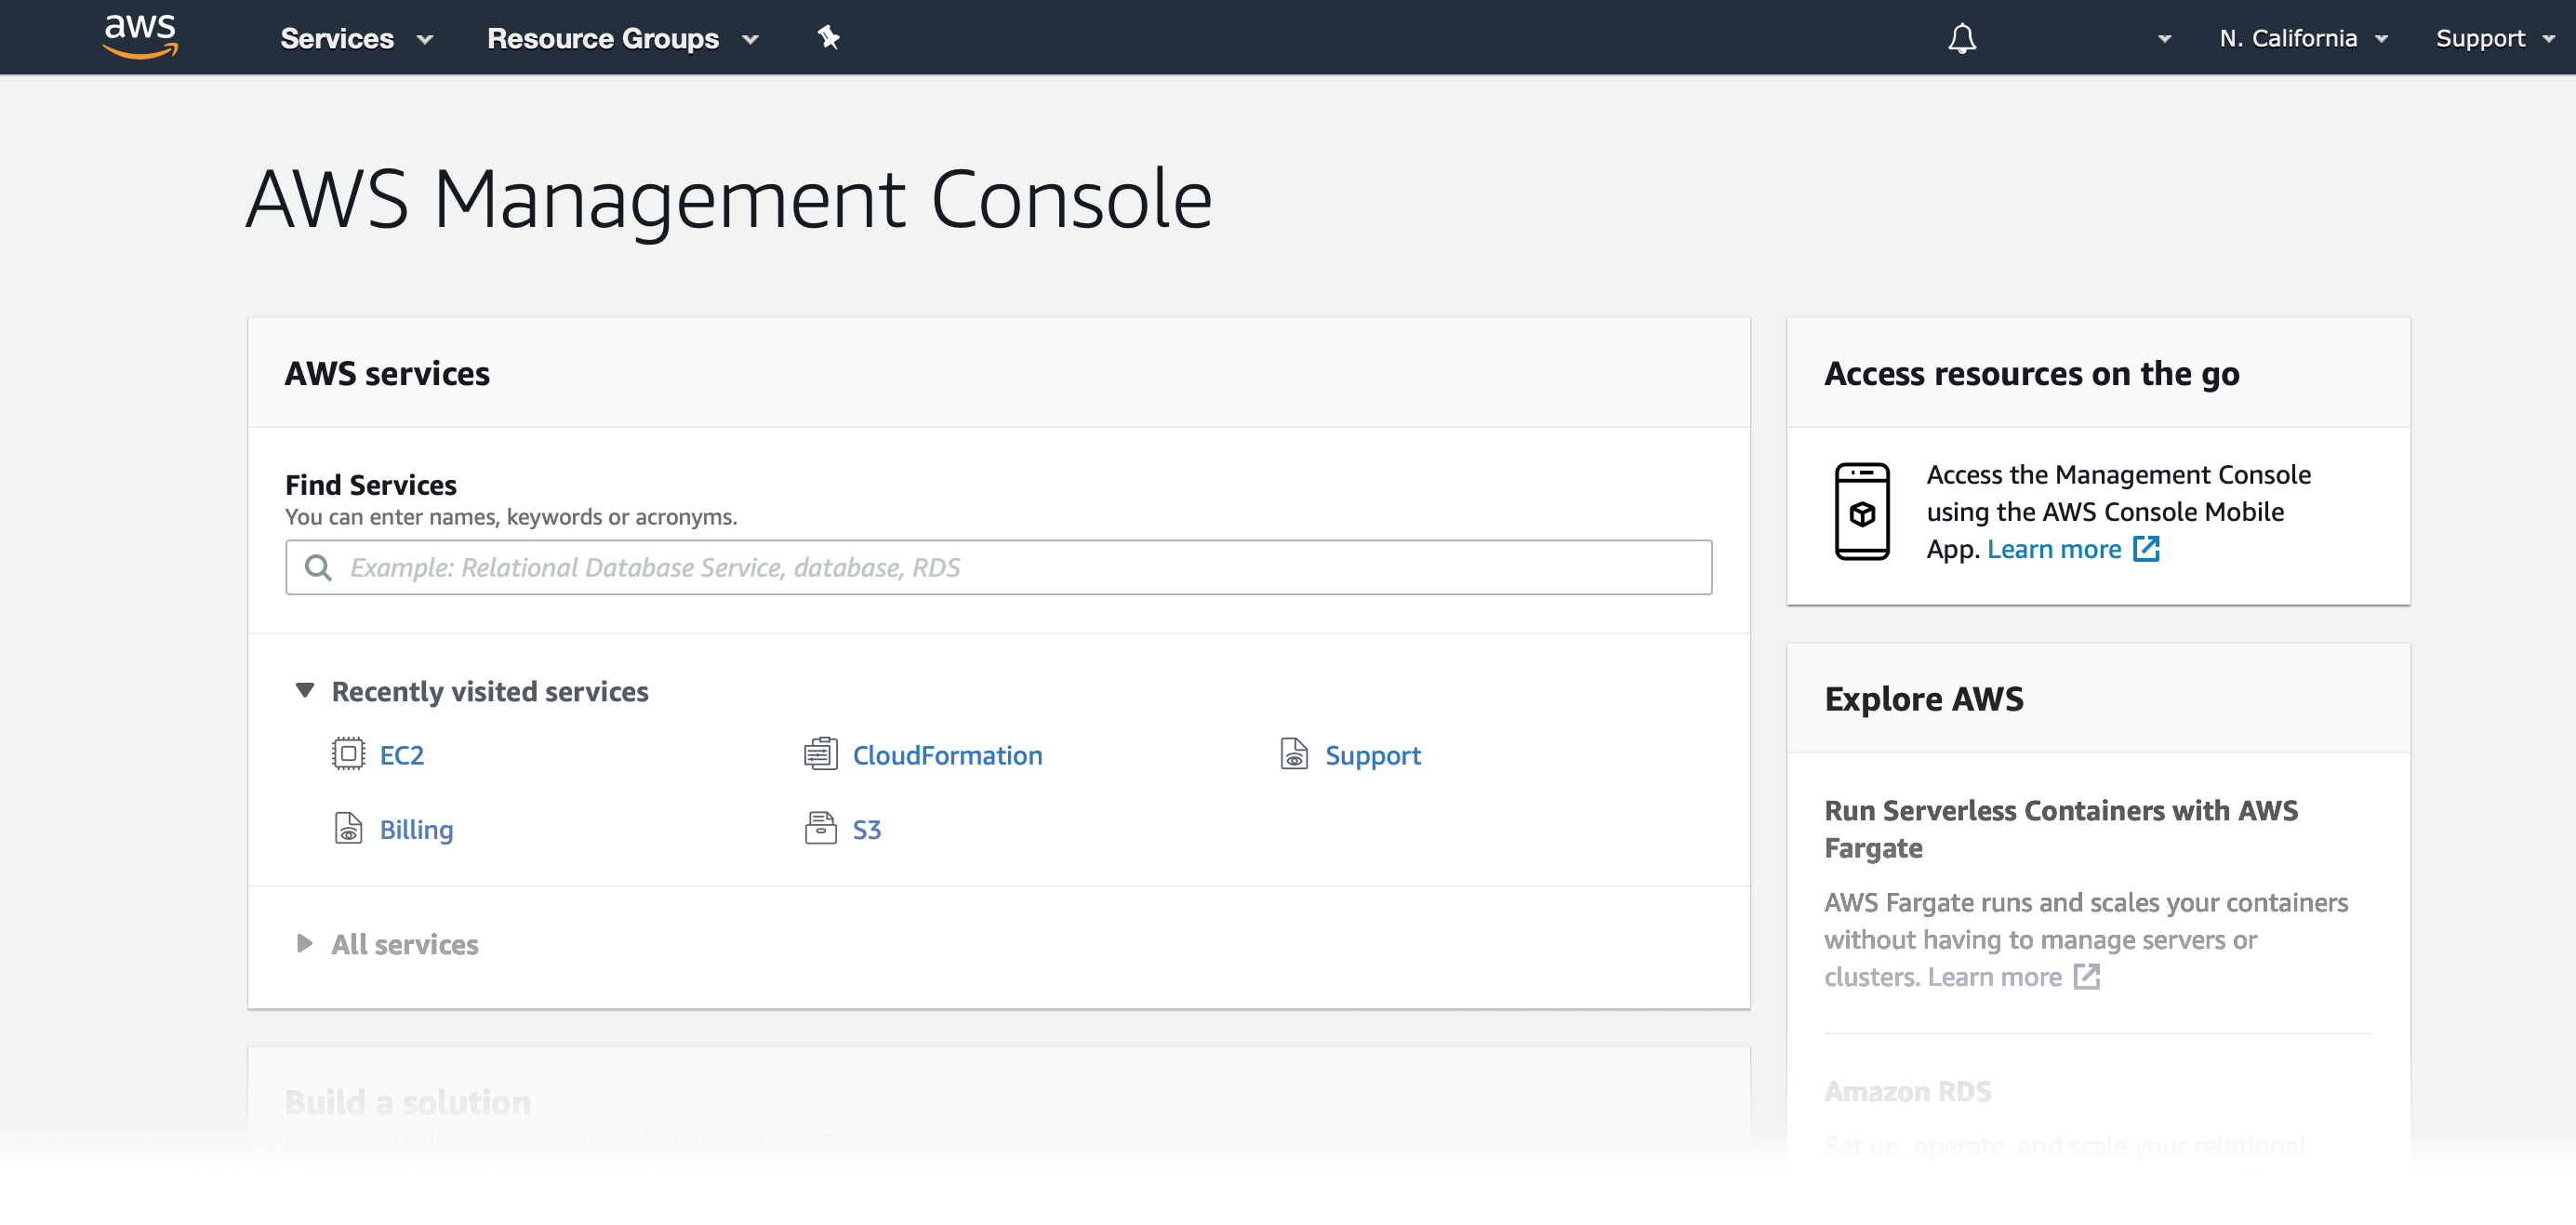
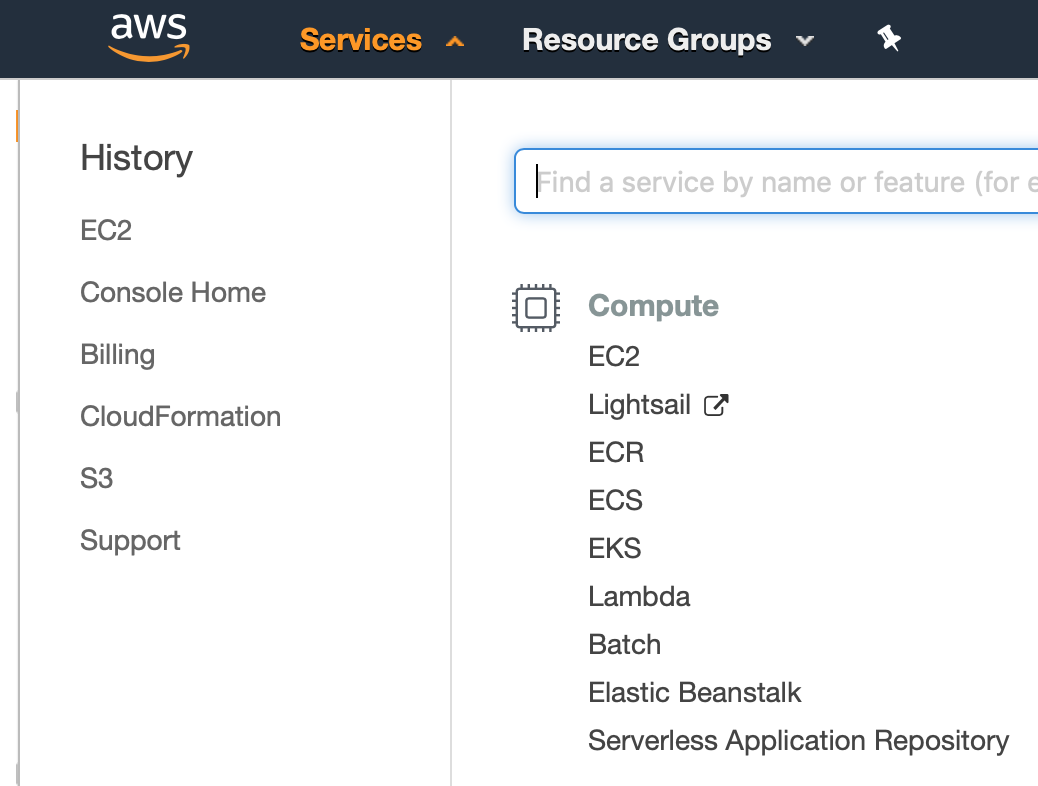
-
On the top bar of the AWS Management Console, select
Services and then select EC2
to access the EC2 Dashboard.
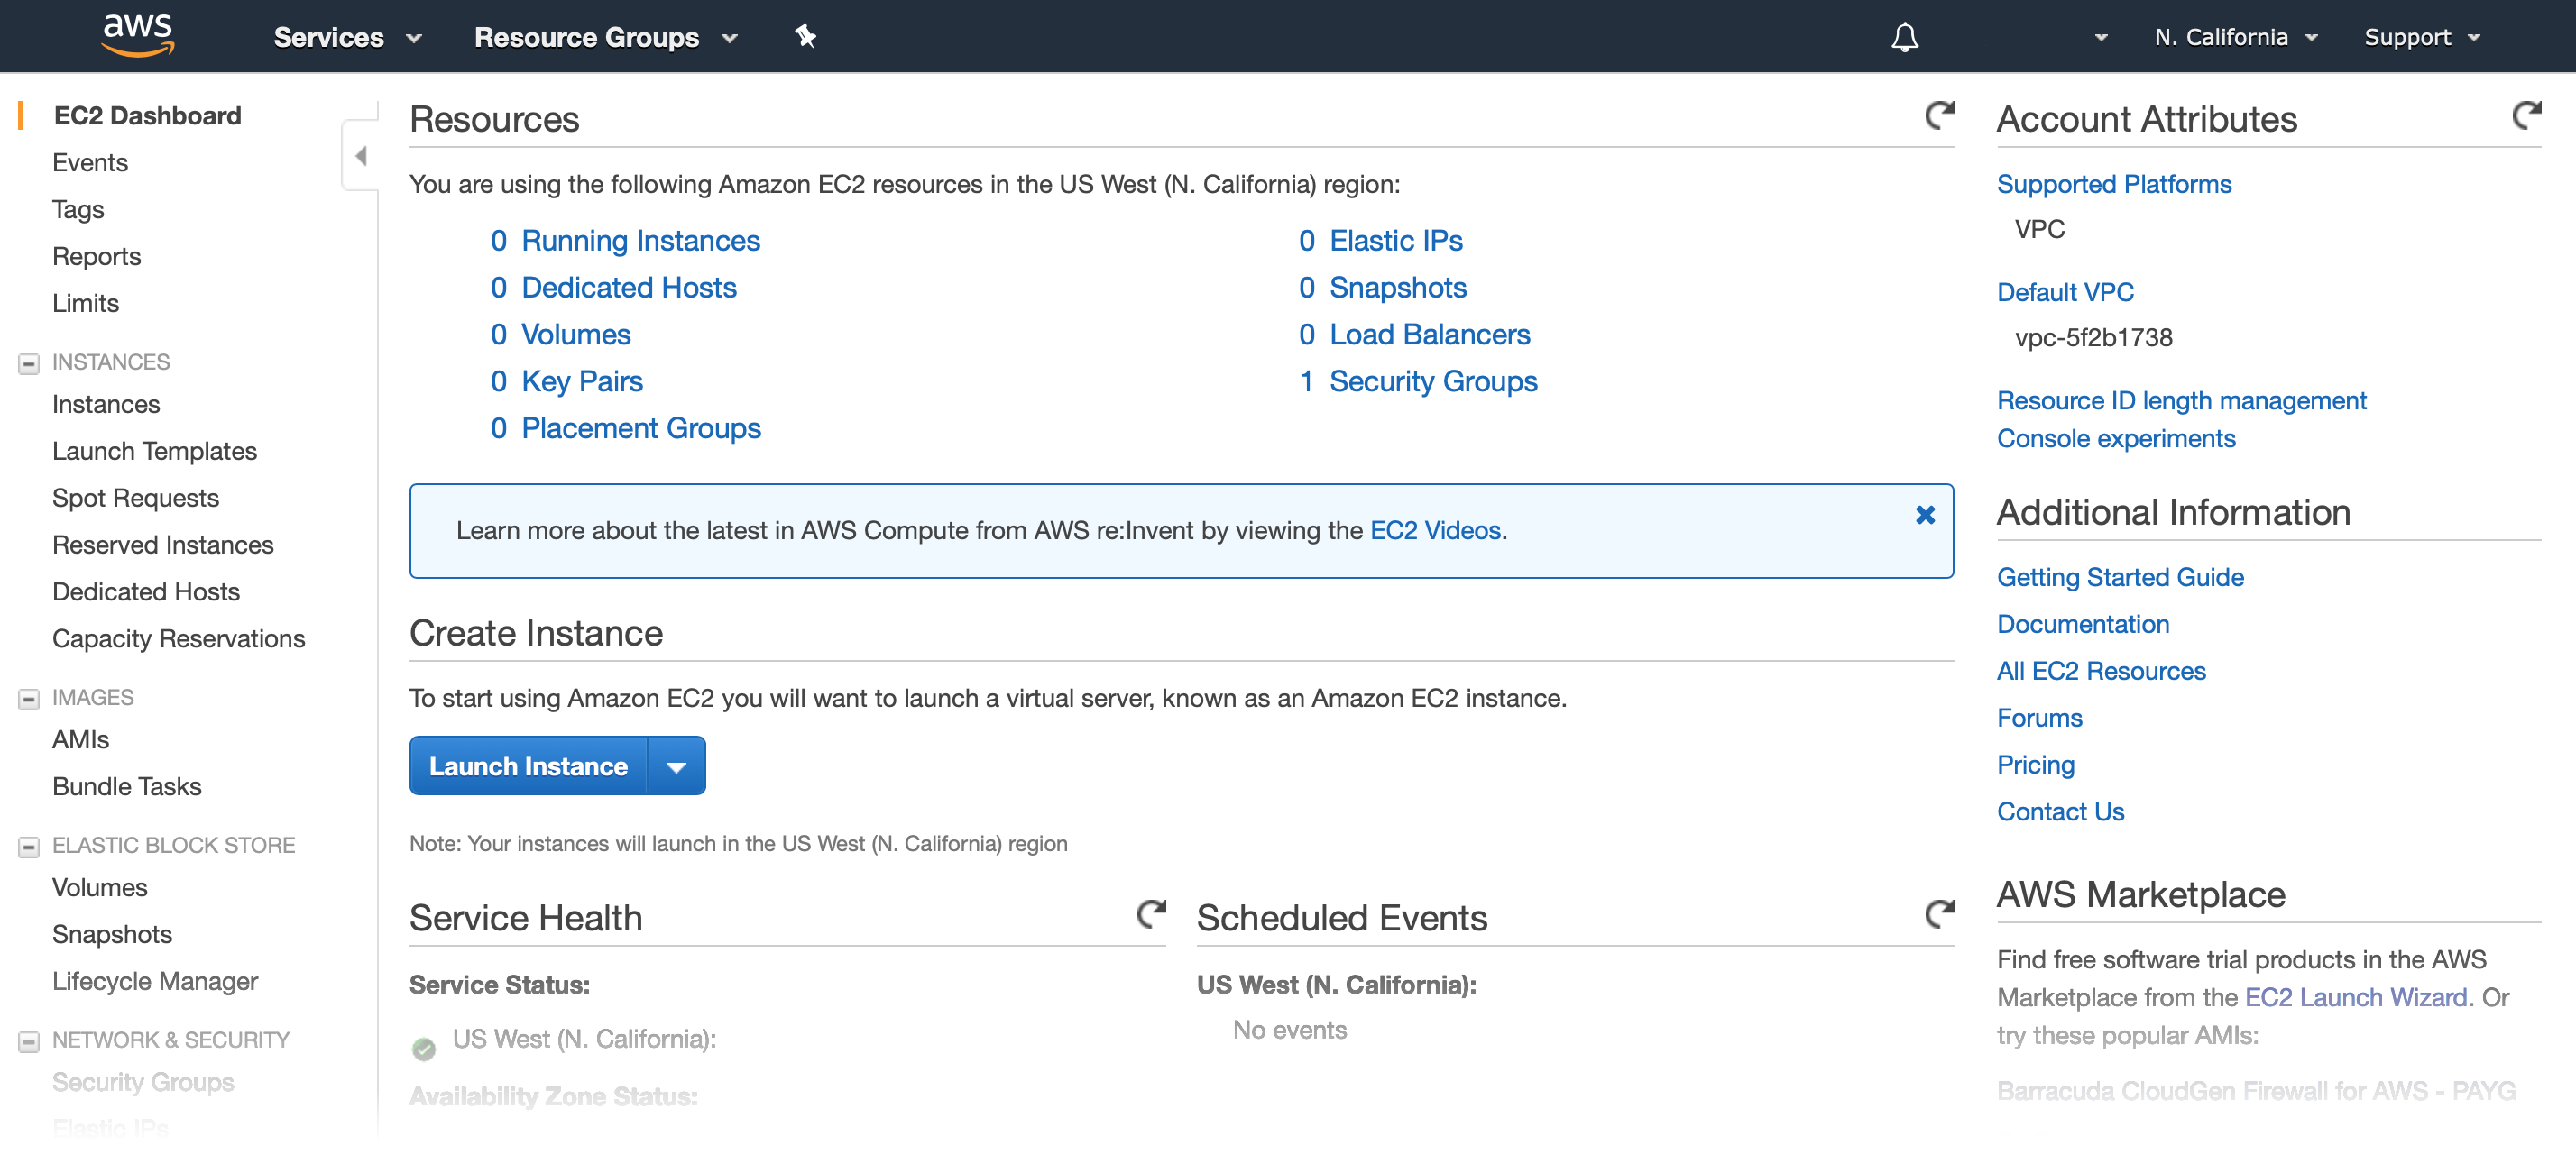
-
In the Create Instance section, click Launch
Instance.

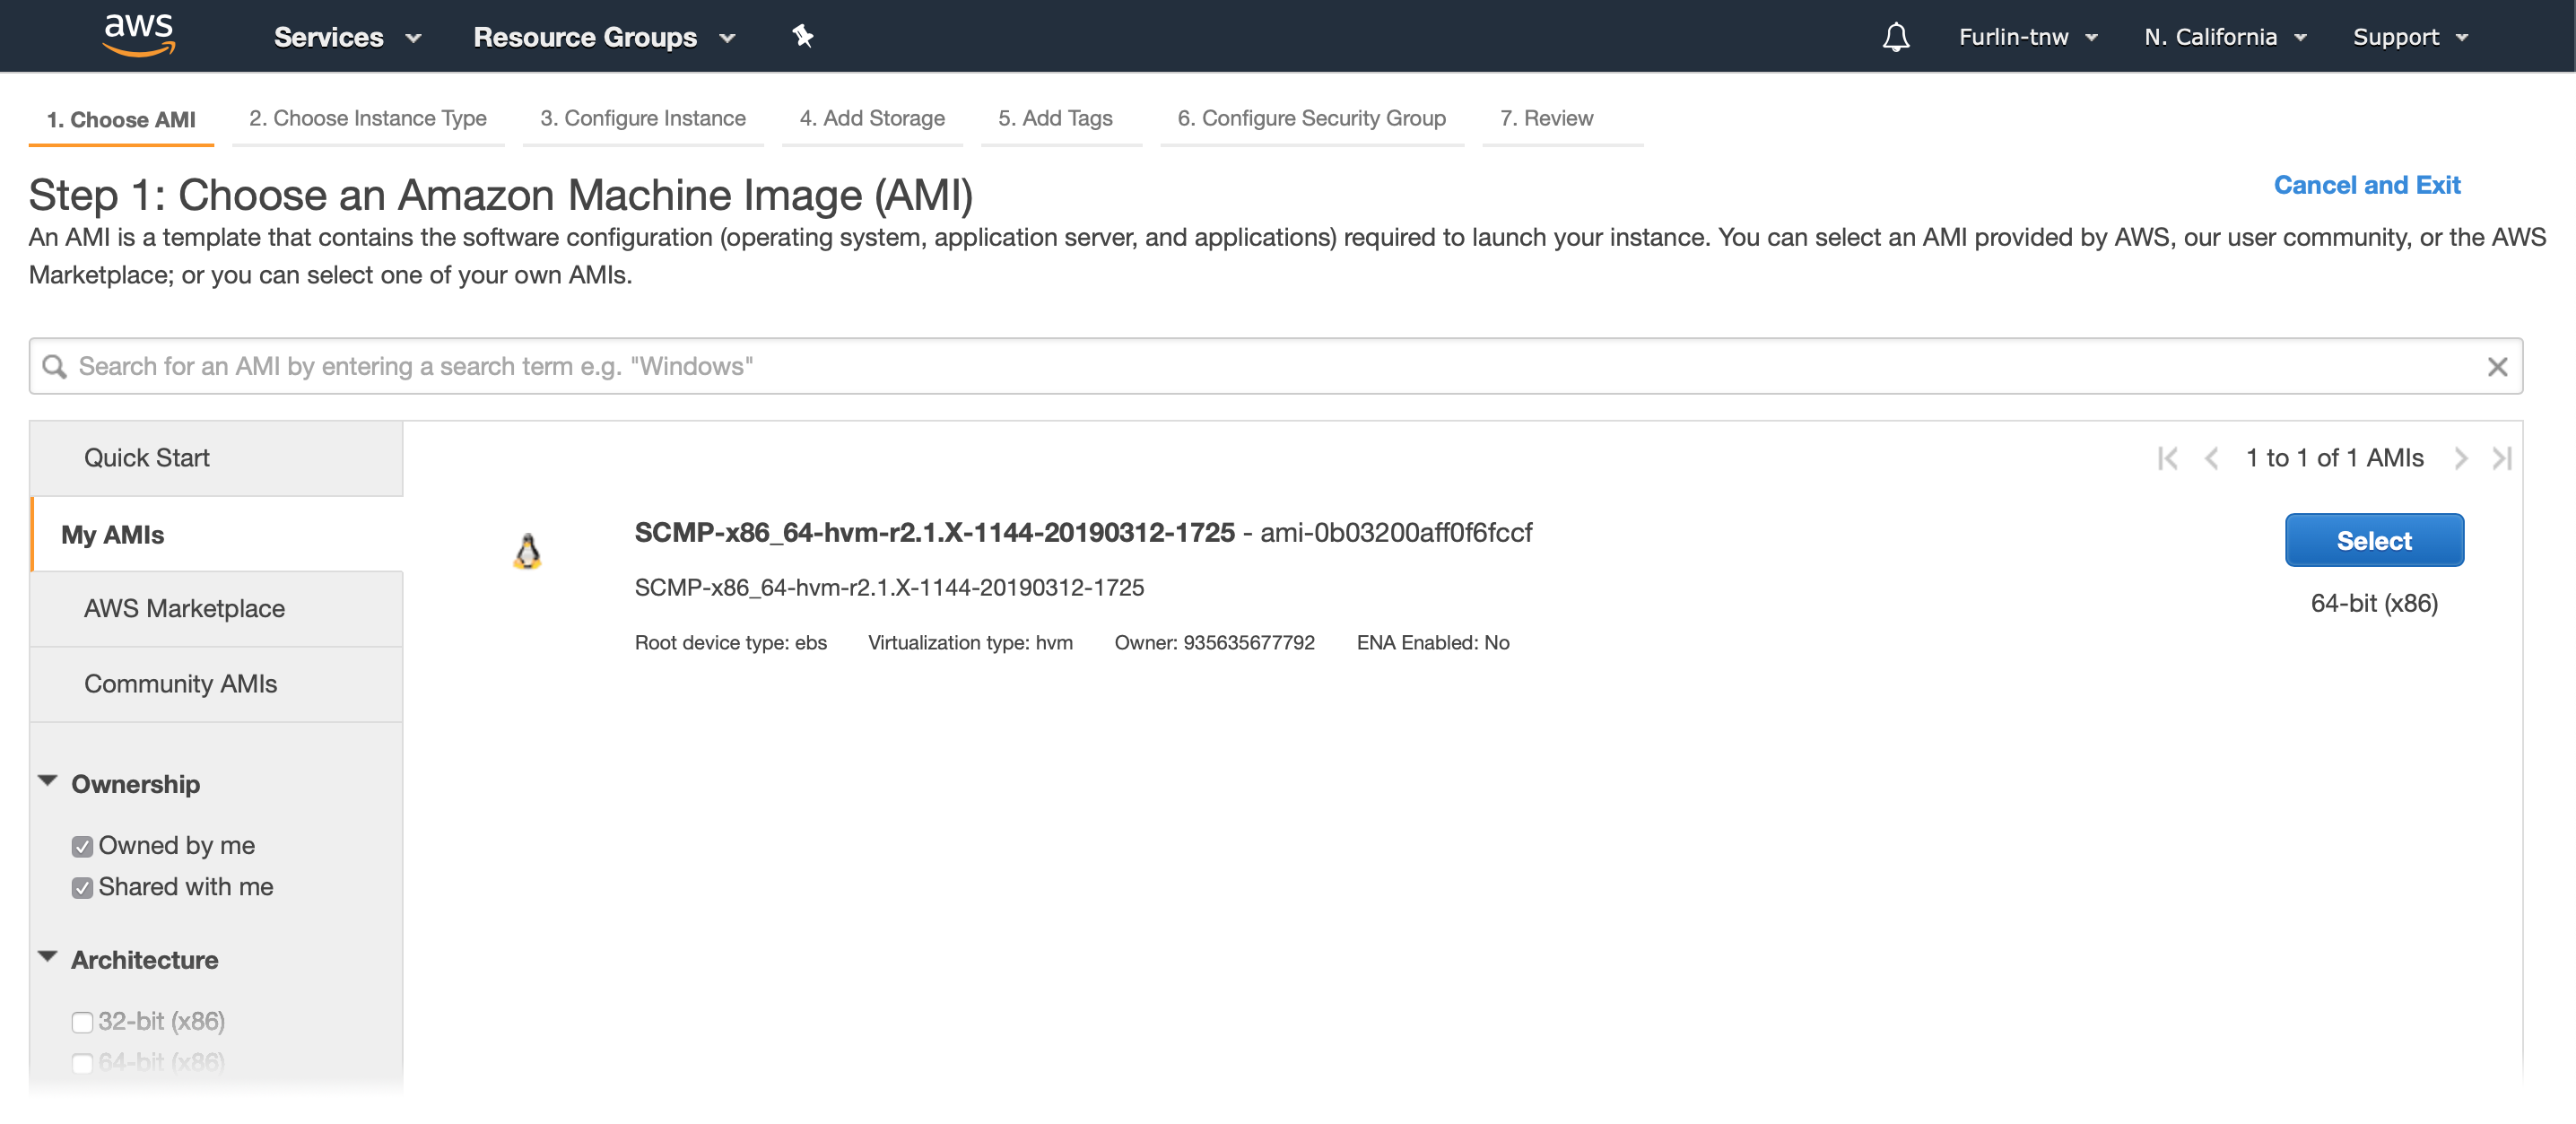
Step 1: Choose an Amazon Machine Image (AMI)
-
Under Ownership, check the Shared with
me box. You should see the Conductor
image listed in the right pane.
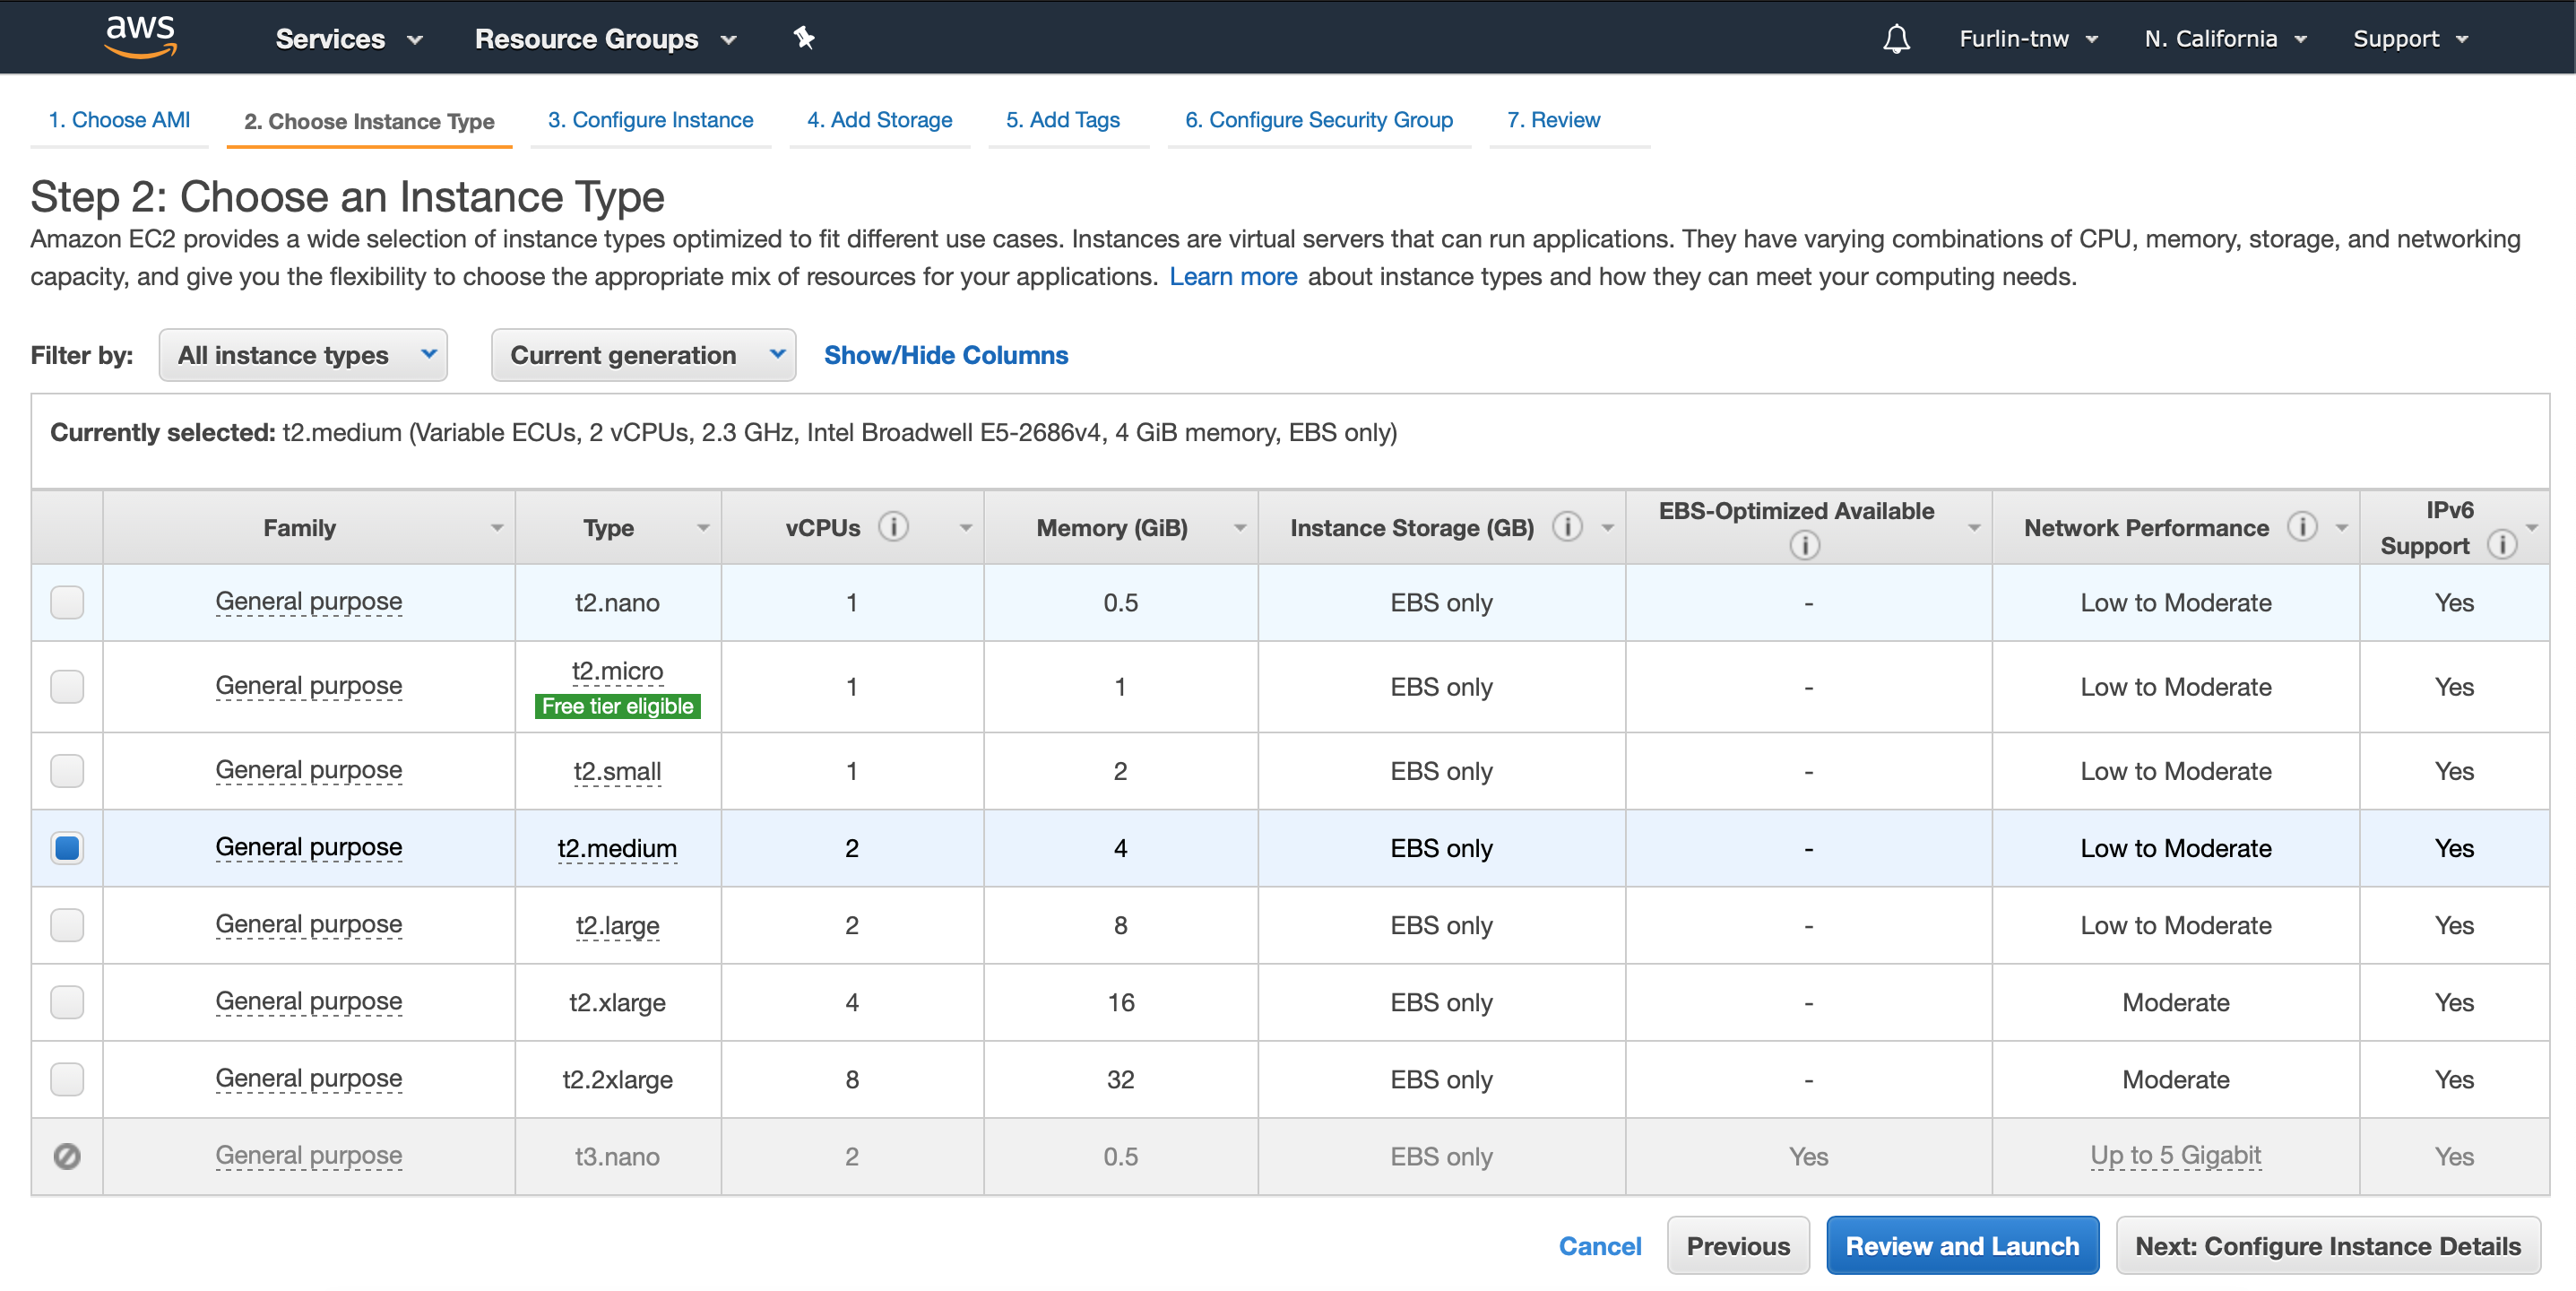
Step 2: Choose an Instance Type
-
On the Choose Instance Type tab, select your desired
instance type and click Next: Configure Instance
Details.
Important: DO NOT select the Review and Launch button, as this option will use the default settings for this instance type. You will need to make changes for the Conductor to operate correctly.
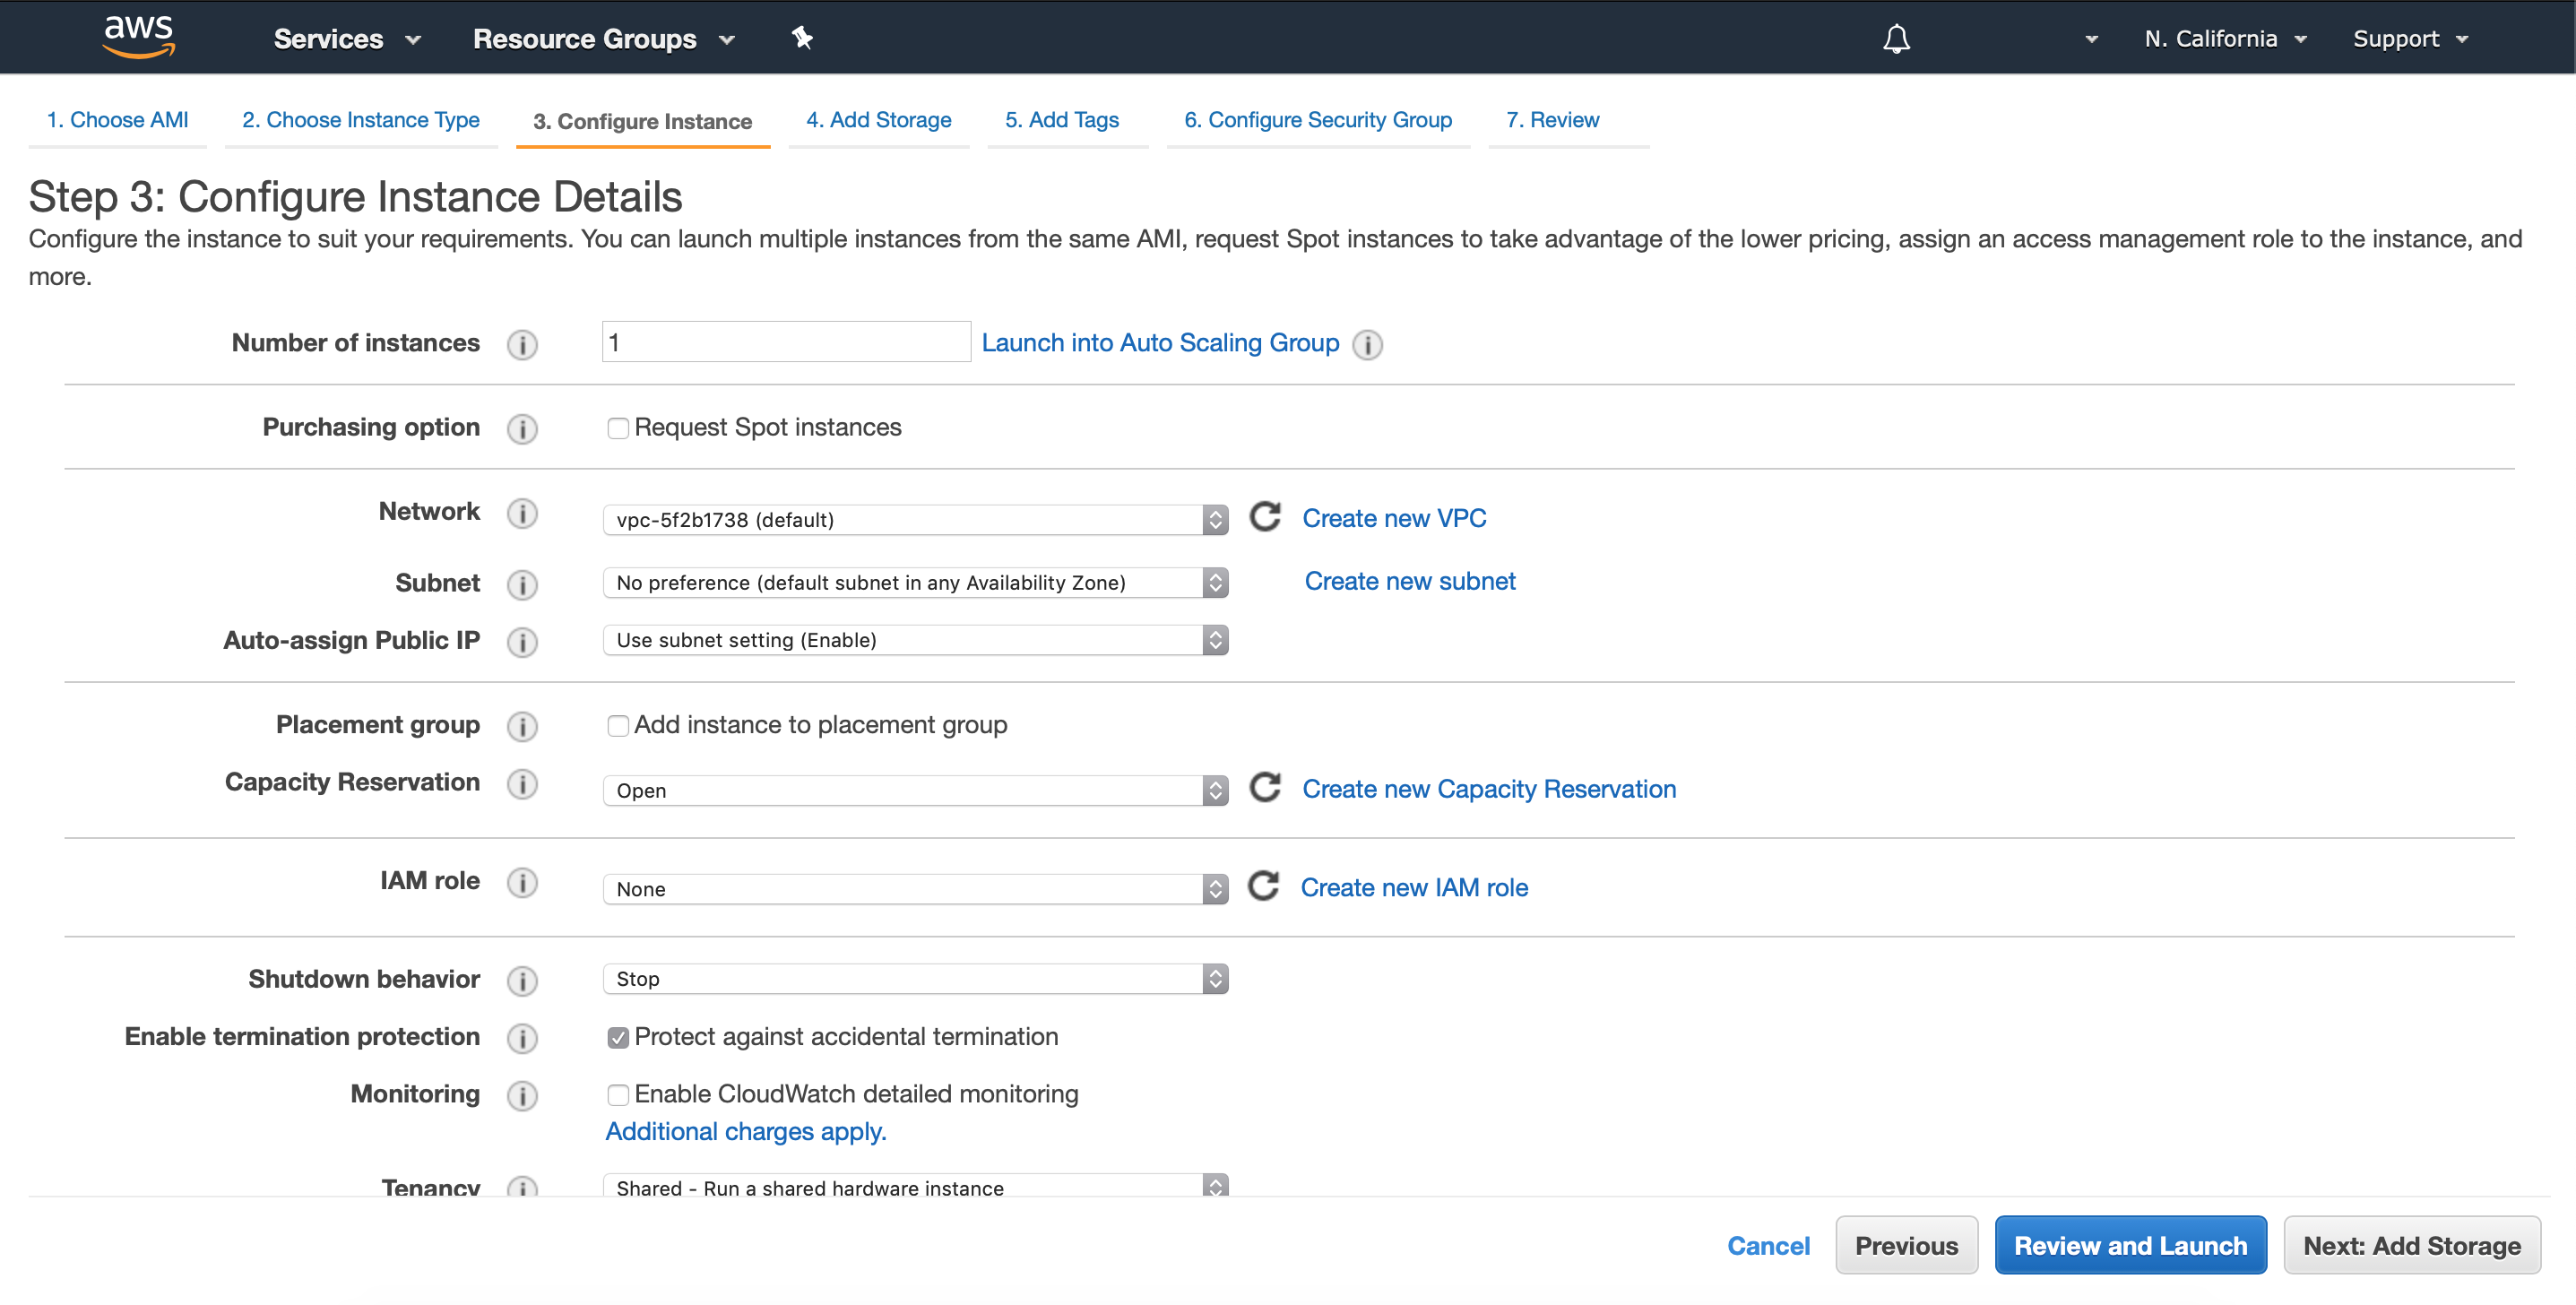
Step 3: Configure Instance Details
-
On the Configure Instance tab, do the following:
- Select your desired VPC from the Network drop-down.
- Select your region from the Subnet drop-down.
- Select Enable termination protection (recommended)
You can leave all other settings as is.
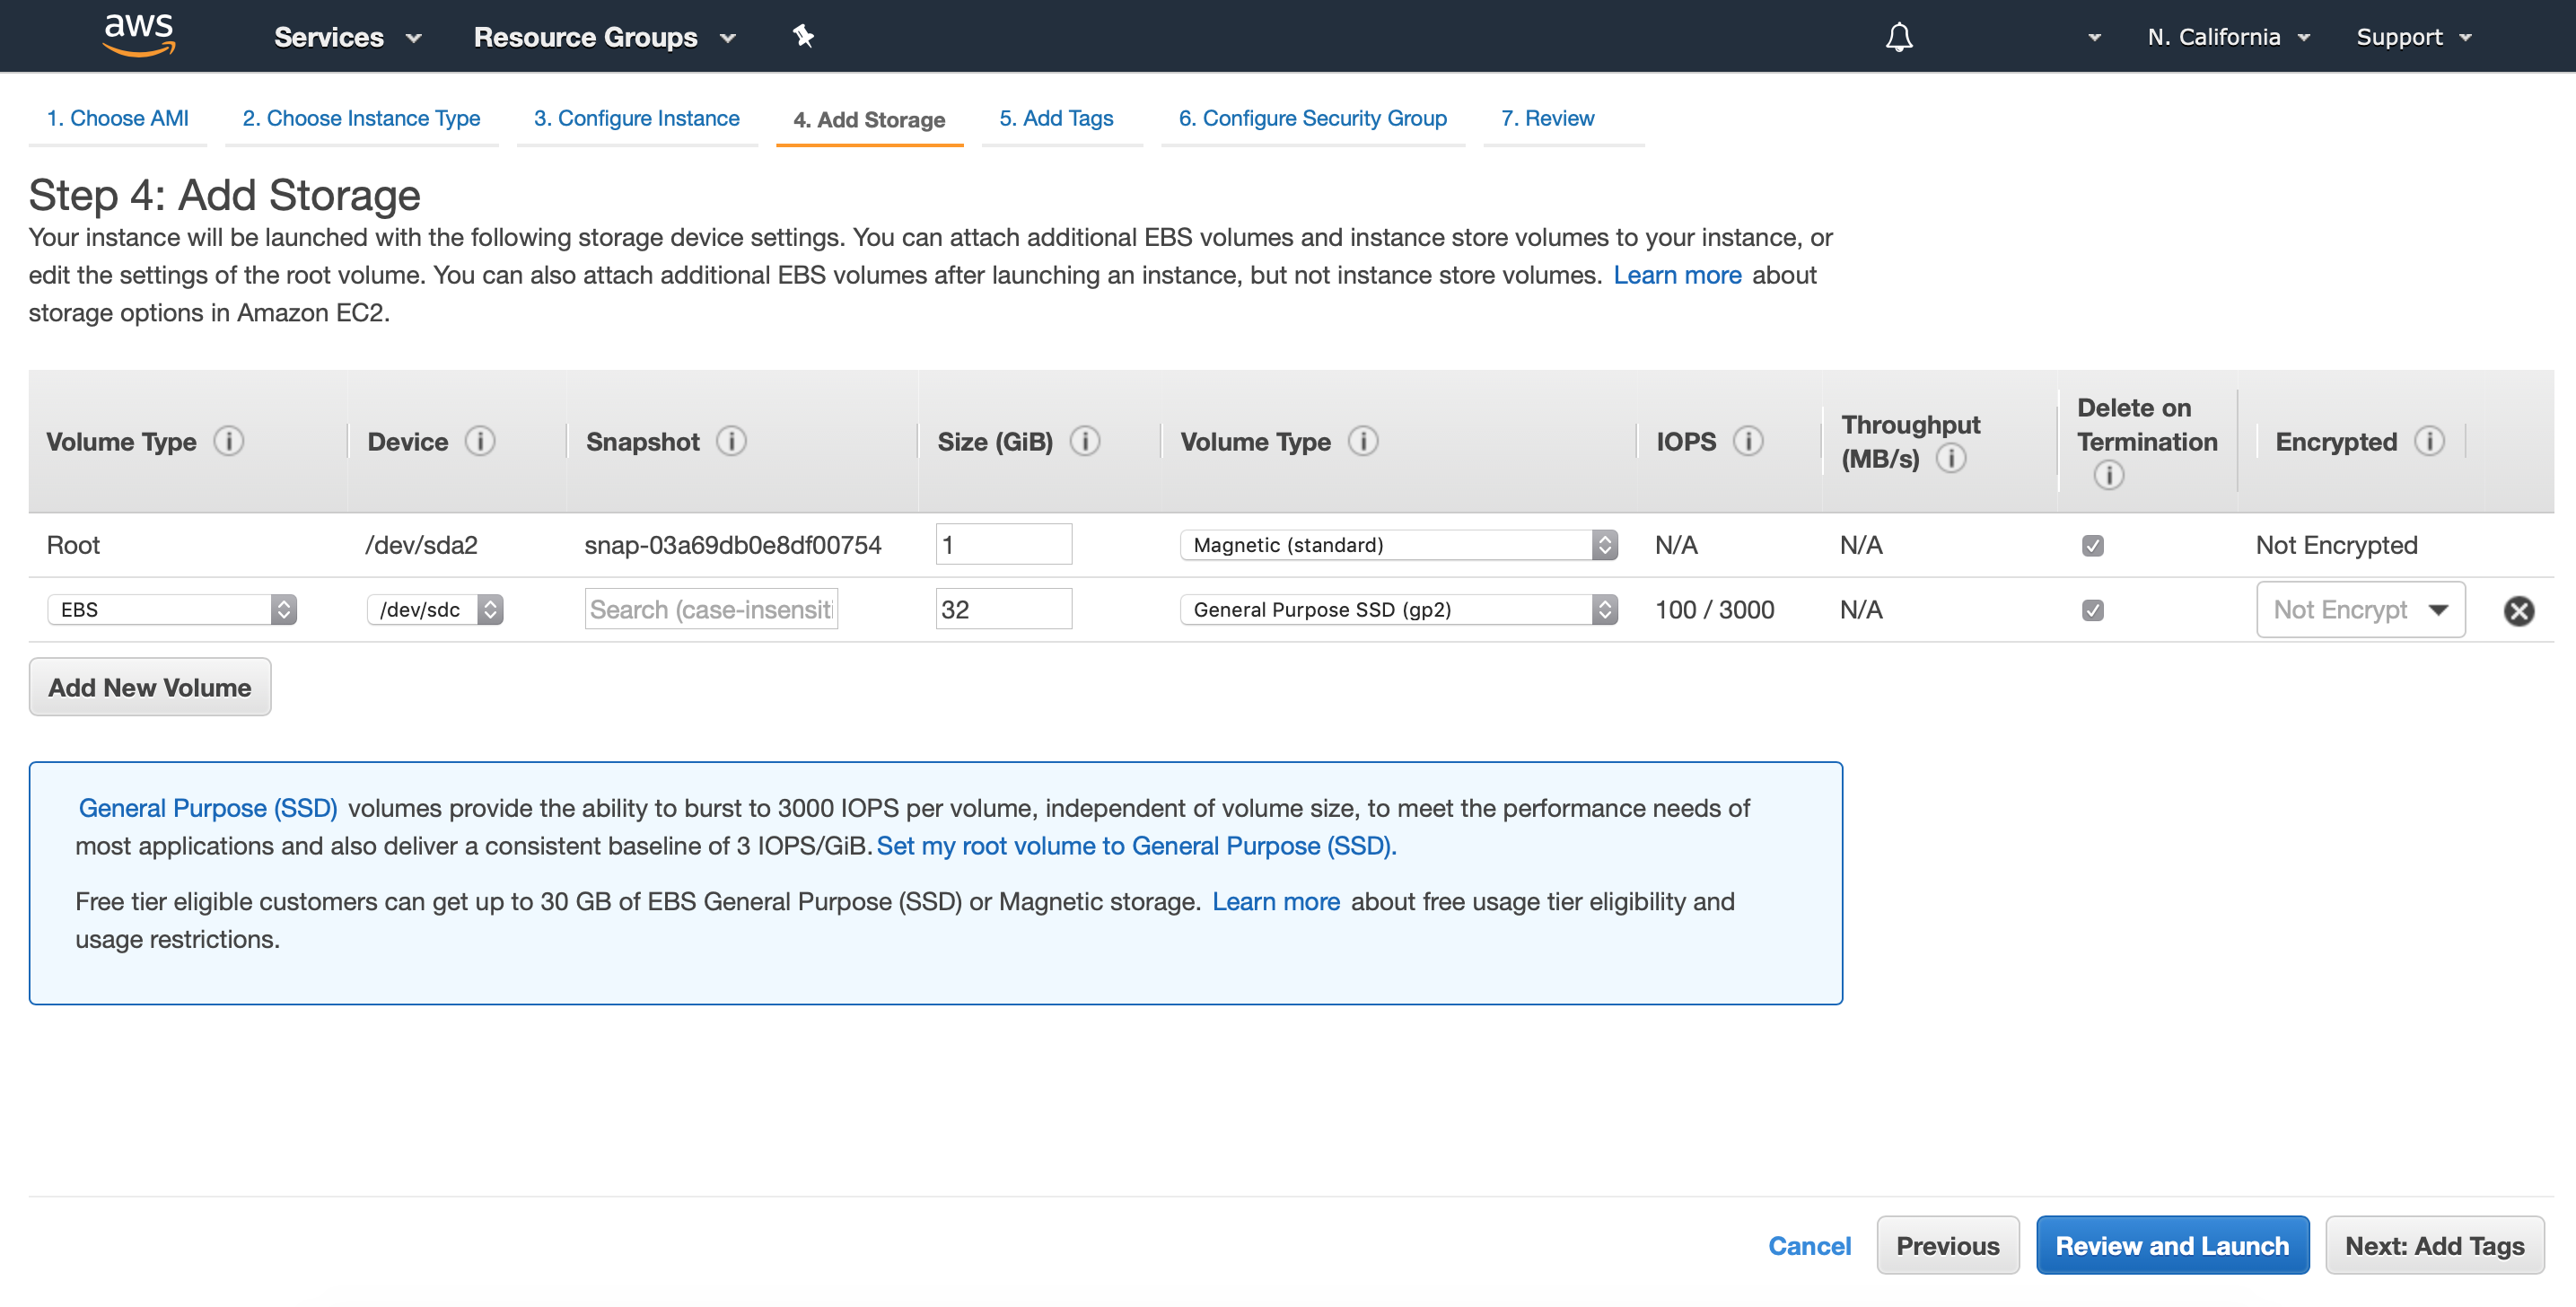
Step 4: Add Storage
-
Change the following information on the new volume:
You can leave all other settings as is.
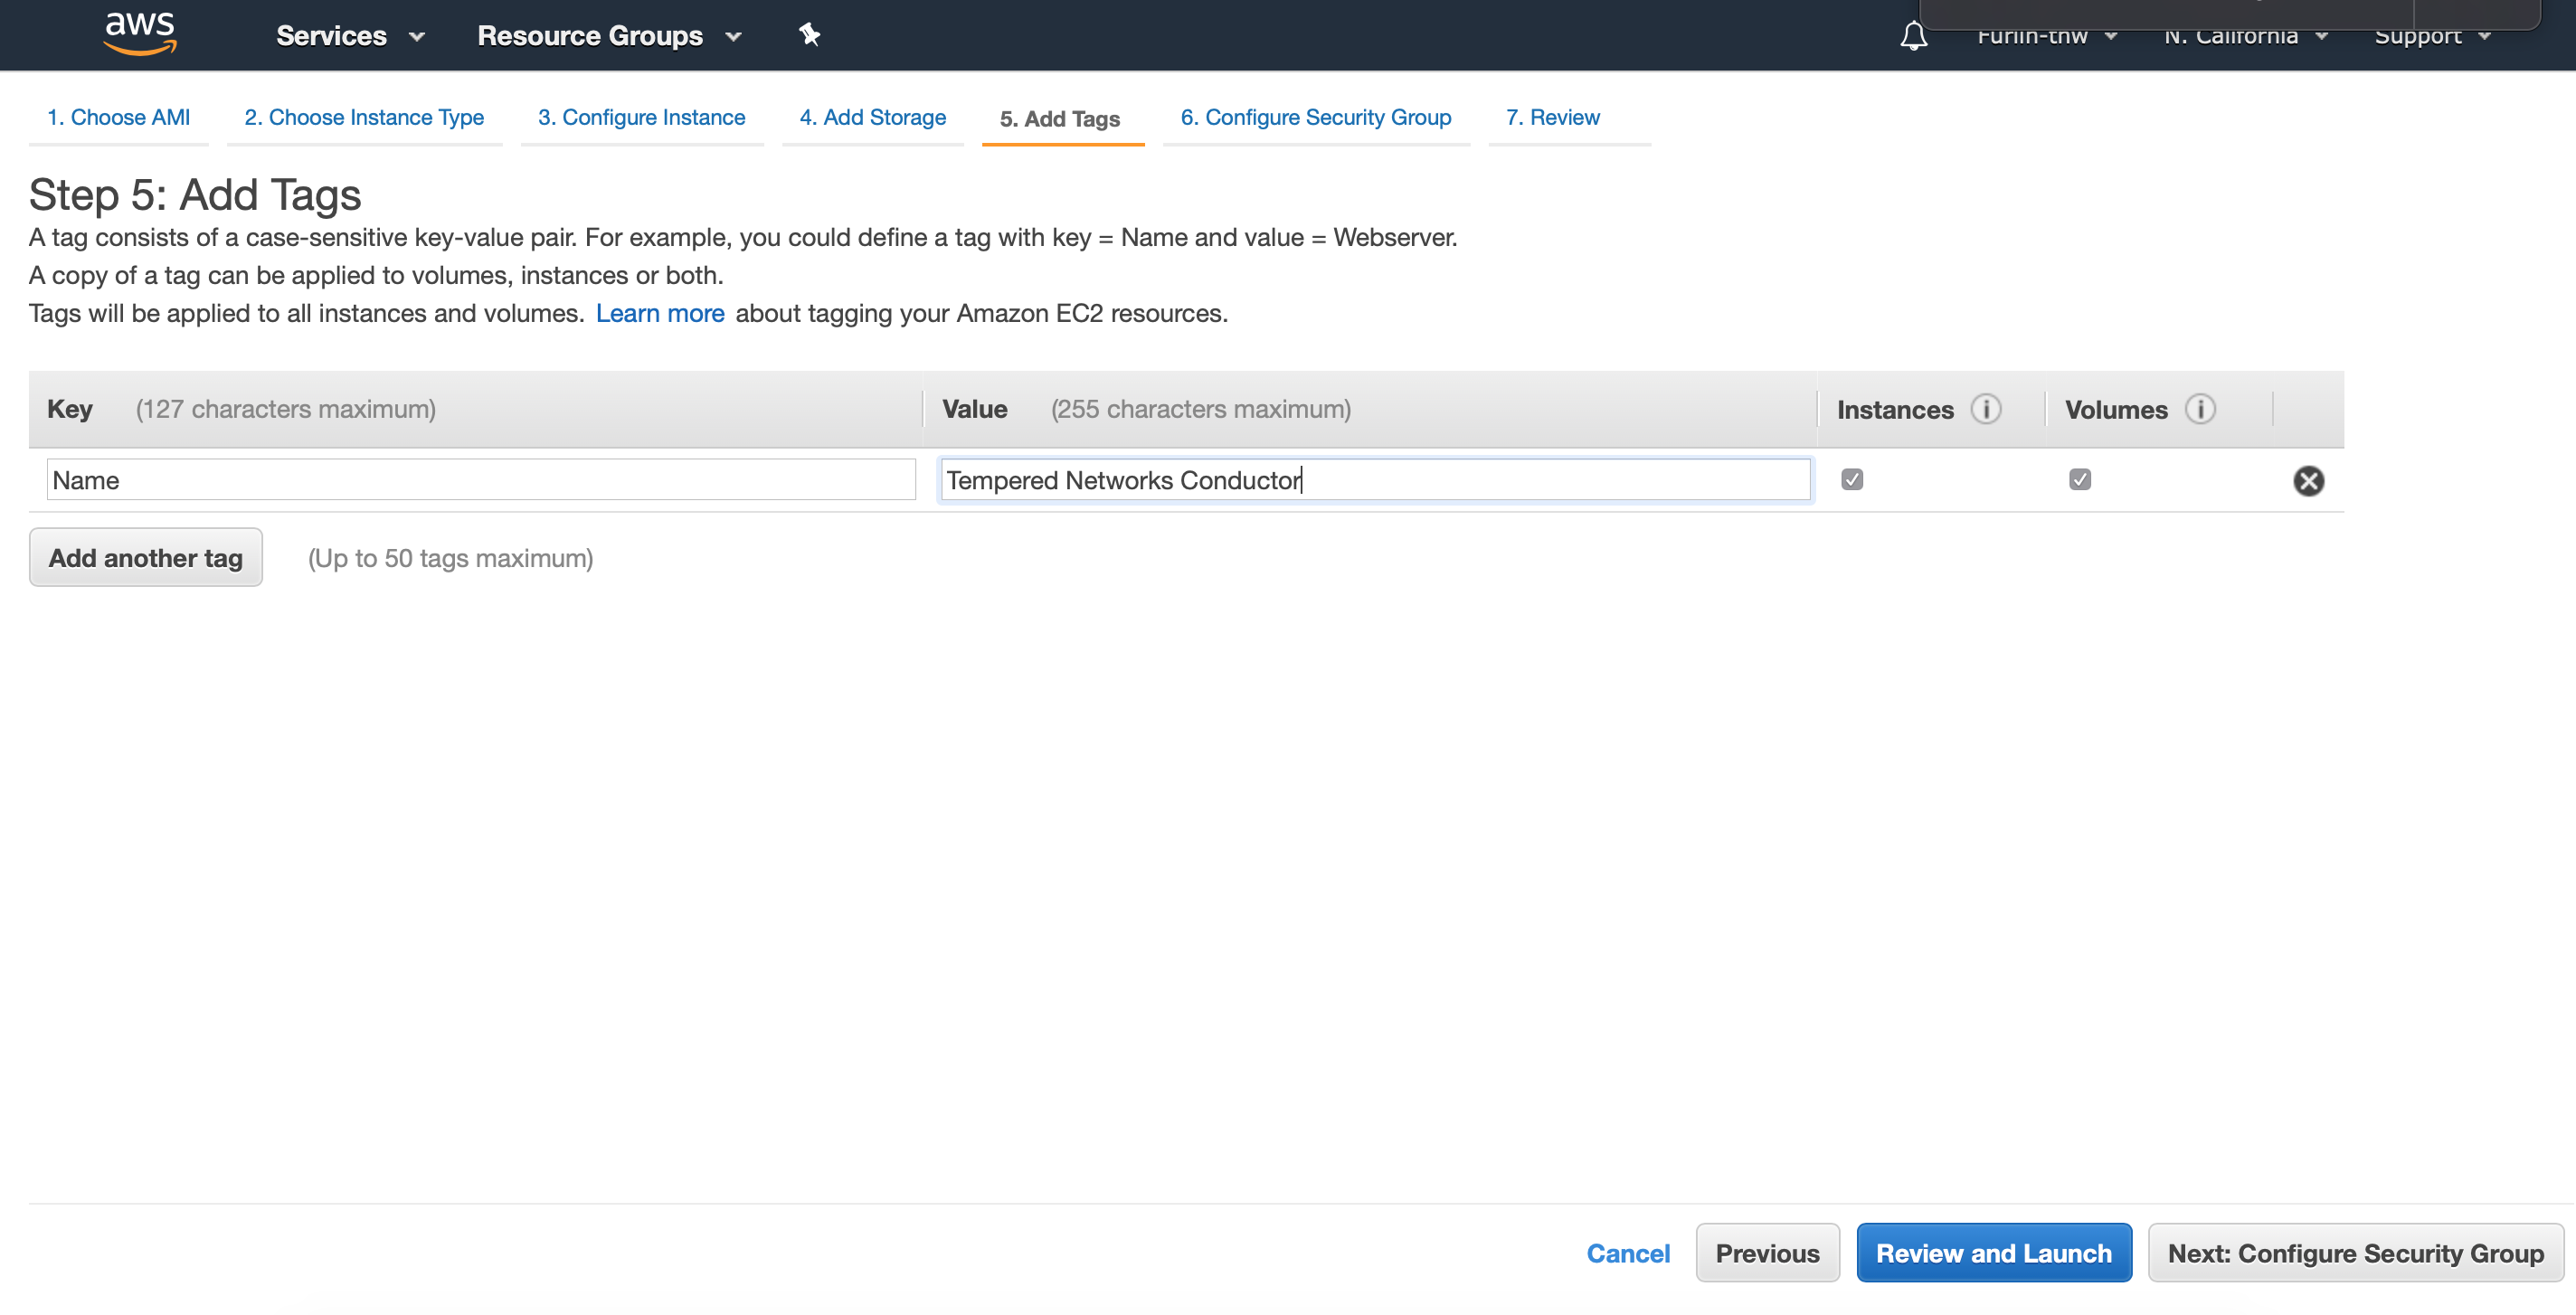
Step 5: Add Tags
-
On the Add Tags tab, click Add
Tag and enter the following:
- Enter Name in the Key column.
- Enter a name for your Conductor in the Value column.
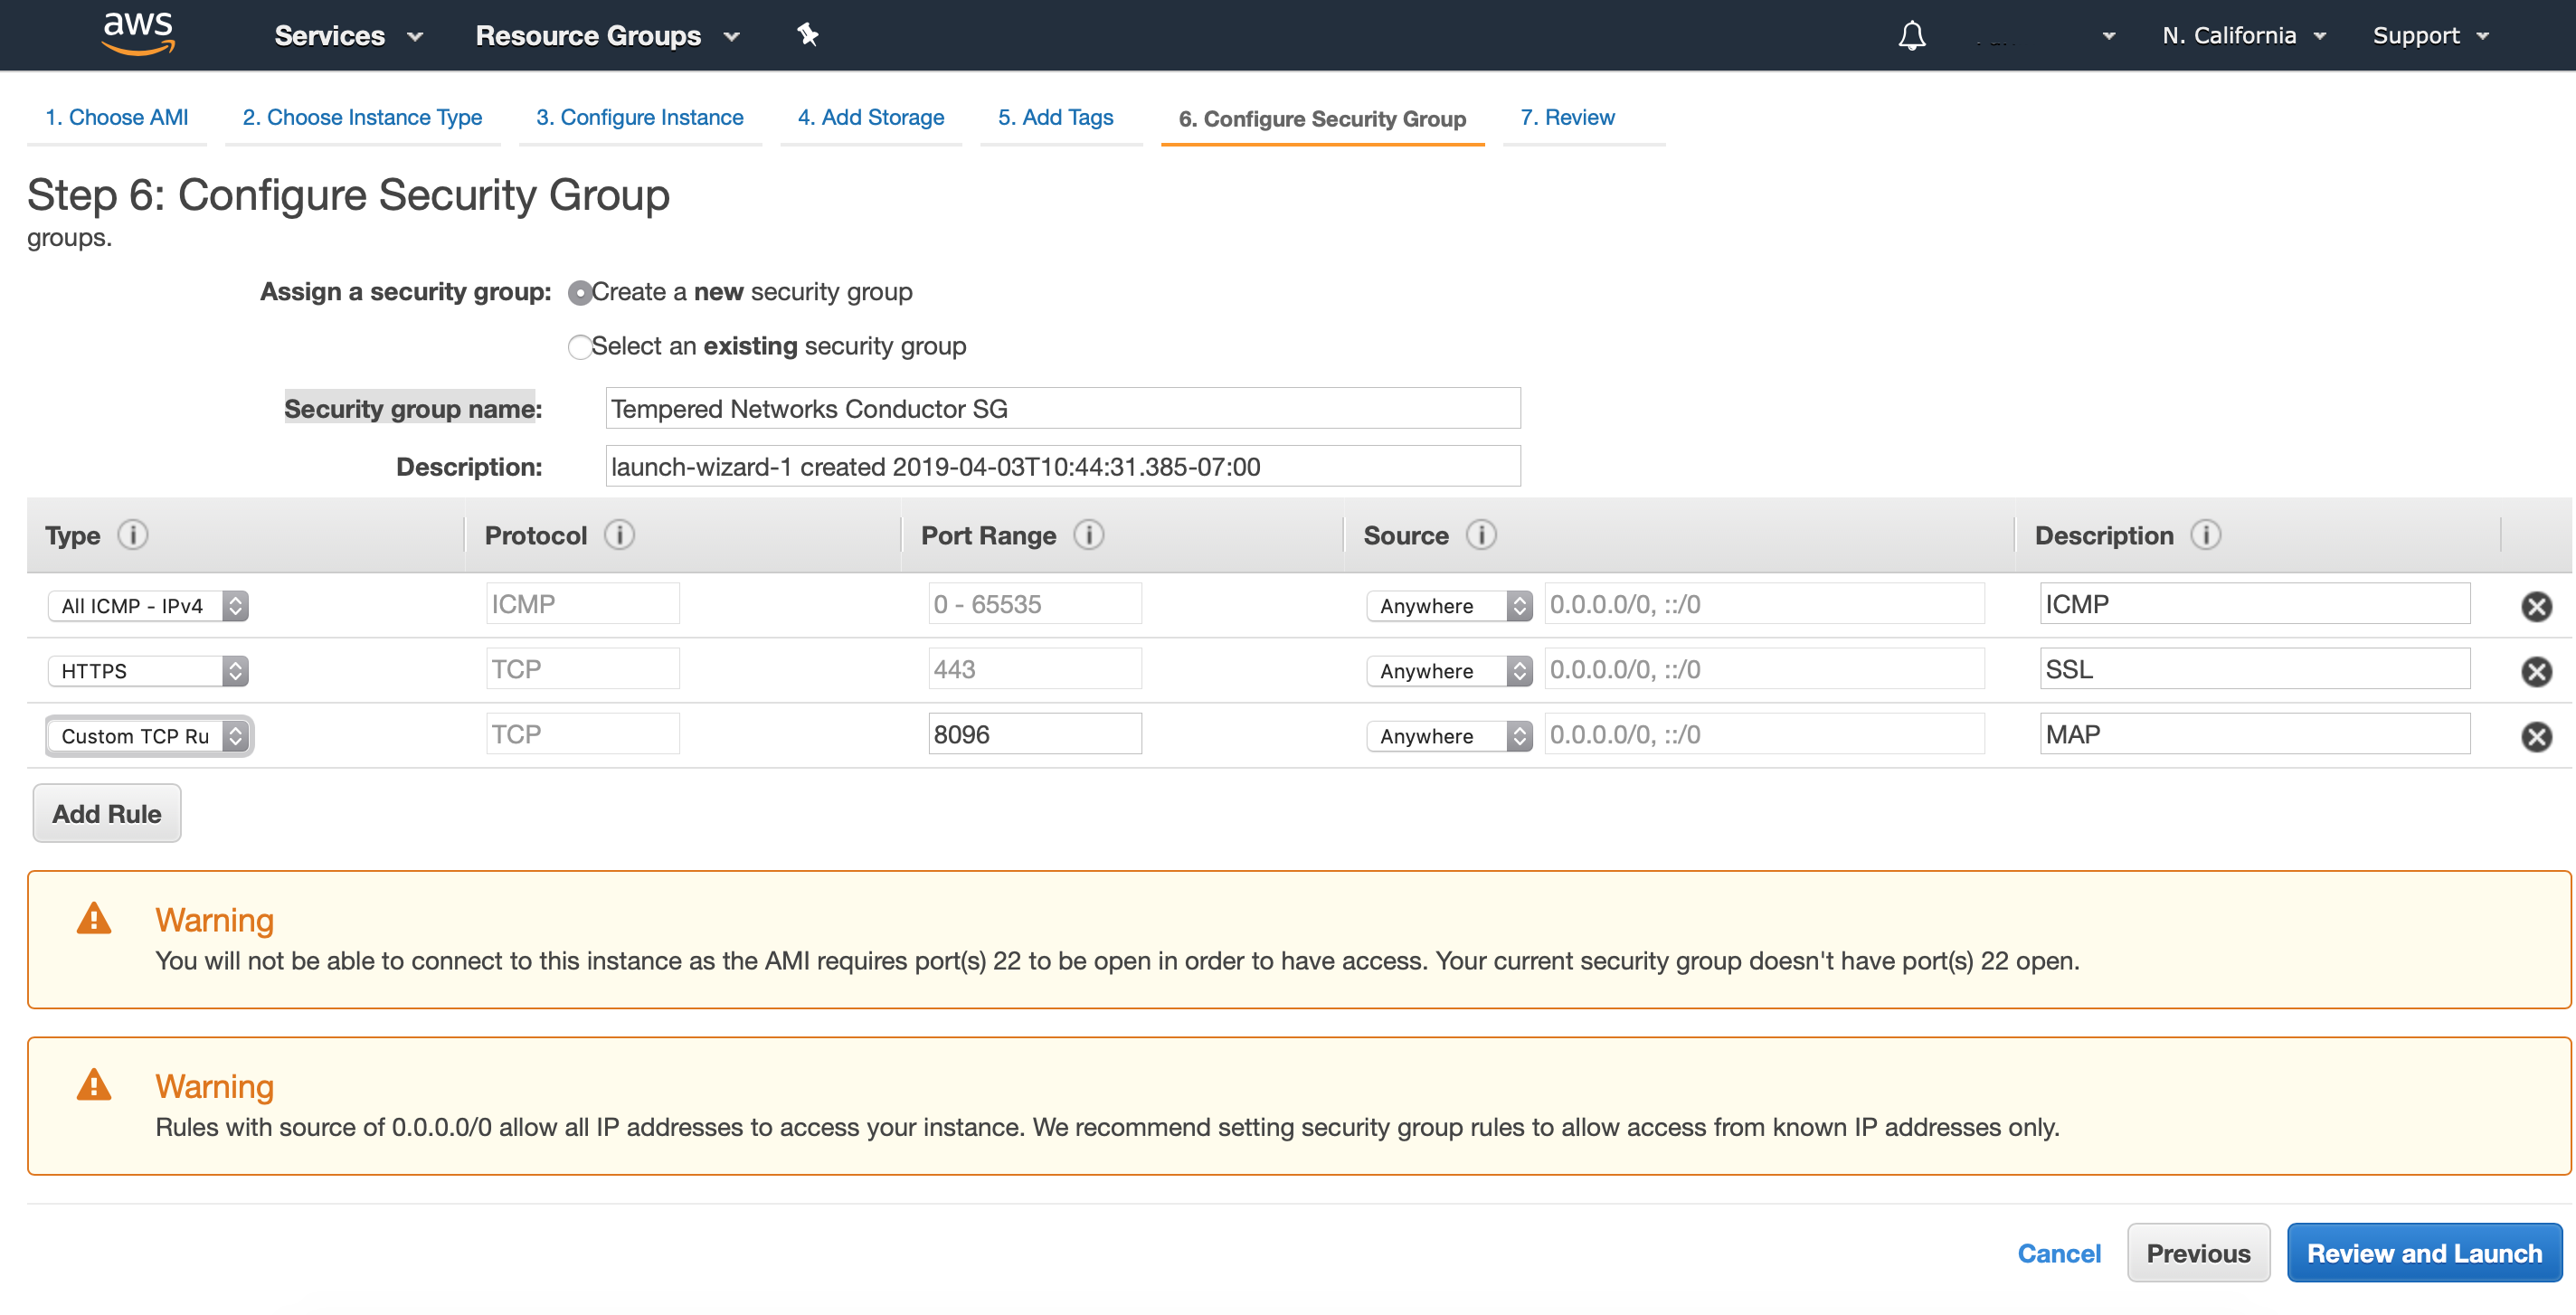
Step 6: Configure Security Group
-
Add three rules to your security group:
- Click Add Rule, select All ICMP – IPv4 from the Type drop-down, select Anywhere from the Source drop-down, and enter ICMP in the Description column.
- Click Add Rule, select HTTPS from the Type drop-down, select Anywhere from the Source drop-down, and enter SSL in the Description column.
- Click Add Rule, select Custom TCP Rule from the Type drop-down, enter 8096 in the Port Range column, select Anywhere from the Source drop-down, and enter MAP in the Description column.
Step 7: Review
-
Review your setup information and if everything is correct, click
Launch.

Verify the install
To verify the install:
-
An unlicensed Conductor
will display the initial Provisioning page where you will
license your Conductor.
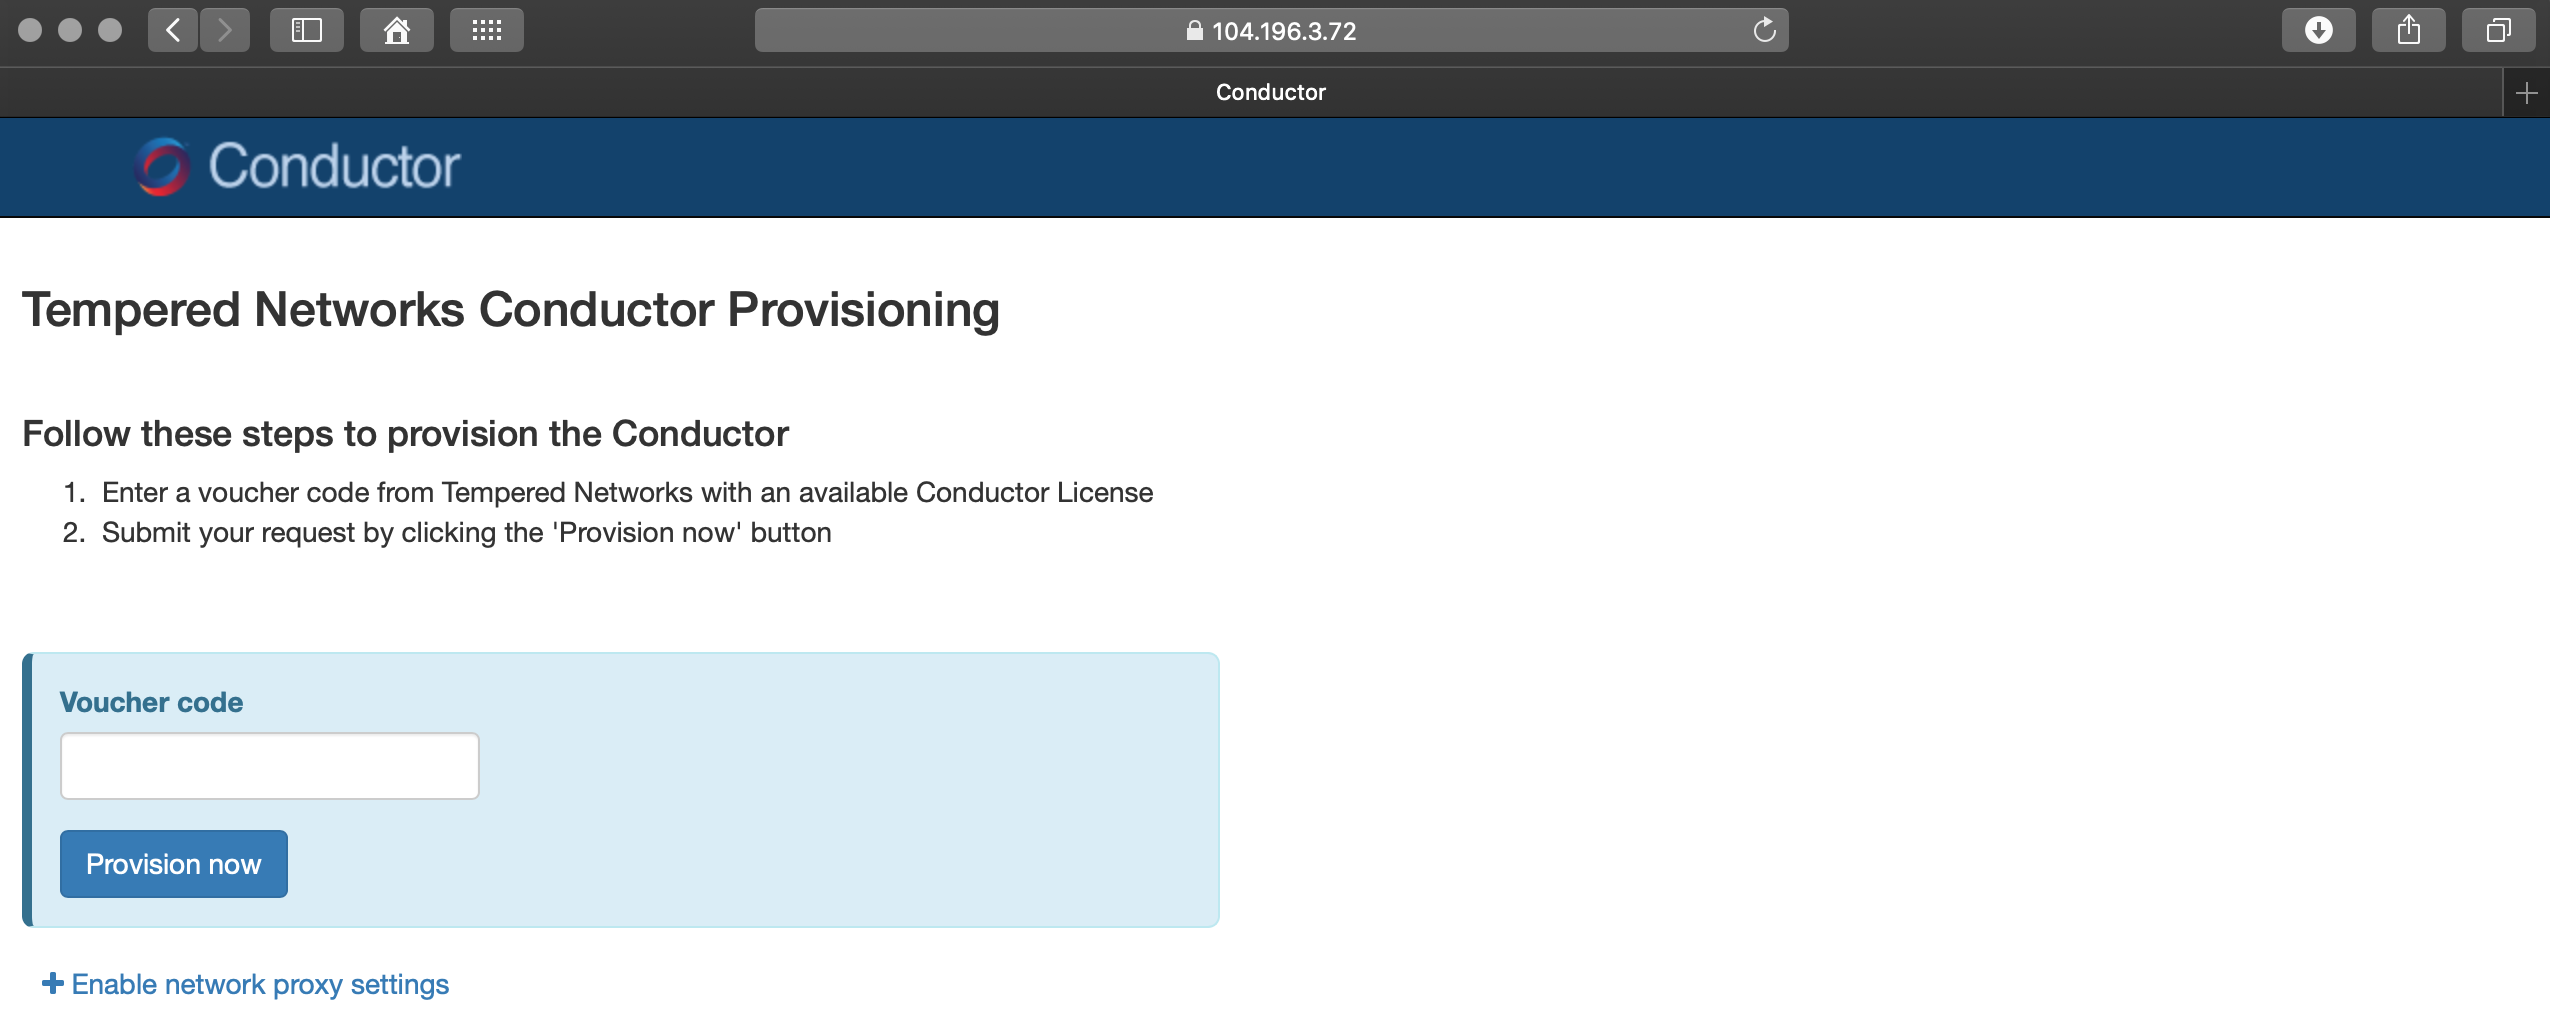
-
Click Provision now. It will take a moment to finish the
operation. Once complete, you should see the following:

-
Enter the default username and password at the login dialog and click
Sign in.
- Username
- admin
- Password
- admin123

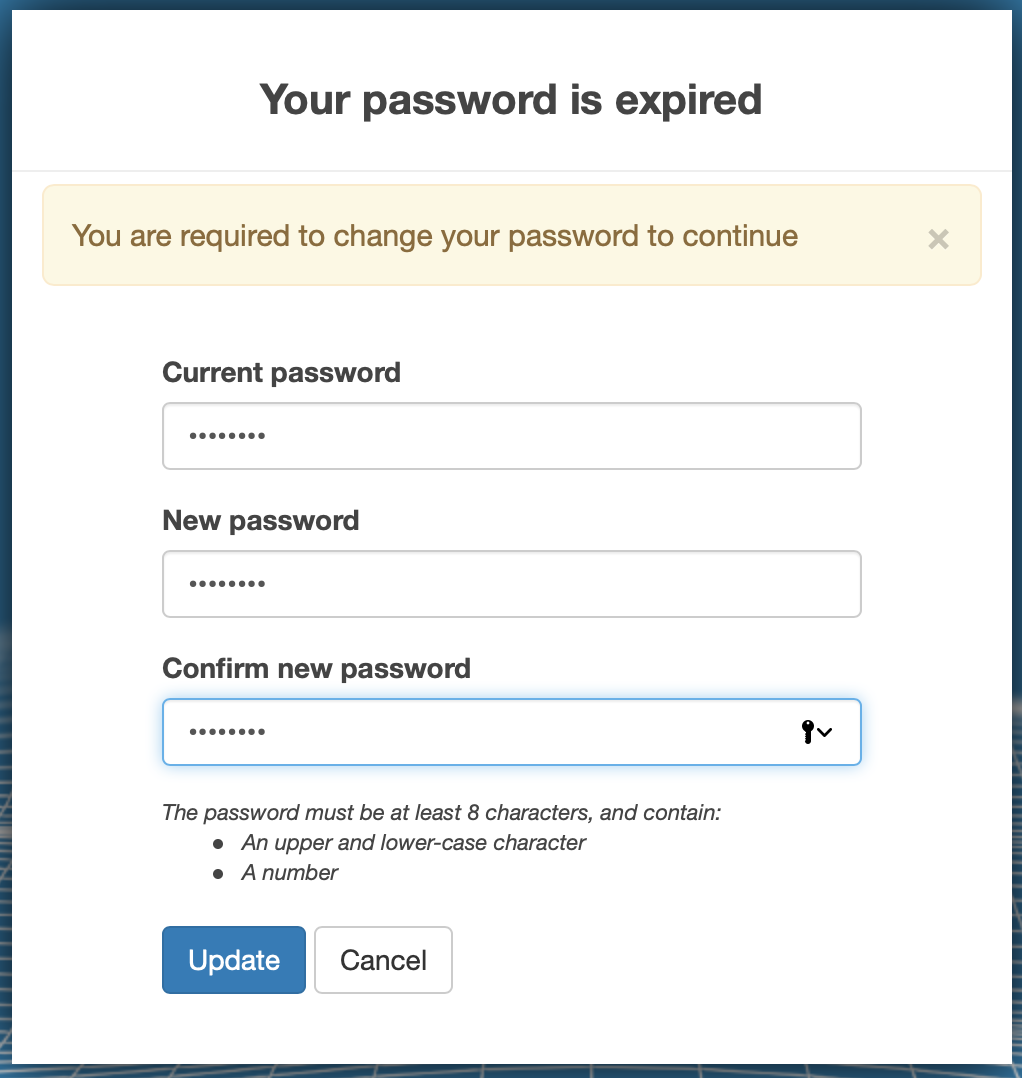
-
You will be prompted to enter a new password. Enter the default password in the
Current password field and a new password of your
choosing in the New password and Confirm new
password fields.
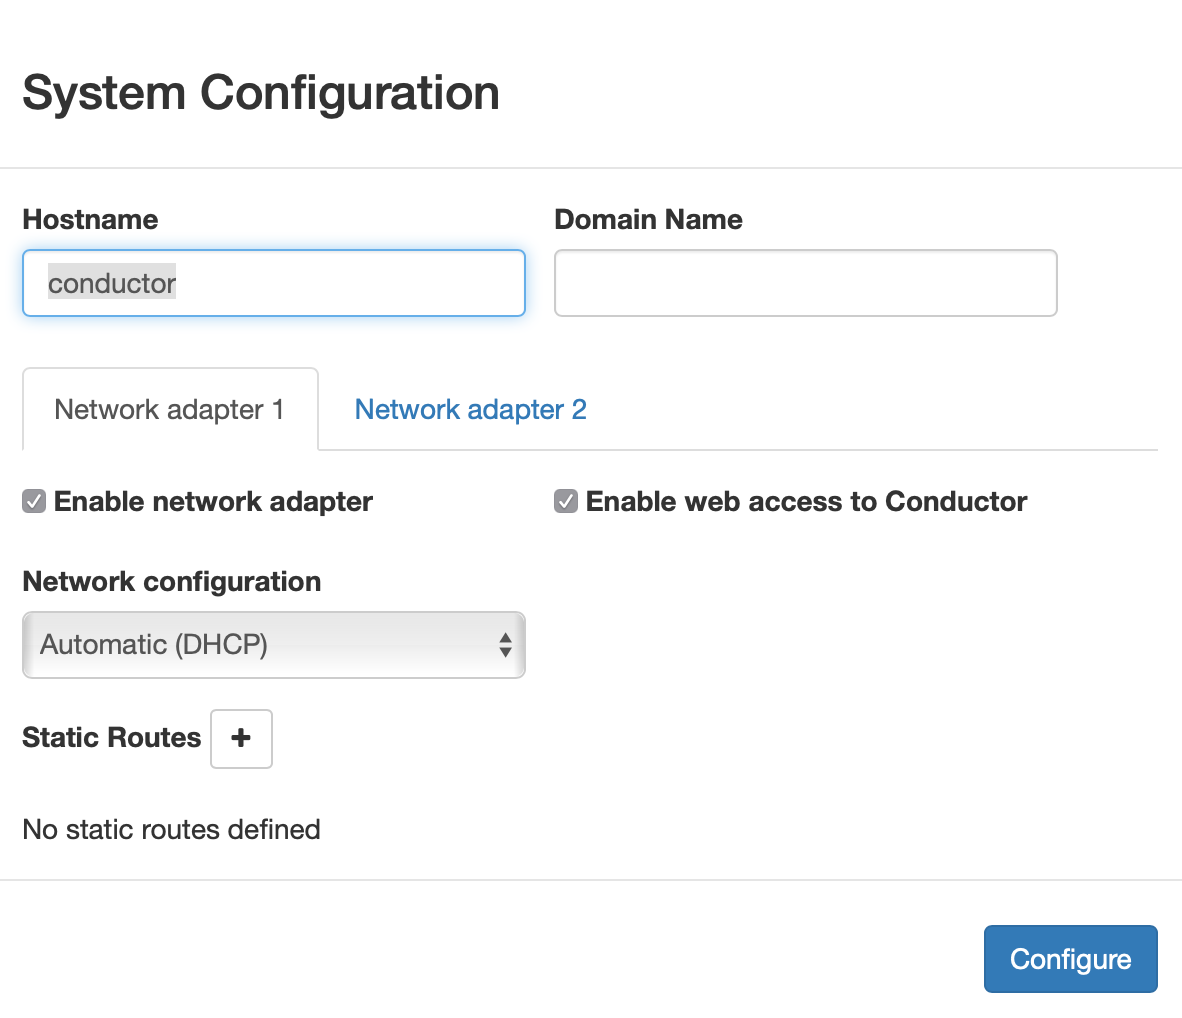
-
On the System Configuration dialog, leave all the fields as is and click
Configure.
-
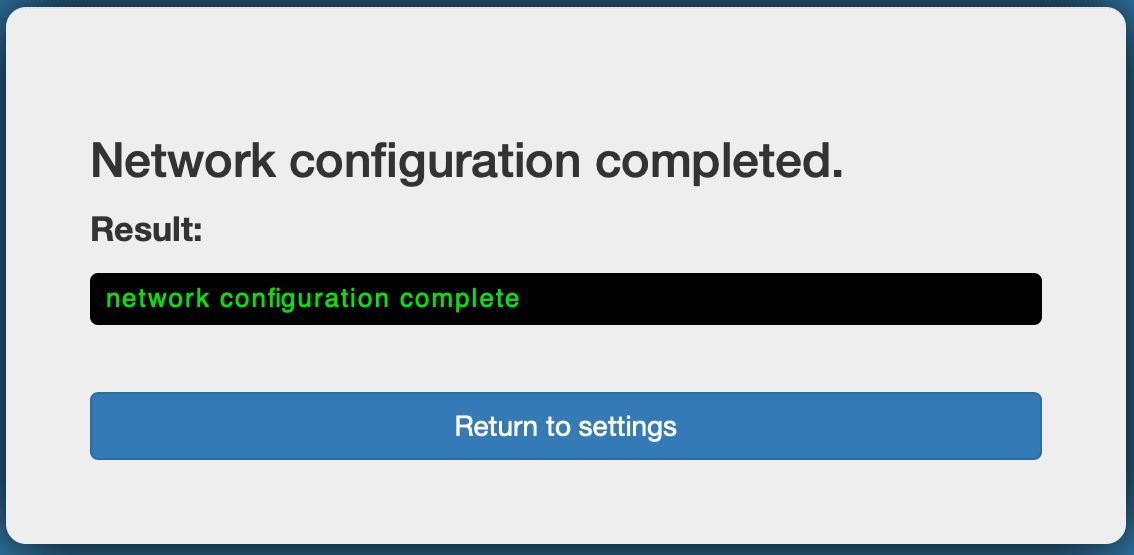
It will take a moment to complete the operation. Once finished, click
Return to settings.
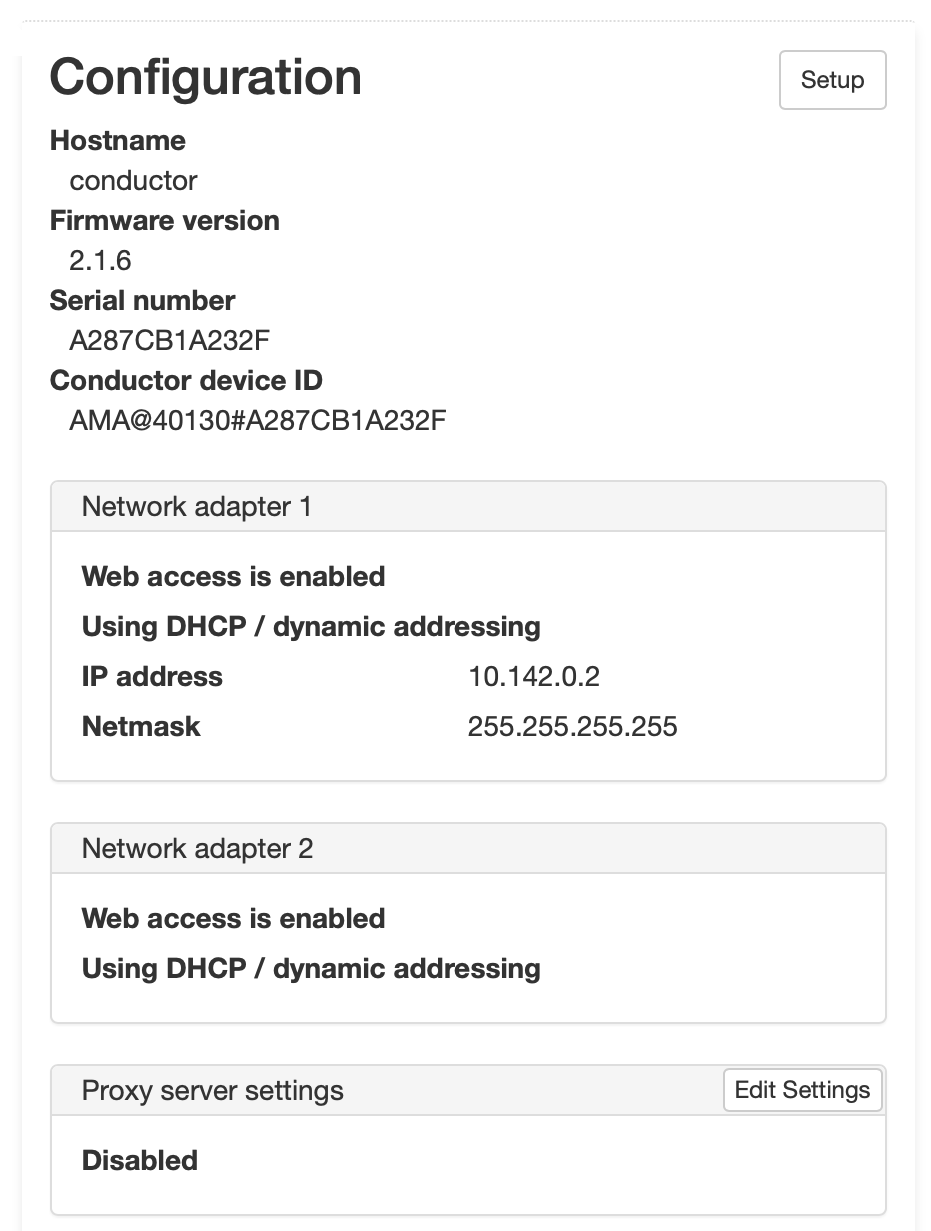
Additional Information
Once your Conductor is installed, you can configure and manage it as you would a physical Conductor. For additional help, you can search the Online Documentation by using the search bar at the top of the page or the navigation links to the left.