Automatically Create an Standby HA Conductor in the Cloud
The Conductor has automated the process of setting up a High Availability (HA) Conductor in the cloud.
Once you’ve set up the cloud provider on your active/master Conductor, setting up and configuring a standby using the Conductor is simple and eliminates many of the mistakes that can happen when manually configuring a standby Conductor in the cloud.
Before you begin
Before you can create a cloud standby Conductor automatically, you must:
- Have an account with a cloud provider
- Have your active/master Conductor set up in the same cloud provider
- Have a Conductor voucher for your new standby Conductor
- Set up a cloud provider in the Conductor. See Set up Cloud Providers.
To set up a Cloud HA Conductor
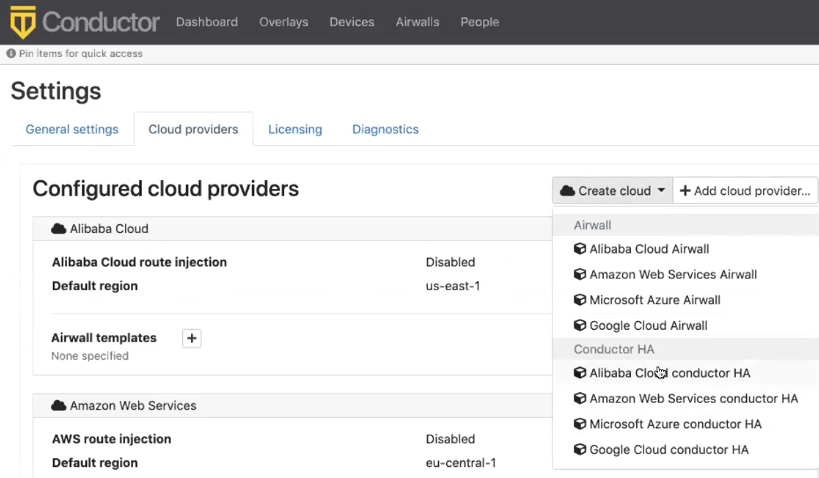
- On the Conductor that you want to be active for the HA pair, go to the Settings page.
- On the Cloud providers tab, select Create cloud.
-
Under Conductor HA, select the same cloud
provider as your active Conductor.
-
On the Create cloud page:
- Name – Enter a deployment name for your standby Conductor.
- Conductor Voucher – Add the Conductor voucher for your standby Conductor.
- Default region – Select your region from the cloud provider list.
-
Under Image and network options, select the
cloud provider details for your new Conductor. Only Conductor images matching your active Conductor are displayed. Select the Network (VPC) to
bring up the options for the public subnet from your cloud
provider.
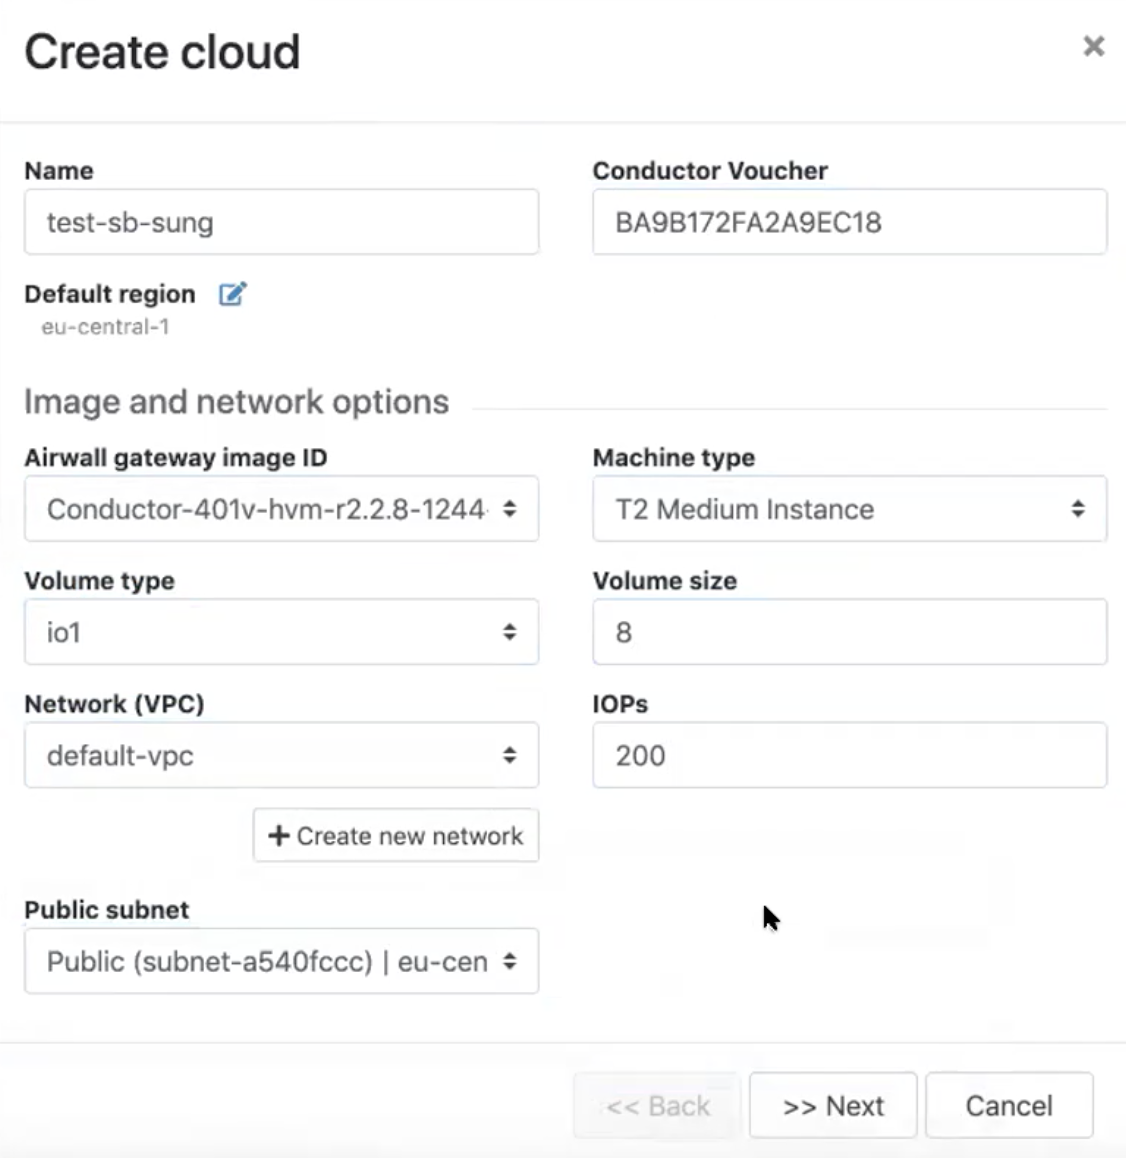
- Click Next
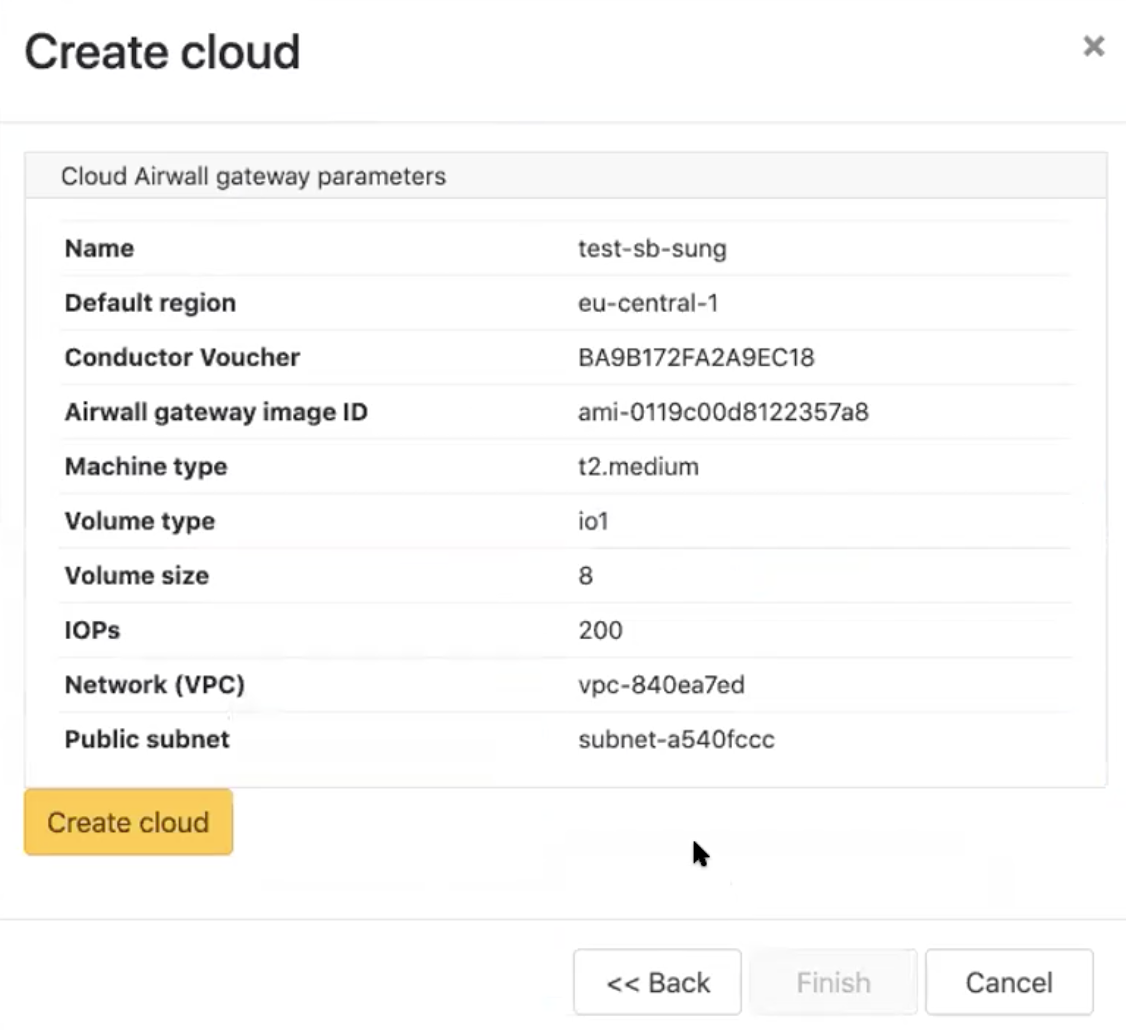
-
Check that the parameters are correct, and click Create
cloud.
-
Wait for the active Conductor to create and provision a new Conductor, and then configure it automatically as a standby Conductor. The Create cloud HA Standby process adds port
5432 to the existing security group of the active Conductor (or creates it if it doesn’t have one), and then sets Conductor HA settings to both active and standby Conductors with the information from your current active Conductor. Depending on your cloud provider, this process can take up to 10
minutes.
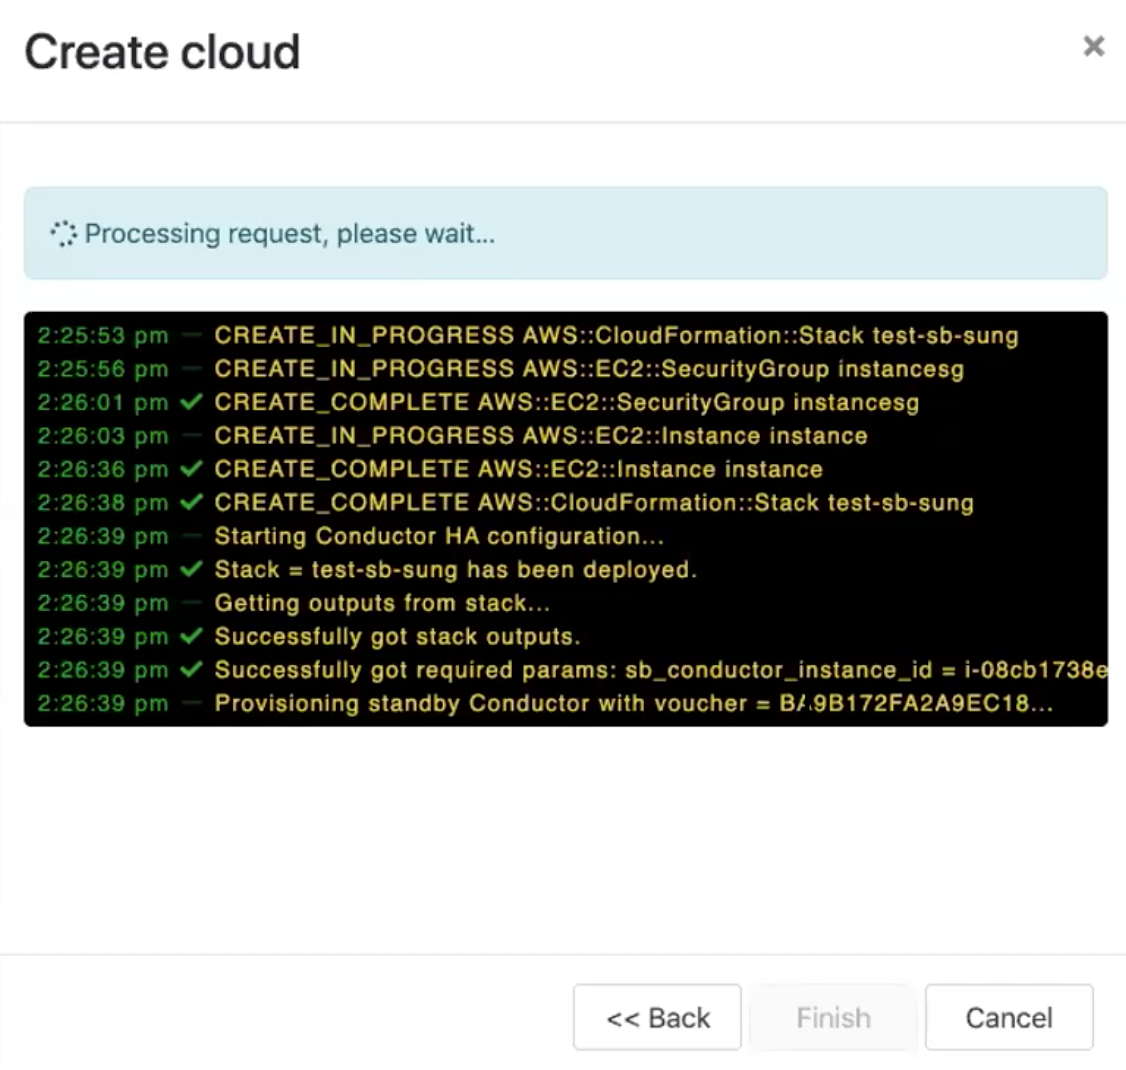
- When it is done, select Finish.
- As part of the provisioning process, you are logged out and will see a Not connected to the Airwall Conductor message. When this happens, log back into the active Conductor.
-
On the Dashboard, under Recent
Events, you’ll be able to see the HA Standby Conductor was created.
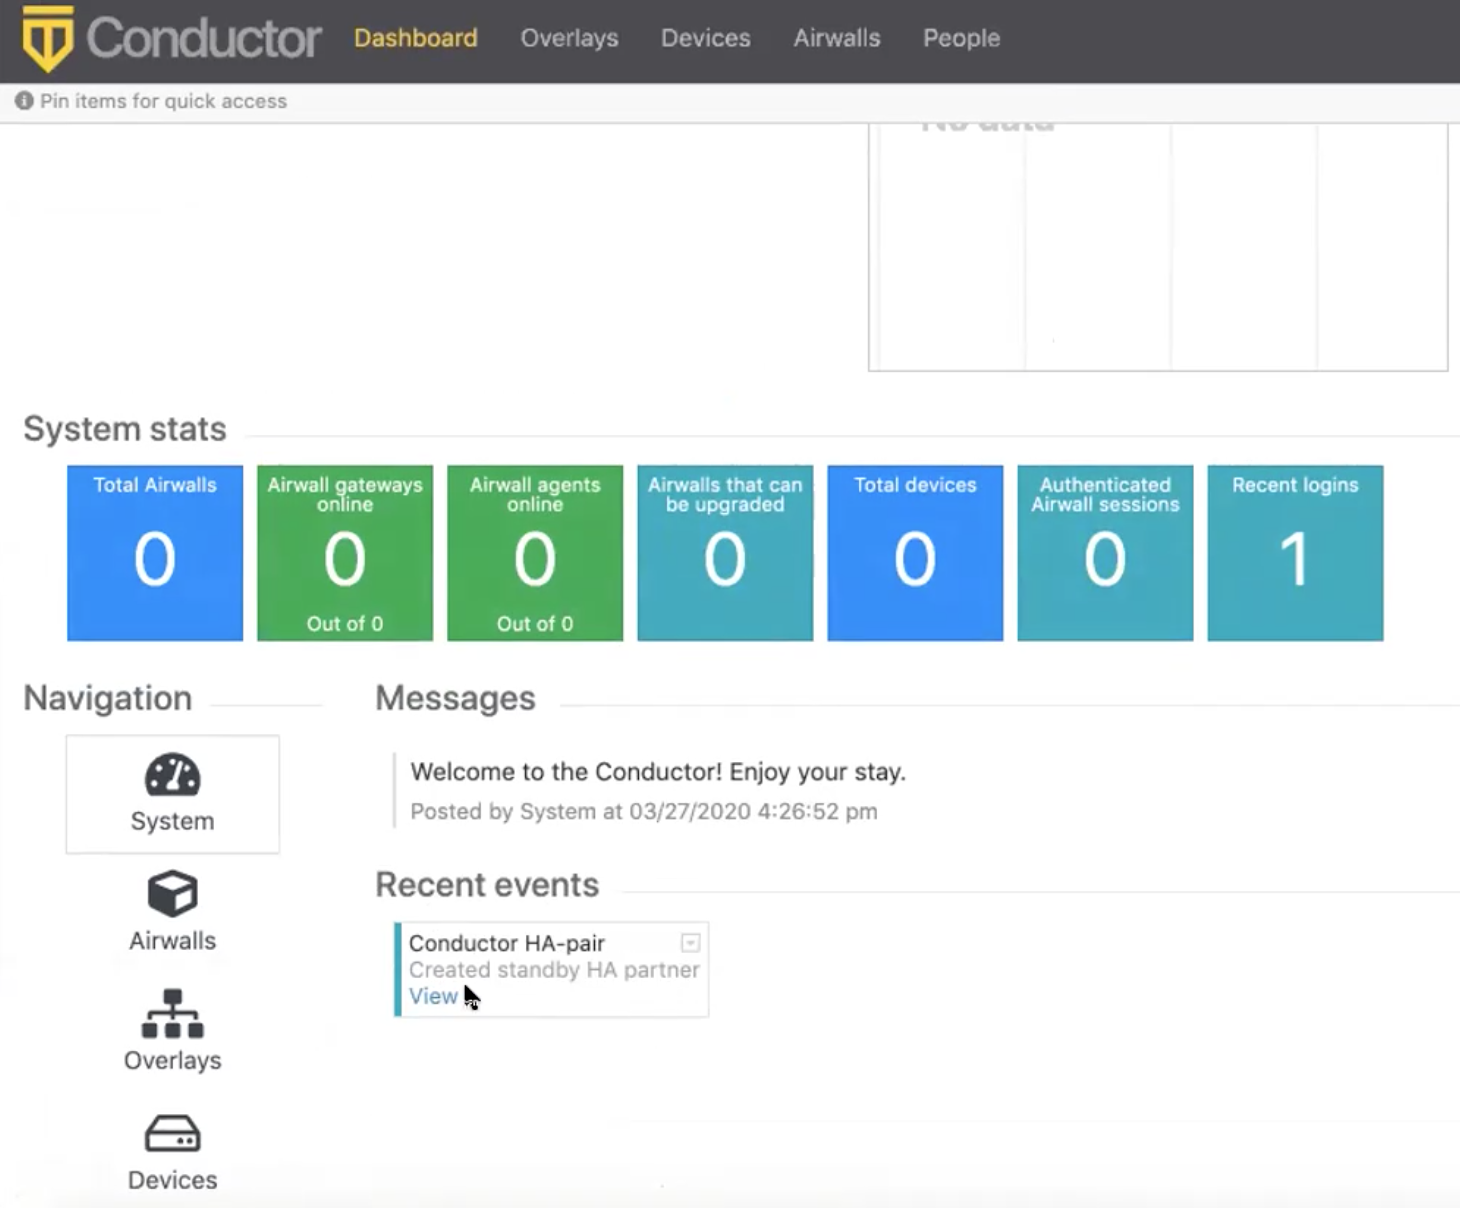
Your standby HA Conductor is set up, provisioned, and configured.
Check the Status of your Standby Conductor
- On your active Conductor, go to the Settings page.
-
Under Airwall Conductor high availability, you can
see the status. It may say
Not streaminguntil the cloud HA standby Conductor is fully set up on your cloud provider.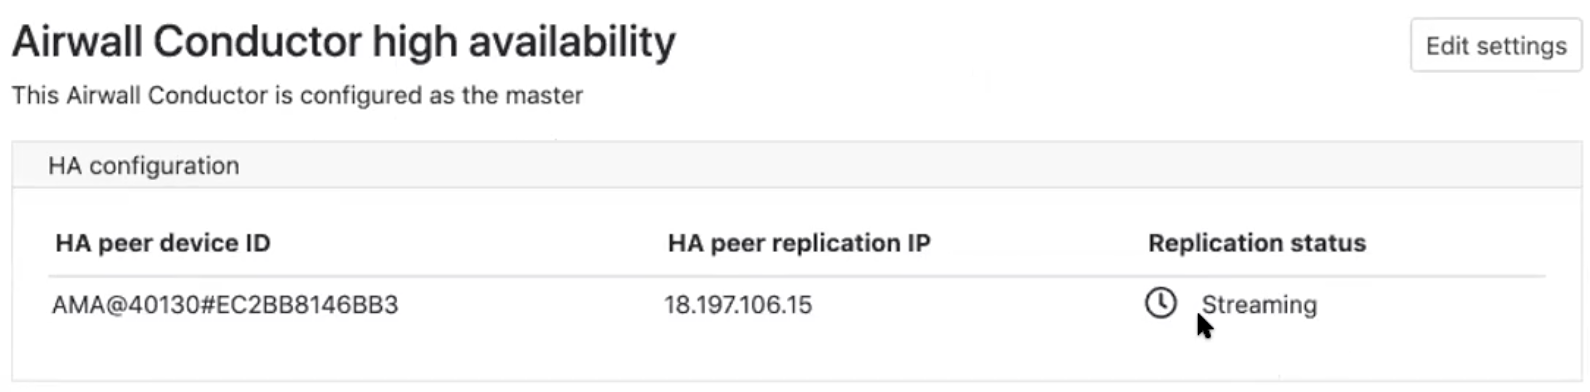
Streaming, your standby Conductor is
ready and acting as a standby HA Conductor. You
can also check on your cloud provider to see the new standby Conductor
instance.Log in to your Standby Conductor
Once your standby Conductor
shows as Streaming on your active Conductor's
Settings page, you can log in to the standby Conductor.
- In your active Conductor, go to Settings and scroll down to Airwall Conductor high availability.
- Copy the HA peer replication IP and enter it into a web browser.
- Log in with the same user name and password as your active Conductor.
