Restoring a Conductor virtual machine on Azure
Important:
Prerequisites- If your Conductor is using the marketplace image or if this is your first-time restoring Conductor virtual machine (VM), you must select the Create new option. Do not select the Replace existing option.
- Do not attach or swap newly created and restored disks to your existing VM as it will be unreachable and will not start if you choose the Replace existing option.
- Conductor version 3.4.1 or later.
- Go to Conductor VM's resource group and select the Conductor VM.
-
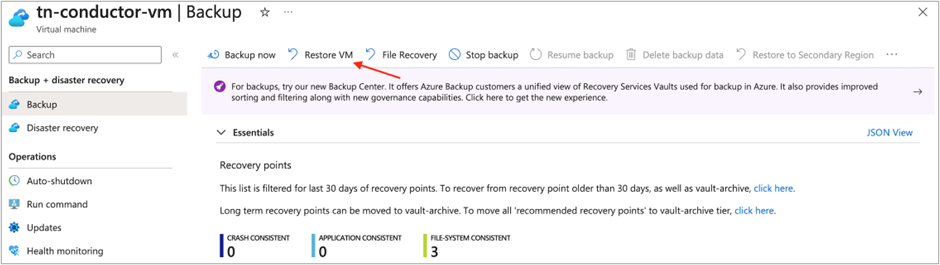
Click Backup.

-
Click Restore VM.
-
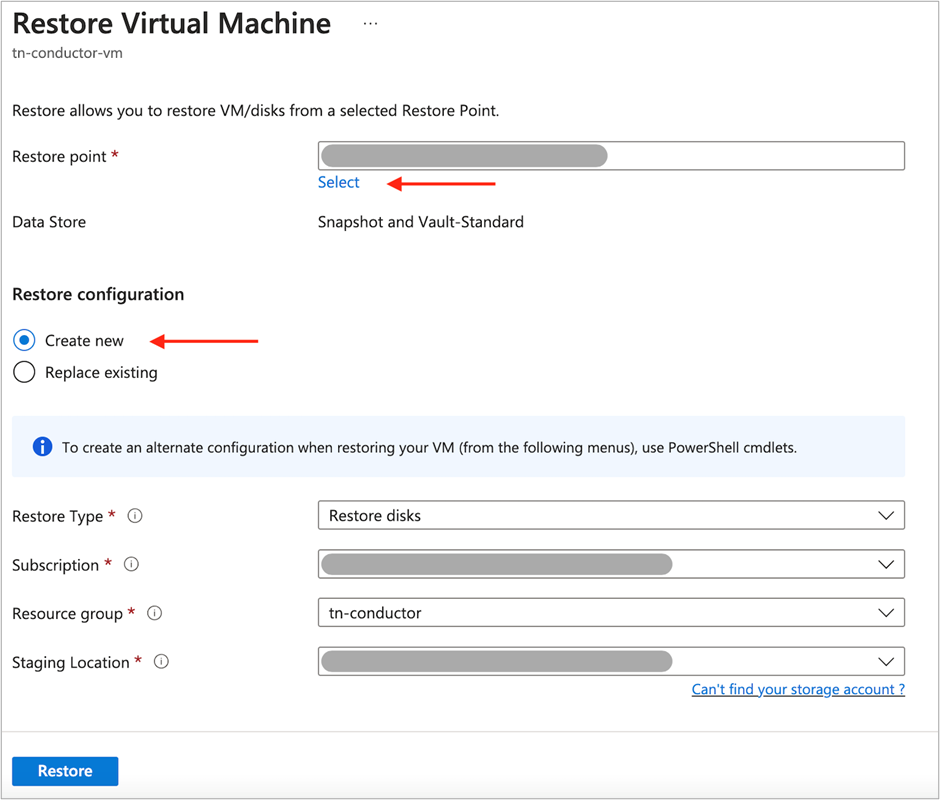
Select the restore point. In Restore Configuration, select Create
new.
Important: Do not select Replace existing if your Conductor is using the marketplace image or if this is your first time restoring Conductor VM. Your existing VM will be unreachable and will not start if you choose the Replace existing option.
-
Complete the fields:
- Resource Type: select Restore disks.
- Subscription: select the current subscription.
- Resource group: select an existing resource group for the restored disks.
- Staging Location: select an existing storage account. The template files are stored in the selected storage account.
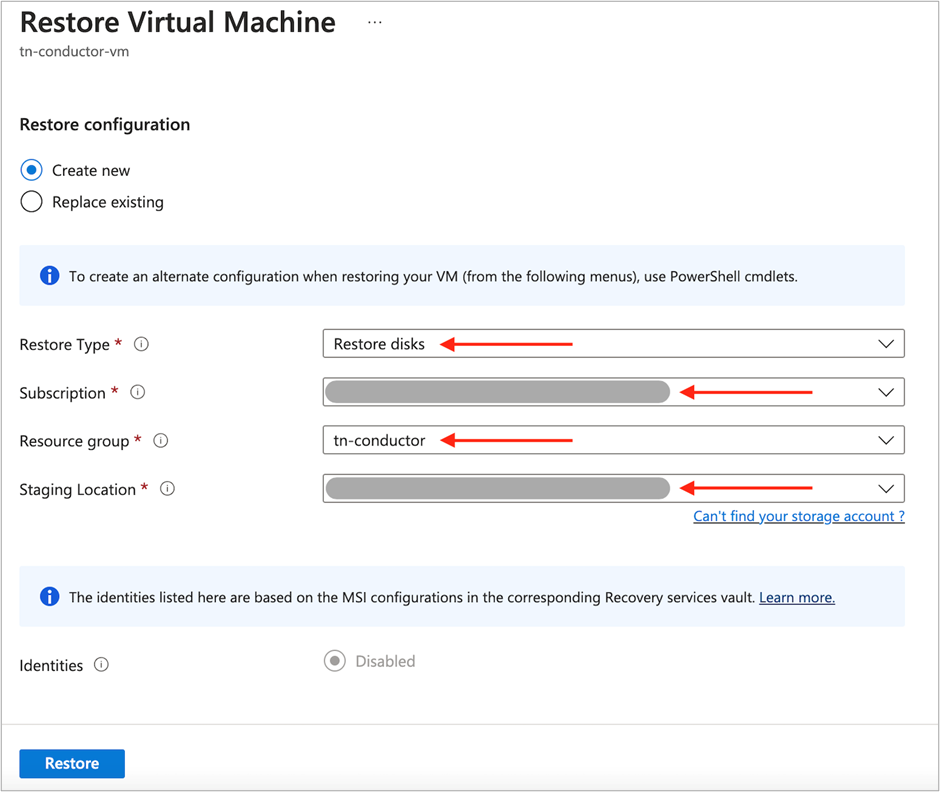
- Click Restore.
-
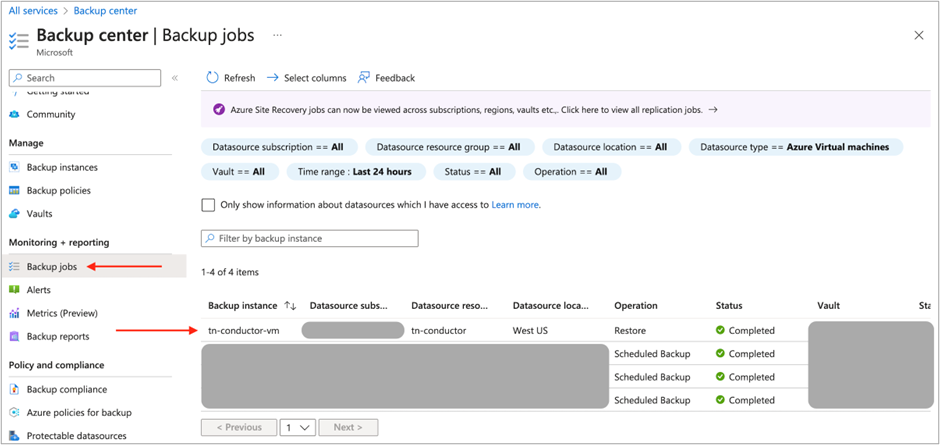
In the Azure portal menu, go to Backup center.

-
Click Backup jobs. Ensure the job is completed.
-
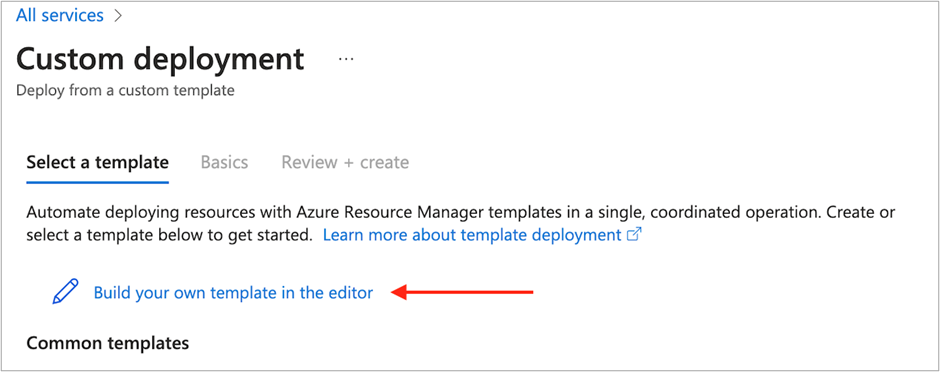
Navigate to Deploy a custom template.

-
Click Build your own template in the editor.
- Click Edit template, copy and paste content from restore_conductor.json, and click Save.
-
Complete the fields:
- Resource group: Select an existing resource group where your original VM is located.
- Region: Select a region where your original VM is located.
- Virtual Machine Name: Define a name for your new restored VM.
- Virtual Machine Size: Enter the same virtual machine size as the original VM’s machine size.
- OS Disk Name: Enter the restored OS disk name (which was created from restore job in step 8).
- Data Disk Name: Enter the restored data disk name (which was created from restore job in step 8).
- Virtual Network: Enter the same virtual network name as the original VM’s virtual network name.
- Virtual Network Resource Group: Enter the same virtual network resource group name as the original VM’s virtual network resource group name.
- Subnet Name: Enter the same subnet name as the original VM’s virtual subnet name.
- Public IP Address Name: Define a public IP address name (you can remove or replace this with different public IP after the deployment).
- Network Security Group Name: Enter the same network security group name as the original VM’s network security group name.
- Click Review + create.