Deploy a Conductor on Microsoft Azure
You can deploy an Airwall Conductor on Azure and manage physical, virtual, and cloud Airwall Edge Services, and Airwall Agents. Use the following steps to deploy a Conductor on the Microsoft Azure platform.
Prerequisites
To get started, make sure you have access to your Azure account. If you do not have an account, you can create a free Microsoft Azure account and upgrade it to a full account later. If you have an existing Azure account, make sure your billing information is set up. You cannot create a project until you are able to link your billing information to your newly created project.
You need to purchase a Conductor license voucher for your Conductor to complete Step 3. After your purchase is complete, you get an email from Tempered Fulfillment with your voucher code.
Log in to Azure Cloud
Add a Conductor image
You add a Conductor image from the Azure marketplace to your project to create an instance.
- In Azure, select Create a Resource, and search for Tempered Conductor Deployment.
-
Select Tempered Airwall Conductor Deployment Wizard v3,
go to the Plan dropdown menu and select the Conductor
version.
Note: For Plan, select Conductor Deployment v3 for version greater than 3.3.2.
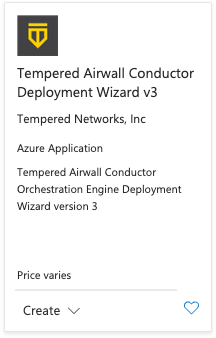
- Click Create.
-
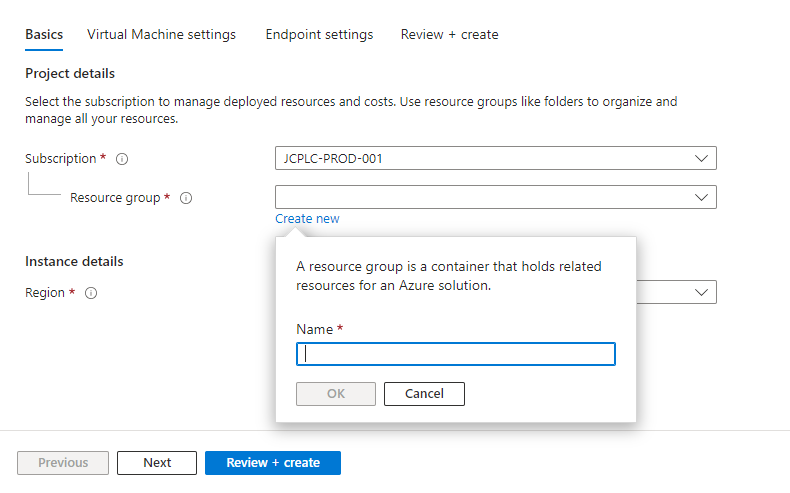
In the Basics tab, fill in the required fields:
- Subscription
- Select your subscription model from the drop-down.
- Resource group
- Create a resource group for your virtual network. To do this click Create New, enter a new name, and click OK.
- Region
- Select the region for this instance.
-
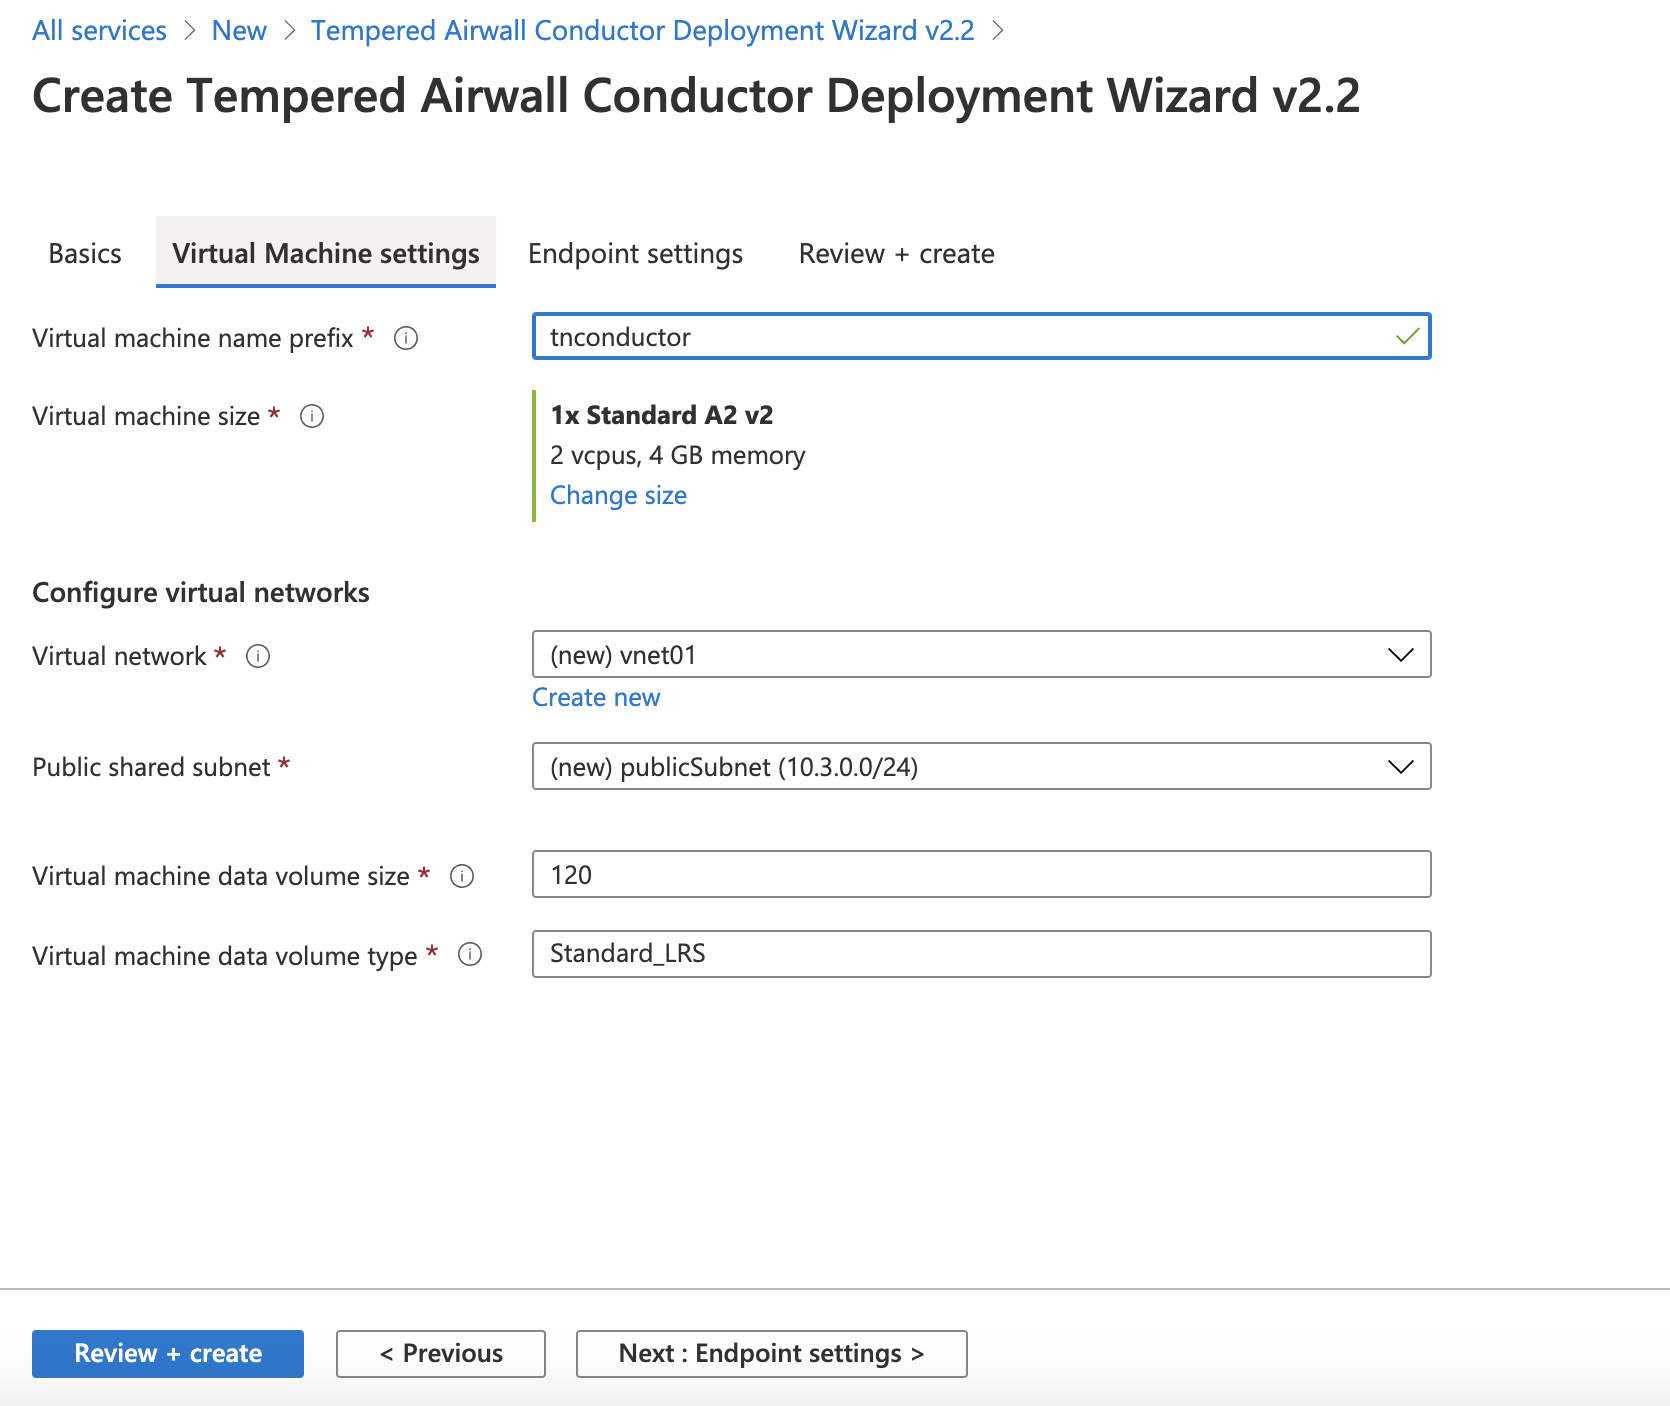
Select Next. On the Virtual Machine
settings tab:
- Virtual Machine name
- Enter a prefix for the virtual machine.
- Configure virtual networks
- Select or create a Virtual network.
- Public shared subnet
- Select a public subnet from the virtual network you selected.
-
Select Next. On the Endpoint Settings page:
- Conductor Public IP address
- Select Create new, then under Create public IP address, set SKU to Standard and select OK.
- DNS label
- Enter a prefix for the DNS name. Check to make sure you get the green check, indicating the name is valid.
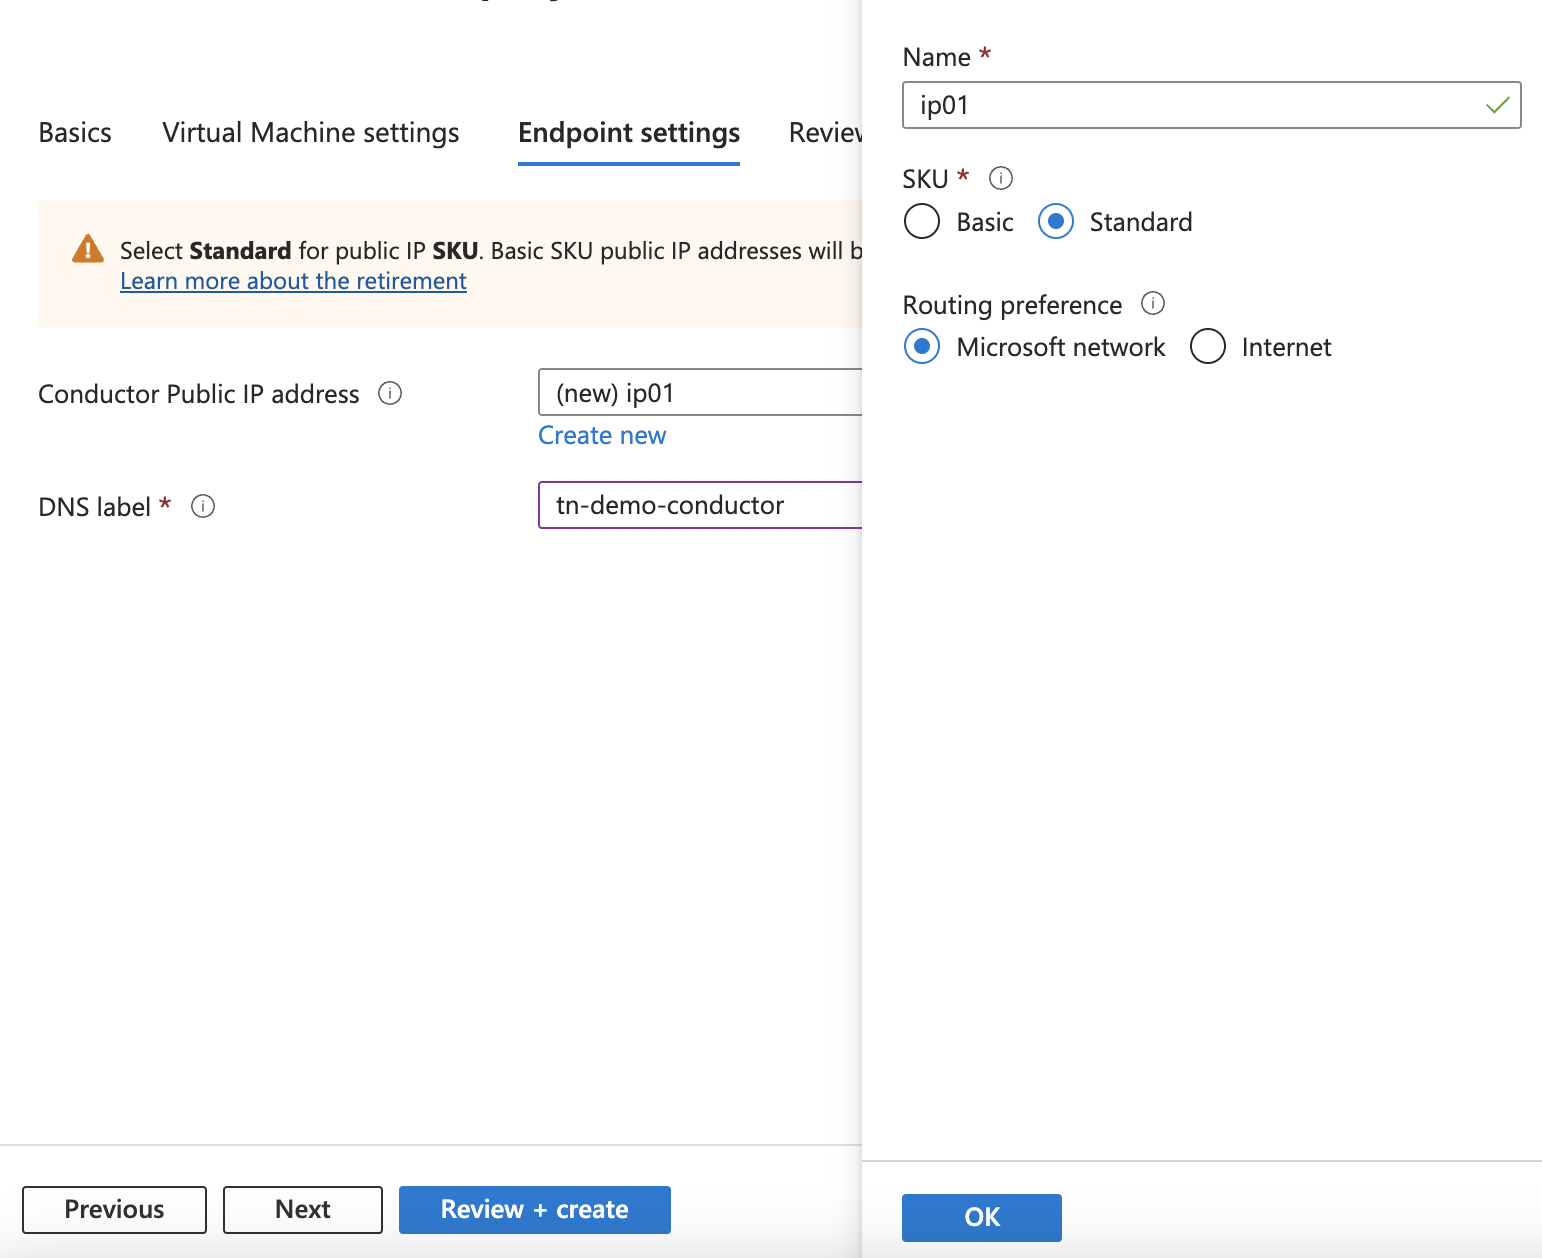
- Select Next: Review + create.
-
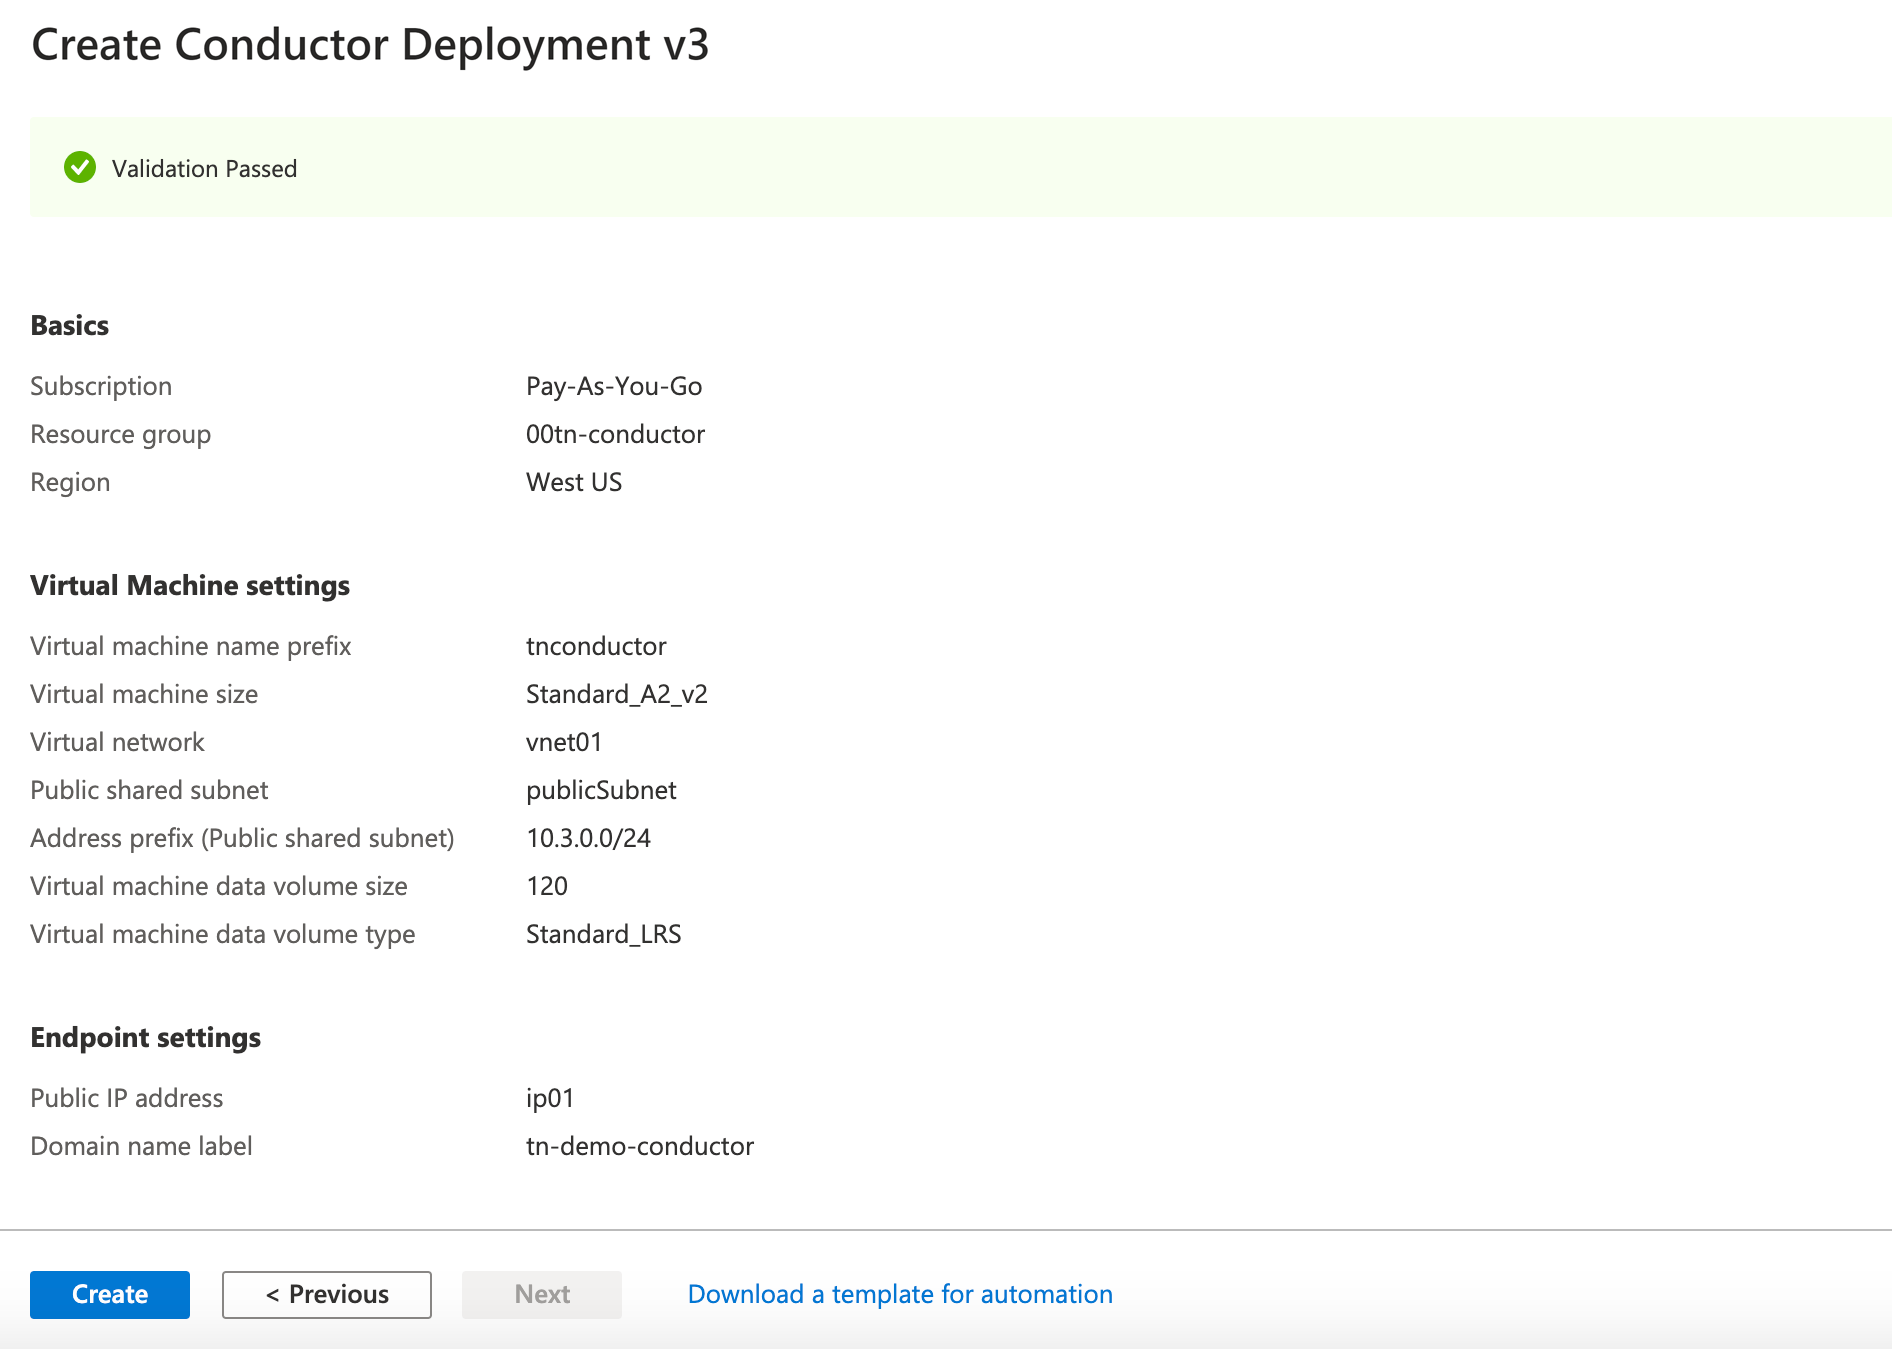
Review your settings, and accept the Terms of Use, and then select
Create. Azure starts deploying your image to the
resource group you specified.
Verify the install
It may take several minutes for the Conductor to become available after it starts, so if you attempt to access it and your browser appears to stop responding, please try again in a few minutes.
- When Azure finishes deploying, it takes you to the Conductor instance. Leave this page up as you verify the install. Navigate to Outputs, and next to publicIp, select the copy icon to copy the public IP for your cloud Conductor.
- Go to a web browser, enter in the IP you copied, and bypass the security warning.
-
Sign in to the Conductor:
-
The Conductor starts the Initial Conductor
Configuration wizard. To log in, configure, and license your Conductor,
see Log in and Configure the Conductor.
Note: In v2.2.8 and earlier, it shows the Provisioning page. See License and Provision a Conductor (v2.2.8 and earlier).
- When you've finished configuring, licensing, and provisioning your Conductor, you can sign in to start using or continuing configuring your Conductor.
Verify, Configure, Provision, and License a Cloud Conductor
It may take several minutes for the Conductor to become available after it starts, so if you attempt to access it and your browser appears to stop responding, please try again in a few minutes.
- Alibaba Cloud – Tnw-<instanceID>
- Amazon Web Services – Tnw-<instanceID>
- Microsoft Azure – Tnw-<privateIpOfPublicNic>
- Google Cloud – Tnw-<instanceID>
Additional Information
Once your Conductor is installed, you can configure and manage it as you would a physical Conductor. See Configure a Conductor. For additional help, you can search Airwall help by using the search bar at the top of the page or the navigation links to the left.